Pages

Wednesday, November 14, 2018

A Haunting We Will Sail: Cheddar Chicken Pot Pie


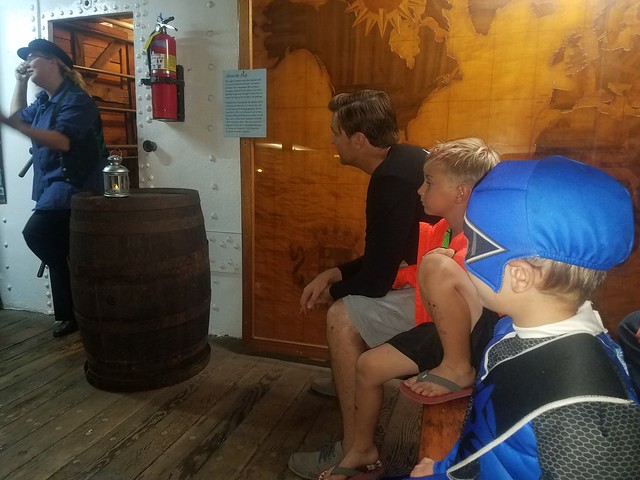
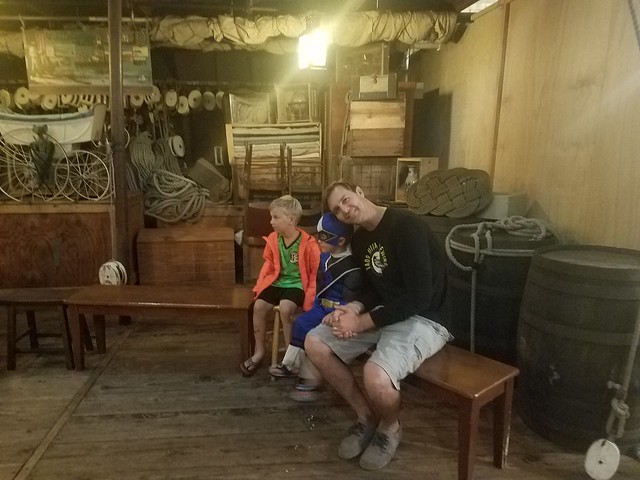
The other new activity we did this Halloween season was the Haunted Tales aboard the Maritime Museum.  I wanted to do a little write up about this because I could find NOTHING about it online, so we went in not knowing what to expect.

To begin with, I wasn't sure if the kids should wear costumes or not, so I gave them the option.  When we arrived, it seemed that it was pretty evenly split between people in costumes and people in street clothes. Thatbaby wanted to wear a costume, but not his Halloween costume.  Thatkid chose to go as he was.  Until he found some glow in the dark vampire teeth in the car.  Which he left in line.


And lets talk about that line.  The event is 2 nights during the month of October from 6-9 pm.  Which I thought meant you could show up any time between those hours and just walk right in.  But that's not how it works.  The event takes in 20 people at a time, every 20 minutes.  So if you don't show up at 6pm, you're waiting in line.  Which can take a while.  It ended up taking us an hour to get through the line and on to the ship.  During that time, your party can split up and some wait in line while others tour the rest of the ships that make up the maritime museum, but they close at 8pm, so if you get there too late, there's not much to do but stand around.

So what exactly is the Haunted Tales event?  Well, it's a bunch of spooky stories involving the Star of India, the world's oldest active sailing ship.  She was originally built in 1863 and served as a trading ship and a passenger ship transporting immigrants from Europe to New Zealand. 

We're introduced to the evening by a sailor, telling us the story of a sea monster he saw with his own eyes, and narrowly escaped from.  As he finished he told us that his story was real, but not true - it was The Foghorn by Ray Bradbury.  He cautioned us that the rest of the stories we were going to hear were real AND true.


We continued through the ship, with two more stops to hear about accidents that had happened aboard, and the paranormal activities related to them.  Not having any information about it, I was worried these stories would be too scary for my kids - mostly Thatbaby who doesn't even like "bad guys" in movies.  (But who, ironically, only wants to BE the bad guy when playing pretend.)  Our group had a fair number of kids, and the story tellers seemed to cater the telling of the story to the youngest members of our group.  So Thatbaby felt it wasn't too scary an evening.


Overall it was a pretty fun evening, and I would definitely recommend the experience to anyone who wants to make their Halloween a little spookier, but still kid-friendly.

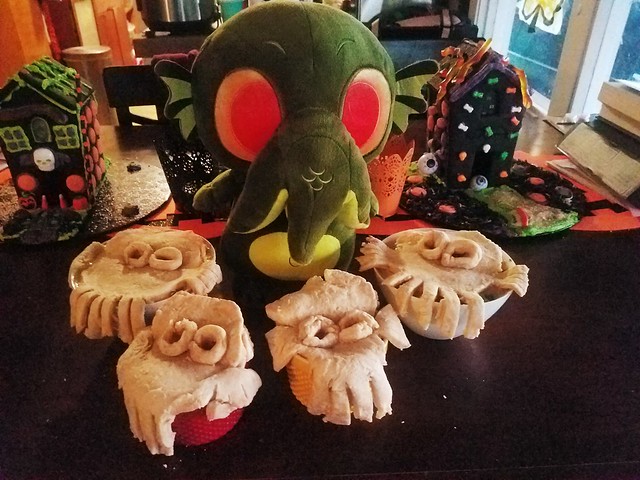
We did our own spooky kid friendly Halloween with another fun Halloween dish - spinning off the first sailor's story, I turned our regular old pot pies into Sea Monster pot pies.  Maybe Bradbury's, or maybe Lovecraft's Cthulhu, whom my children lovingly call "Spot," which is his name in the Howard Lovecraft cartoons.  Whichever you prefer, it's such an easy way to Halloween up a classic recipe by cutting shapes in the pastry.  For the upcoming holiday you could even do a turkey!  Although I would highly recommend using leftover turkey in your pot pie in place of chicken if you do that.  But even if you don't choose to create monsters or birds from your pie crust topping, pot pie is definitely a great way to use up leftovers in these colder months.  It's just so warm and comforting.  Even if it is staring back at you.

Cheddar Chicken Pot Pie
6 Tbsp butter
6 Tbsp flour
2 cups milk
salt and pepper
2 cups shredded cheddar cheese
4 cups chopped cooked chicken
1 onion, diced
10 oz frozen peas
3 carrots, sliced
  1. Preheat oven to 350. Melt the butter in a pan and stir in the flour for 2 minutes until it's a thick paste. 
  2. Slowly pour in the milk, salt and pepper, stirring as you add them in. Cook for 5 minutes, stirring till thick and smooth.
  3. Remove from heat and stir in the cheddar cheese.
  4. Stir in chicken, onion, peas, and carrots. 
  5. Pour into pie tin, casserole dish, or individual oven-proof bowls.
  6. Cut the pie crust into any shape you want, or just to fit the cooking dish.  Put the pie crust over the top of the chicken and veggies and crimp the edges.
  7. Cut vents in the top of the crust and bake for 45 minutes.
Wednesday, November 07, 2018

A Haunting We Will Build: Candy Corn


It will come as no surprise to you that we filled our month of October with lots of Halloween activities, so get ready for a November filled with Halloween tricks and treats.

When I asked my kids what their favorite Halloween activity was, they both responded that it was making haunted gingerbread houses, so I thought I would start with that!

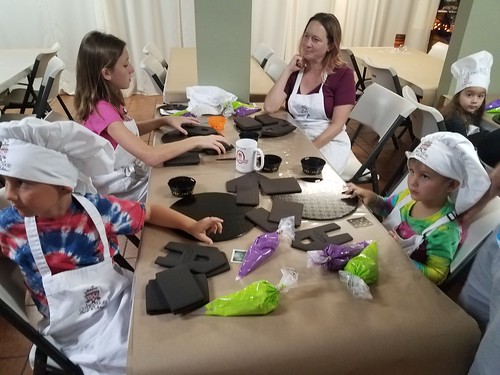
I was flipping through Facebook one day when I saw that Cute Cakes Bakery was running a special on their Spooky Gingerbread workshop - it was half off for the next week.  A quick check with the kids and a look at our schedule and I signed them up.

Neither of my kids has ever done a decorating workshop, but it seemed like something that would be right up their alley.  They both love to help me in the kitchen, Thatkid makes dinner every week, and as a family, we have made our fair share of gingerbread houses.

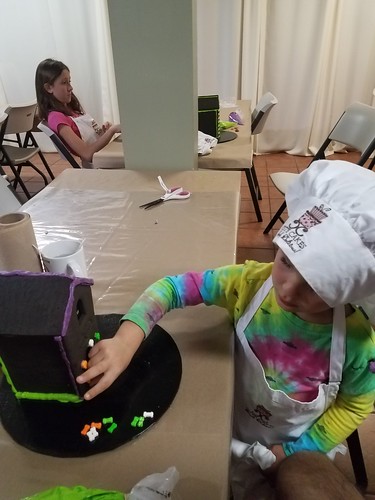
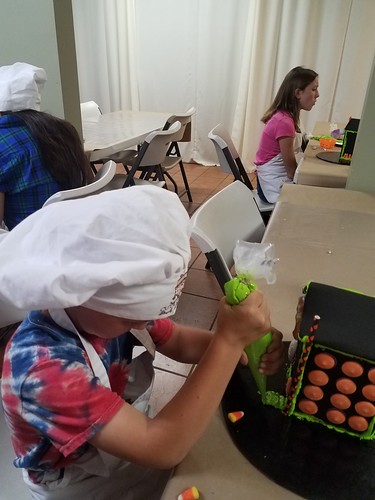
When we arrived, the bakery was closing up for the day, but they stayed open long enough for the adults to grab a mimosa or beer.  Each station was set up with a hat, apron, frosting bags, and the gingerbread walls.  Black gingerbread walls. Because it's a haunted house!


Our kids were actually did really well at listening to instructions and taking it step by step.  Thatboy and I did the divide and conquer routine, each helping one of the kids with the frosting bag and putting the pieces together.


The highlight for the kids, and what really made it all worth it, was the extensive candy bar.  If you've ever made a packaged gingerbread house before, you know they're a little stingy with the decorations.  Here the kids got free reign to take and use as much candy as they'd like.  And my boys definitely took advantage of that.


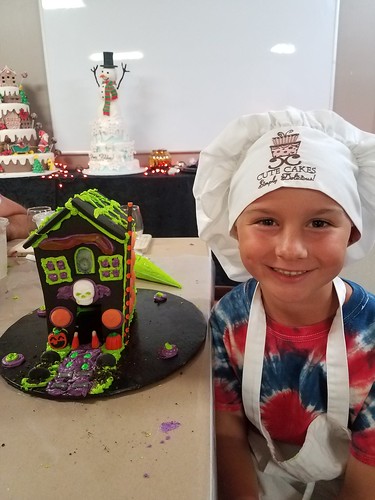
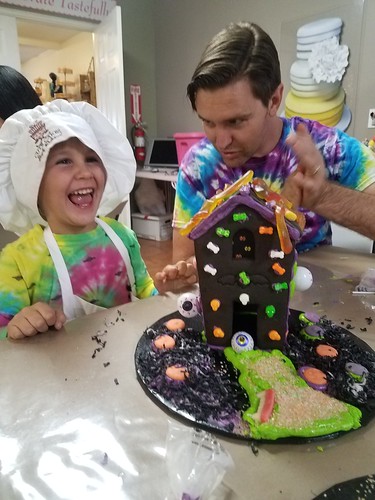
While Thatboy and I helped a lot with the construction of the house, the decorating was all them.


Thtboy went with a vision - to make it look like an actual haunted house, complete with a graveyard in the front yard, and candy corn gateposts for the front door.


Thatbaby's goal was to get as much candy on that house as humanly possible.


The boys had so much fun, and bonus, we had fun table decorations for the rest of the month!  They're already asking to go back for the Christmas Gingerbread House Workshop.

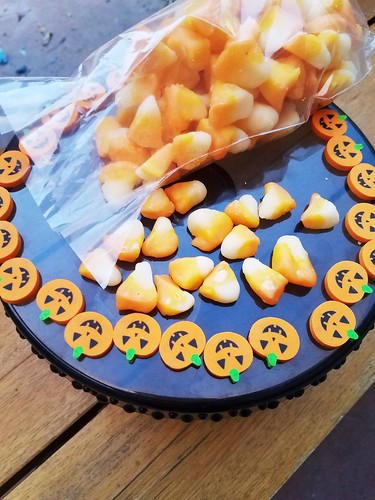
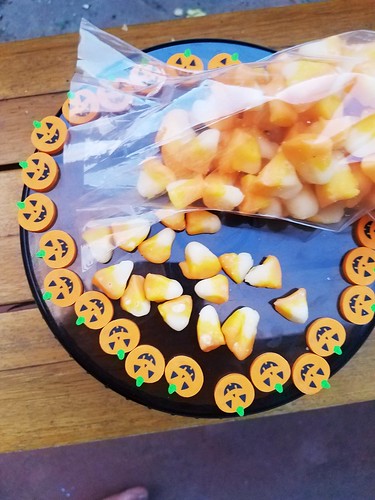
In addition to this new Halloween activity, we tried a new Halloween treat this year - making our own candy corn.  I should warn, this is not for the faint of heart.  The warm dough doesn't love to hold its shape when rolling into strands, and it took me forever to figure out how to form them into a wedge for cutting.  There were some really ugly ones in the bunch.

I should also warn that these don't taste like store bought candy corn.  They have a flavor all their own, aided by that vanilla extract.  They're SUPER sugary, so a bigger hit with the kids than me, but I find them way more appealing than store bought candy corn!  

Candy Corn (From Alton Brown)
1 1/4 cups confectioners sugar
6 1/2 tsp powdered nonfat milk
1/4 tsp salt
1/2 cup sugar
1/3 cup light corn syrup
2 1/2 Tbsp water
2 Tbsp butter
1/2 tsp vanilla
yellow and orange gel paste food coloring
  1. Combine the confectioners sugar, dry milk, and salt in a food processor.  Pulse until combined.
  2. Combine the granulated sugar, corn syrup, and water in a 2 quart pot.  Place over medium heat, cover, and cook for 4 minutes.
  3. Add butter and bring the syrup to 230 degrees.  Remove from the heat.
  4. Add the vanilla and the confectioners sugar mixture and stir until combined.  Pour on a sheet pan lined with a baking mat and cool until it is cool enough to handle. Divide the dough into 3 pieces.  
  5. Add 2 drops of yellow food coloring to one piece and knead the color in.  
  6. Add 2 drops of orange food coloring to a second piece and knead the color in.  Leave the third piece white. Roll each piece of dough into an 18 inch long strand.  Cut each strand in half and roll into a strand that is 22 inches long and 1/2 inch thick.
  7. Lay the strands side by side - orange, yellow, then white, and press them together.  Cut into 4 inch pieces.  Then press each piece into a wedge, with the orange on bottom and the white part on top coming to a tip.
  8. Cut each wedge into individual candies.  Let dry for at least 1 hour on parchment paper.

Sunday, November 04, 2018

Sunday Runday: The Fit Foodie 5k

So a fun little story for you guys.

A couple days after the Grape Day 5k, I was on my daily run when I hit a crumbly piece of road and went down.  I didn't even need to look or stand up to know that I had sprained my ankle.  I've been there before. I called Thatboy and told him it was time to come home ,while I used adrenaline to limp home, where I finally took a look as I gingerly unlaced my shoes.  It was a sprain all right.  My ankle was the size of a softball, which distracted me enough to not notice my other knee was torn up and dripping blood onto the couch. 

My fall running season ended before it had even truly began.

I'm not going to lie, it's been really hard on me being injured.  Running has always been a bit of a mental health release for me, not to mention it helps keep the disordered behavior at bay.  I've finally gotten to a good place where I control the running, it doesn't control me, and being thrown into a sedentary lifestyle has been very depressing.  The house became a mess, as I gave myself permission to sit with my foot up instead of daily maintenance, which both has fueled and been fueled by this depression.   Sitting around with my foot up has also left me feeling not at my most attractive- not aided by the fact that I can no longer stand to shave, and can only do so if I take a bath, and I haven't wanted to do extra standing to actually do my hair so it's been in a rough ponytail for weeks.   I'm working my way out of it slowly but surely, I got the house back in order (although Halloween week has wrecked more havoc to be addressed) and last week I even blew dry my hair! 

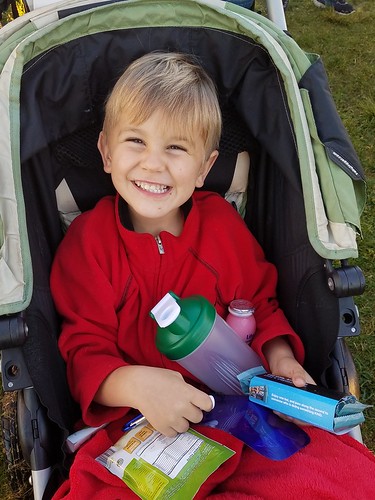
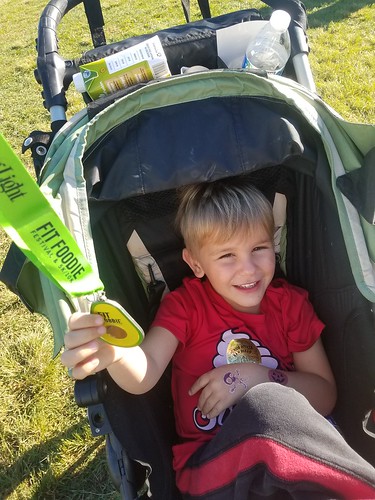
Of course just 1 week after the sprain was the Fit Foodie 5k.  Perfect timing right?  I knew there was no way I was going to be running this race, but I couldn't miss it.  And since I was walking it anyway, what the the harm in pushing a stroller?  I brought some company with me - Thatbaby!

I wrapped my ankle, threw on my aircast, and we got down early enough to snag some close parking.  Then we took advantage of all the race has to offer.

Like a fun photo booth.


Thatbaby has met me at the finish line for this race before, and the first year I ran it, he was just a teeny little thing inside me - we hadn't even announced my pregnancy at the time I ran - but this was the first year he was going to take part that he'd remember.  I promised him lots of good snacks and swag, and the race did not disappoint. 


The bonus of having a stroller, is that we could load up on all the goodies before the race instead of after!  We lined up at the back of the pack and ended up being in the 8th wave to start the race. 

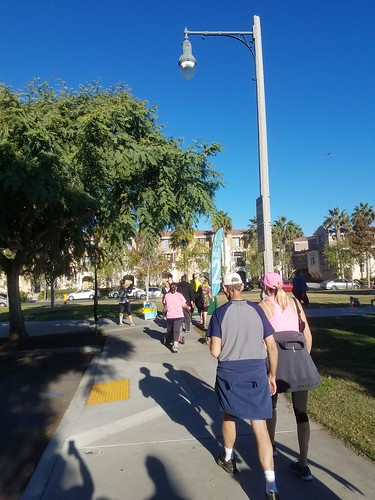
The beginning of the race is narrow and bottle-necky, so to be honest, walking it wasn't that big a deal.  Although to continue with my honestly, I am not a good race walker.  I was itching to go faster - and I'm not an especially fast runner to begin with!  It felt like forever before we go to the first mile!


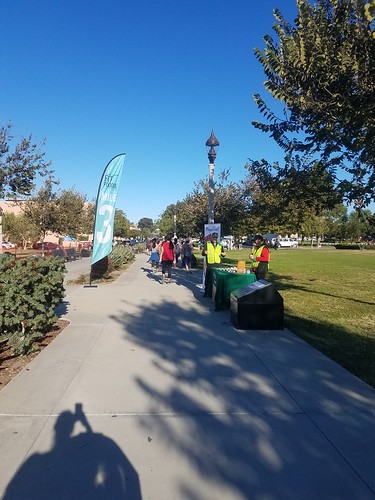
One of the great things about the Fit Foodie Race is that each mile has a little foodie treat!  Mile 1 was mini-doughnuts!


Mile 2 was the hardest and easiest to walk.  I know, that makes a lot of sense.  But the second mile is all about that bridge.  And while it was easy to walk up the bridge, it took all my restraint not to run down it! 


Our Mile 2 treat was gummy vitamins. 

The last mile was nice and flat and wide.  It would have been so perfect to run.  I didn't.  But being so far back always has its disadvantages.  By the time we got to the Mile 3 marker, they were all out of their special treat - which was brownies.  We saw the last one getting taken!


But that 3 mile marker means that the race is almost over anyway, and with so many other goodies awaiting just on the other side of the finish line it's hard to be mad about missing out on that last one!

The problem with running with a 3 year old is that after the race they're not willing to take a cute photo of you with your matching medals.  Or even a cute photo with their medal.

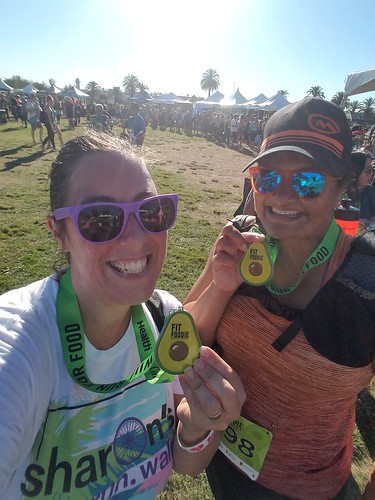
Luckily I found a friend who is ALWAYS willing to take a cute medal photo with me. 


The final swag haul:


My ankle was fairly angry with me later that day.  Because, in keeping with my honesty theme, I definitely pushed it too much.  But it's a race you just don't want to miss!  Hopefully you'll join me next year in my redemption run - I'll be there!

Wednesday, October 31, 2018

Pumpkins, pumpkins, and more pumpkins: Pumpkin Challah


You knew there was no way we were getting through October without mention of pumpkins, right?   I'm not sure you can even call it autumn if you're not putting pumpkins everywhere in everything.

After bad experiences with rotting pumpkins, or falling apart jack o lanterns, we held off on our pumpkin adventures until the end of the month.

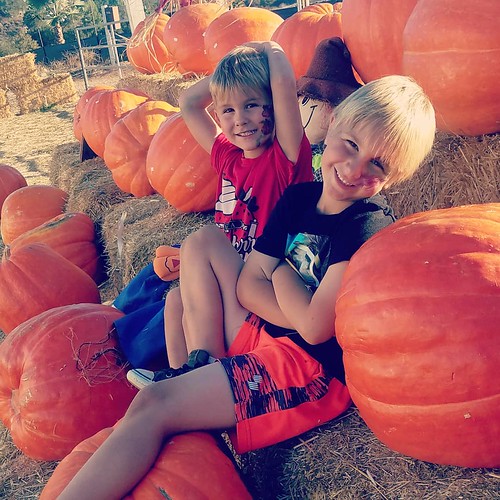
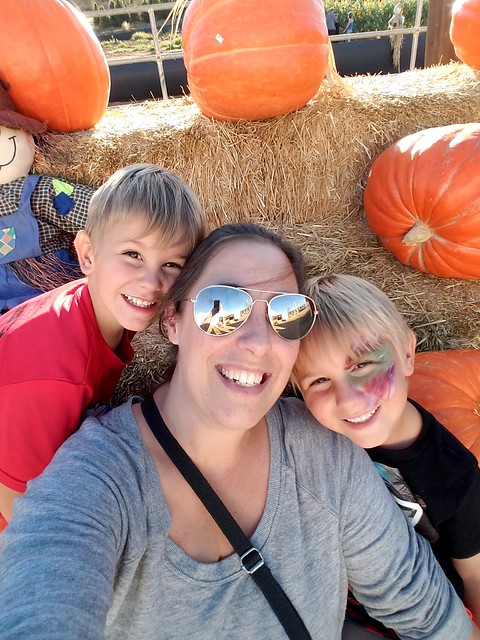
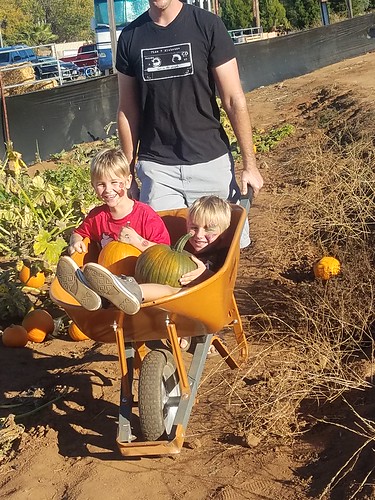
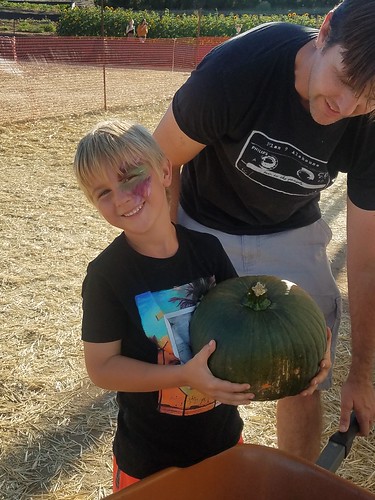
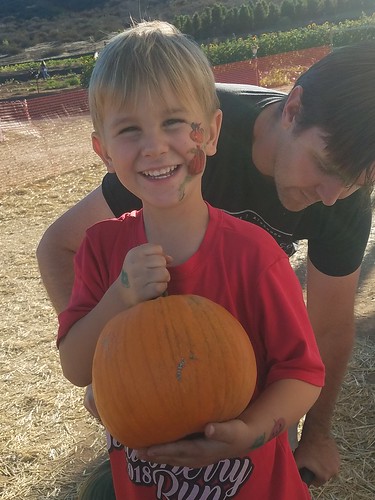
First stop was the pumpkin patch!


It was an excellent year for pumpkins based on the amount of great ones we found out in the field.  Almost everyone's pumpkin came from their this year, instead of the pre-harvested variety that are placed in lines according to their size.


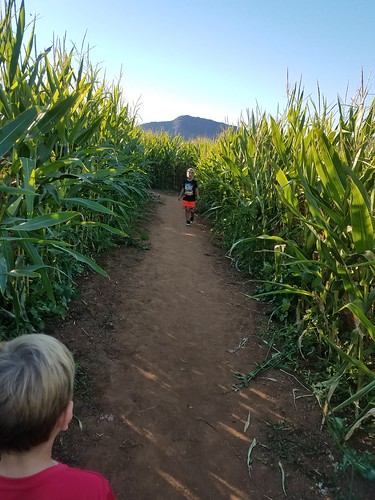
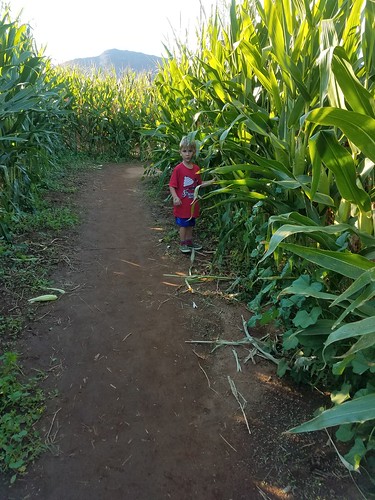
Once everyone had their pumpkins picked out we went exploring.  Like getting ourselves lost in the corn maze.


And hopping aboard the hayride.


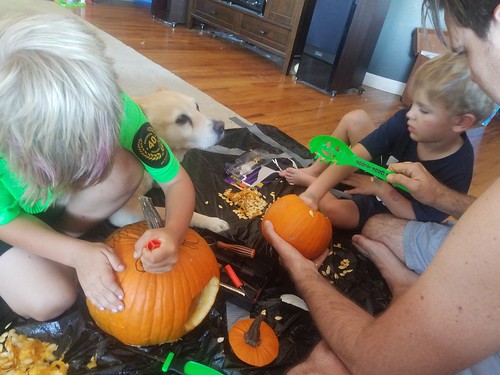
We waited another week to actually carve the pumpkins so they'd be bright and shiny for Halloween night.  Thatboy and I decided to do split duty and carve our pumpkins at a later time so we could help the boys.


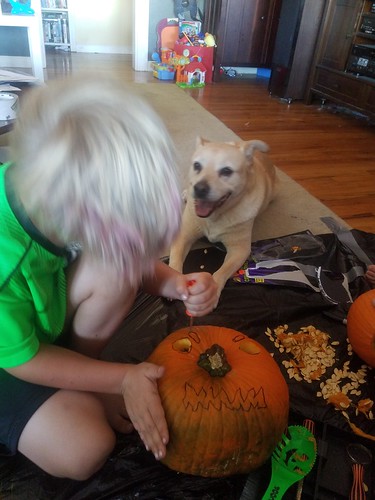
Thatkid is finally at the age where he can do a majority of the carving himself.


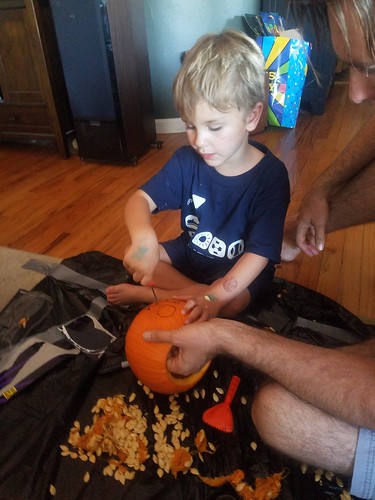
Thatbaby is at the age where he wants to do all his carving himself, but really shouldn't.  And can't.


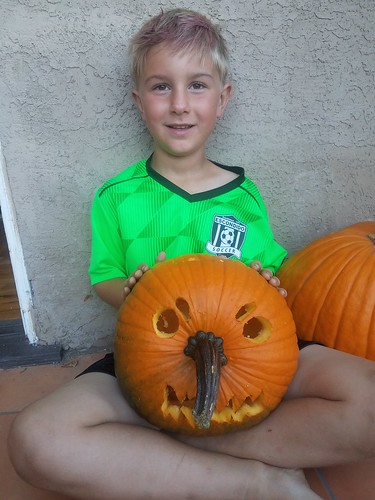
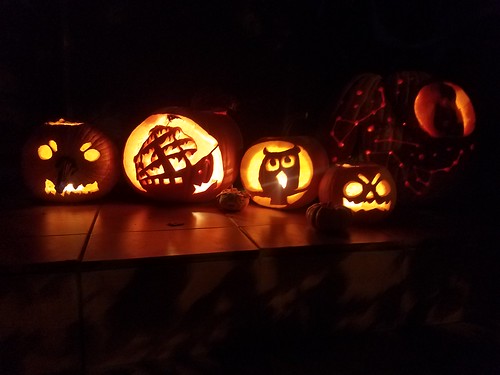
Thatkid put a lot of thought into his pumpkin, specifically looking for one with a flat side that it could rest on, so he could carve a face and use the vine as a nose.


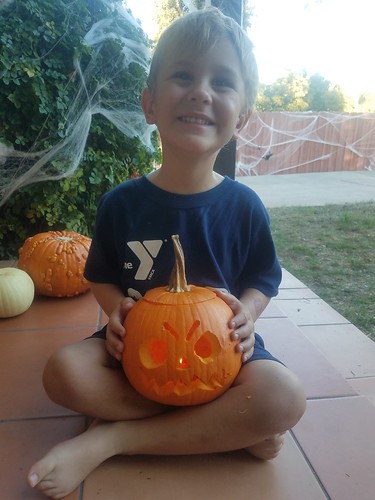
Thatbaby, who wants to do everything his brother does, also wanted a face with "angry eyebrows."


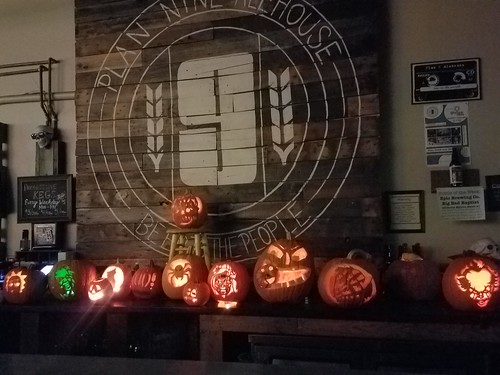
With that little practice session under our belt, we headed back to annual tradition of Plan 9's pumpkin carving contest.

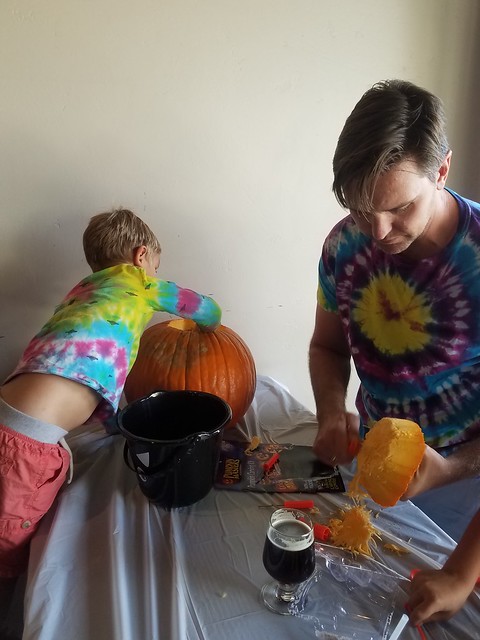
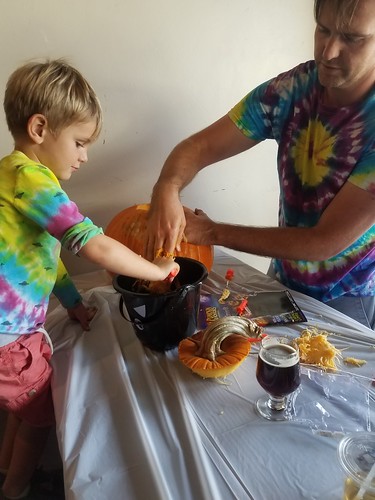
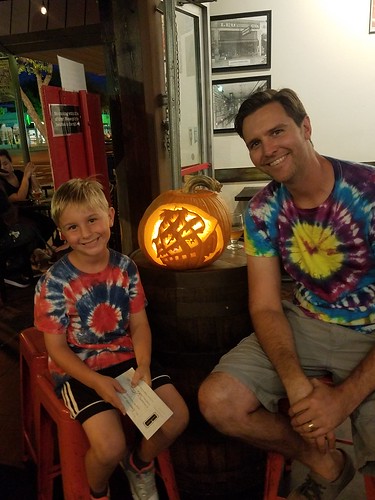
As usual, it's a real family affair.  Thatkid thinks up and picks the design.  He won't touch the inside of a pumpkin, but that's where Thatbaby shines.  


Thatboy's role is the actual carving.  Which takes a lot out of him.

But at the end of the night, all the pumpkins get put up to ooohhh, awwwww, and vote on.  It's really neat to see the creativity.  


And this year we walked away with second place!  Which Thatkid thought was fair since we got first place last year, someone else should get a chance.


The next night, after the kids went to bed, Thatboy and I did our carving.  Looks like we're all ready for tonight!


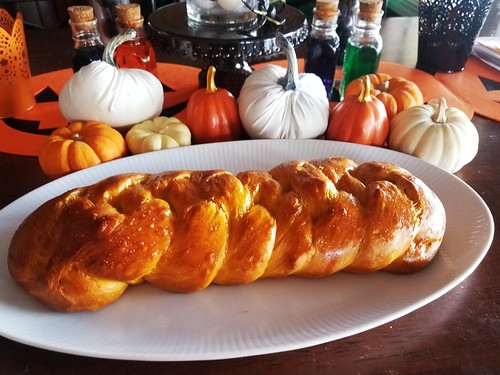
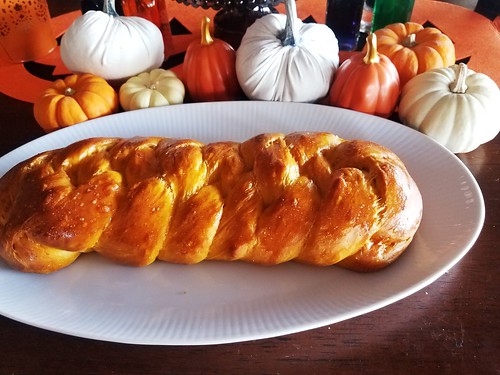
As for pumpkin eating, well, there's a whole lot of that going on.  The kids are eating pumpkin oatmeal or pumpkin cereal.  If there's not a pumpkin bread in the fridge, there's pumpkin muffins.  Or vice versa.  But those recipes are old hat.  They're everywhere.  Everyone and their mom has a pumpkin bread or muffin recipe.  You know what isn't everywhere?  Pumpkin challah.  I've been making challah every other week since the Jewish holidays and when I saw the book contained a pumpkin challah recipe, I knew this was the perfect time of year to try it out. 

It is the absolute perfect blend of pumpkin and challah.  It still has that sweet, doughy challah taste and crumb, but with the addition of a pumpkin richness.  The pumpkin flavor itself is not overwhelming, which I credit to the fact that it doesn't contain a lot of the typical pumpkin accompaniments like cinnamon or nutmeg.  Instead, cardamom and ginger help to balance out the flavors which really makes it a fabulous fall bread.

Pumpkin Challah (From A Blessing of Bread)
1 envelope instant yeast
1/4 tsp cardamom
1/2 tsp ground ginger
3 1/2 cups bread flour
2/3 cup warm water
1/3 cup sugar
1 1/2 tsp salt
1/4 cup canola oil
2 eggs
1/2 cup canned pumpkin
  1. In a large bowl, whisk together the yeast, cardamom, ginger, and 2/3 cup flour.  
  2. Whisk in the warm water until smooth.  Let stand uncovered for 10 to 20 minutes, until it puffs slightly.
  3. Whisk the sugar, salt, oil, 1 egg, and puree into the puffed yeast until combined.
  4. Stir in remaining 3 cups + 2 Tbsp flour.  When the mixture clings together in a ball, turn it out onto a work surface and kneed until it is smooth and firm.  
  5. Place the kneaded dough in a warm bowl and cover with plastic wrap.  Let rise 2-3 hours, until it has tripled in size.
  6. Line 2 baking sheets with silpat liners.  Divide the dough into 2 even portions.  Braid or shape them as desired.  Cover with plastic wrap and let rise 1-2 hours, until tripled in size.
  7. Preheat oven to 350.  Beat the remaining egg with a pinch of salt.  
  8. Brush the loaves with the egg glaze.  Bake for 35-40 minutes.  Remove from oven and let the loaves cool on a rack.

Wednesday, October 24, 2018

Halloween-ing Begins: Pizza Dough


I do my very best to hold off on all things Halloween until after Thatkid's birthday.  But after that?  All bets are off.  By the following weekend the house was decorated and we were on our way to our first Halloween event of the month- Brick or Treat at Legoland.

It's become an annual tradition here, although this year, since we're so busy with soccer games and art classes on Saturdays, we decided to not spend the whole day there.  Especially since I'm currently dealing with a sprained ankle which makes a full day at the amusement park seem less than ideal.  So we headed over right before the evening event started and got into our costumes.

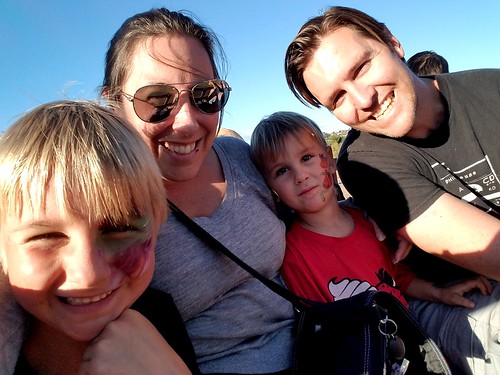
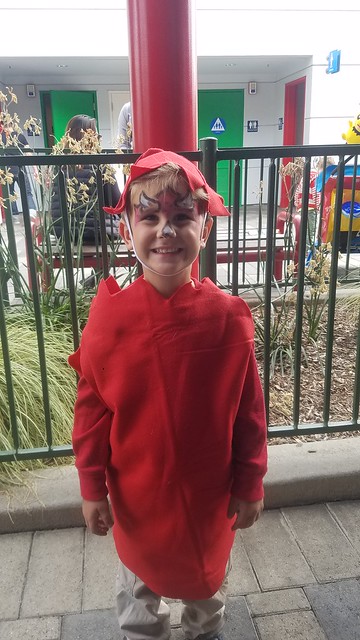
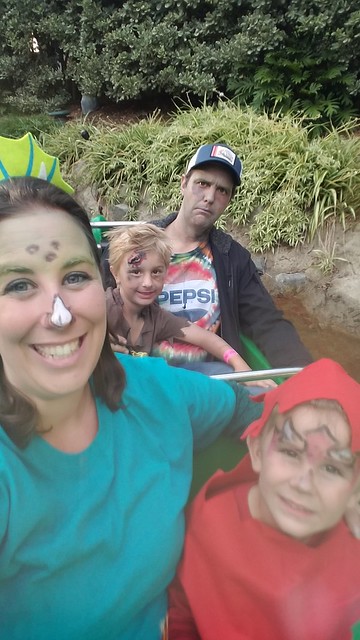
Thatbaby has been killing me this year with his costume selection.  It's almost like he's, I dunno, 3?  First he wanted to be Olaf, then Spiderman, then a zombie, then a dinosaur, and then the week of the event he settled on a "baby egg."  No, I have no idea what a baby egg is or where he came up with the idea.  Or how I was going to pull it off.  He volunteered the baby egg was a red egg, and Thatboy might have steered him a little into a baby dinosaur egg.  Which still didn't give me a great sense of how to pull it off.  A couple of sketches for possible designs later and some approval from the creative team, and I was off buying some red felt and cutting it into an oval shape.  I used the scraps to create a hat so that it looked like his little head was poking out of a hatching egg.  A little face paint magic, and voila!


I was actually kind of please with how it turned out, and he was beyond thrilled with his costume (despite no one knowing what he was).

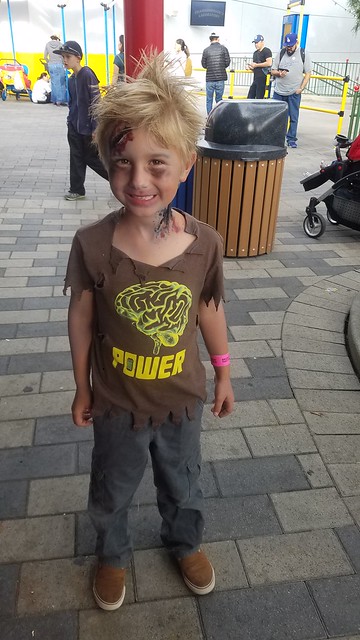
I put my face painting skills to further use to help Thatkid with his vision of a zombie costume. 


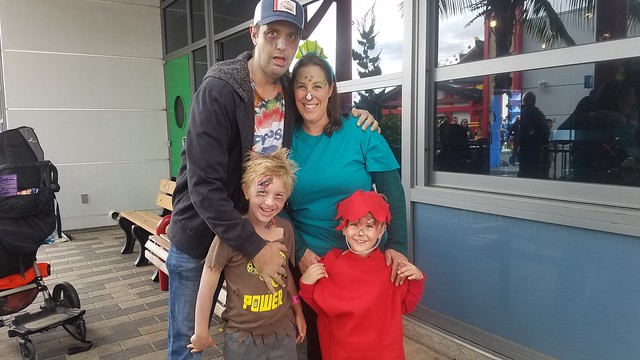
We ended up pairing off again - with Thatboy going the zombie route while I got roped into a mama dinosaur.


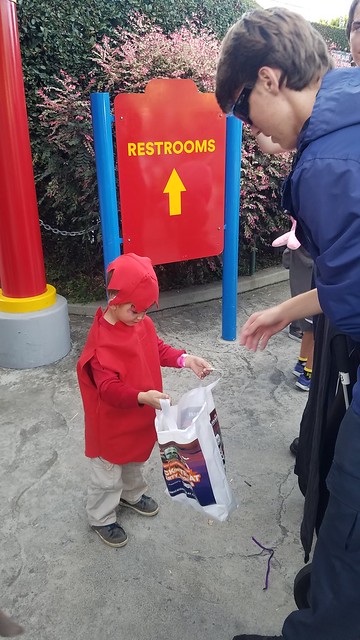
Once dressed the kids immediately started their brick-or-treating.


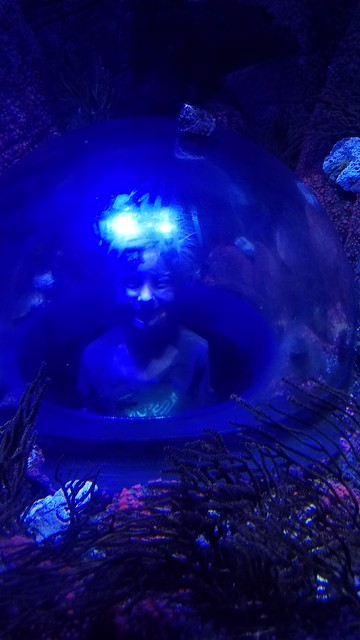
Despite being frequent visitors to Legoland, we've never visited the aquarium, so we thought this would be a good time to give that a whirl.


And Thatkid requested a familr ride on the fairy-tale boats.


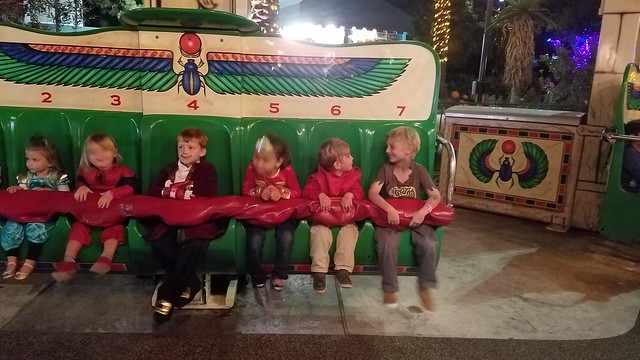
After that it was one treat station after the next, a couple rides, and a break for dinner - at the Pizza Buffet, which has also become part of our annual tradition.

As we went to hit up the last few treat stations, Thatkid convinced his brother to try Beatle Bounce with him.  Thatbaby has historically refused to go on this ride, or any incarnation if it.   But, buoyed on by his big brother he agreed to give it a shot.  AND HE LOVED IT.  It had been raining that morning and so crowds were few, which meant no lines and the boys rode it over and over and over until we had to peel them away. 


On our way out, we discovered the new submarine ride, with barely a wait at all and decided to check that out too.  It was similar to the Finding Nemo ride at Disney, but much brighter and roomier, which led to much happier kids  (Thatbaby was terrified of the dark Nemo ride).  We also ran across this station where the kids could make weird monster music by moving their hands around the metal antenna.


Our only fail of the evening was forgetting to bring their pajamas, as both kids were asleep before we left the parking lot.

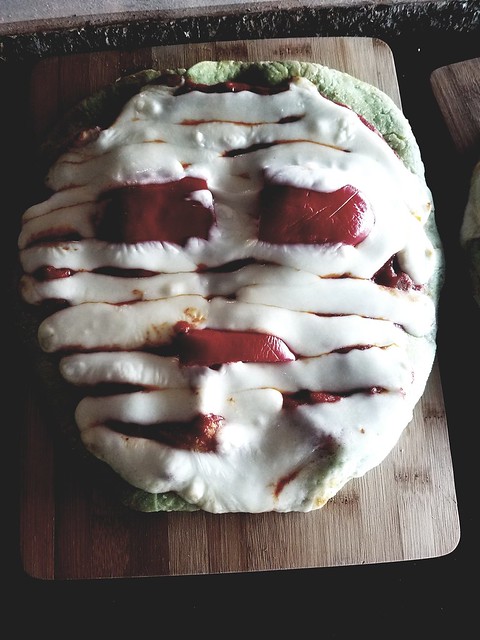
Pizza is a weird Halloween tradition, but it really carries us through the month.  Thatkid always picks a pizza place for his birthday dinner.  We always eat at the pizza buffet at Brick or Treat.  And pizza is always our Halloween dinner.  It's just easy.  It's easy enough that a child can do it.  Although my child likes to make things harder.  Last month he decided he wanted to make pizza, with homemade pizza dough.  Which was a whole weekend activity.  He also wanted to color the dough green.  The upside to this labor intensive meal is that the dough actually makes 4 pizzas.  Which means we could make some that weekend, and have leftover pizza crust in the freezer.  And that made for a very easy meal for us this past weekend.  Because the dough was already green, I decided to go all out and make them Halloween pizzas, mummies made from mozzarella and red bell pepper.  But you can top yours however you like!

Pizza Dough (From Alton Brown)
1 1/4 cups water
1 Tbsp salt
1 tsp sugar
8 cups flour
1 envelope instant yeast
  1. Combine the ingredients in an electric stand mixer fitted with a dough hook.  Mix for 2 minutes on low, or until dough pulls away from the sides of the bowl. Rest the dough for 15 minutes. 
  2. Continue mixing at medium-low for 5 minutes.  Remove the dough from the mixer bowl and knead by hand for about 30 seconds, then work into a ball.  Place the ball in large metal bowl with a little olive oil.  Toss the ball around to coat.  Cover the bowl with a clean kitchen towel and set aside for an hour or until the dough ball nearly doubles in size. 
  3. Fold down the dough, patting it into a disk and place it back in the bowl.  Cover with plastic wrap and refrigerate overnight.
  4. Remove the dough from the refrigerator and cut into four equal pieces.  Shape each into a disk, folding it on to itself.   Cover the disks with a clean kitchen towel and leave for an hour to bench proof. While the dough is proofing, preheat your oven to its highest possible temperature.  
  5. Work the disk in your hands, creating a lip with your thumbs.  
  6. Toss the disk back and forth between your palm.
  7. Use the back of your hands to stretch the dough while rotating.
  8.  If you are using the dough right away, top it with your preferred toppings, then bake for 4-5 minutes.  If you are freezing it for later use, bake it untopped.  Thaw the frozen crusts before topping and cooking them.