Pages

Showing posts with label chocolate. Show all posts

Wednesday, August 12, 2020

Charlie and the At-Home Chocolate Factory: Chocolate Tomato Soup


When I  broke out the cotton candy machine for our Backyard Fair, I thought about other fun toys we've accumulated over the years of birthday parties.  Which is how I decided to plan a day centered around our chocolate fondue fountain.  Because I don't think we've used that thing since Thatbaby's second birthday.  

But what could I plan that centered around a chocolate fountain?  Why a Willy Wonka Day of course.  It may not be a chocolate waterfall, but it's pretty close.  It definitely helped that I had bookmarked Economy Candy's "Candy Care Package" as a fun idea way back in April and this would be the perfect excuse to order one.   As an aside, Thatboy has declared this the absolute best mail to ever receive and it has become our go-to "happy mail" to send.  

We made gummy legos during "Lego Mom Camp"    (maybe one of these days I'll get around to writing up all those camp lessons.  You know, in case anyone wants them for the next pandemic) which also inspired the idea of making our own candy.  Especially since Thatbaby has been so into science kits and growing his own rock candy.  So I picked up a Candy-Science kit and we made sour blue raspberry gummies (which were completely sour - not sweet - to the point where they were probably just vitamin c gummies), watermelon sucking candies, and grape marshmallows.

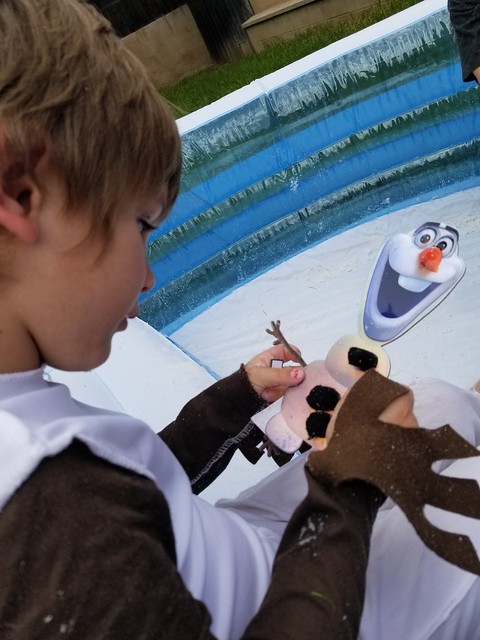
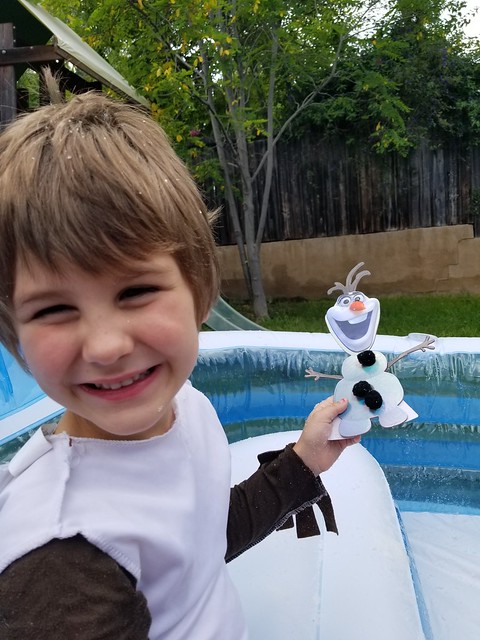
Did I mention that Thatkid wanted to dress up like Willy Wonka for the day?


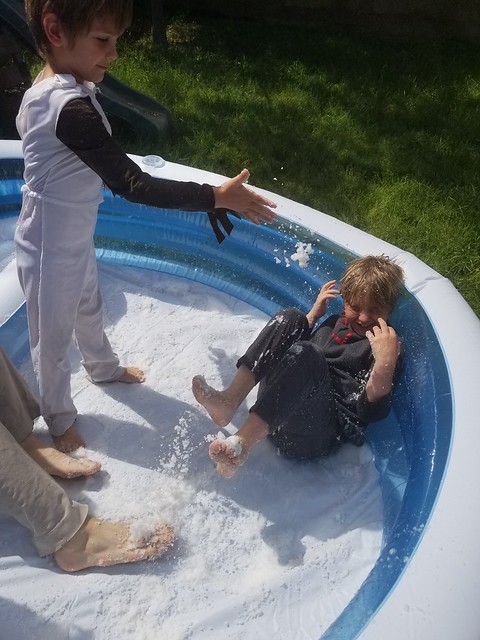
Another one of our pandemic purchases with a bubble machine which filled our entire yard with bubbles.  The kids love it so much.  And I thought it would be even cooler if we could fill it with edible bubbles, like in the Fizzy Lifting Drink room.  So when I found "Lick-A-Bubbles" which are literally edible bubbles you can flavor with any non-dairy drink, I knew we were set for the day.  I poured them into our bubble machine and the kids went crazy running around trying to catch the bubbles in their mouth.


And while I was on the site purchasing the bubbles one of those "you may also be interested in" things popped up and I was interested!


Edible stickers!  So we could make our own lickable wallpaper.


One thing we already owned, that needed no modification was the Candy Land board game.  


Now, it was definitely a dangerous idea to throw in this game.  It never goes well.  We have retired it from weekly game nights because inevitably one of the kids ends up near the finish and having to go back to the start and there are tears and anger and flipping of tables.

So we moved quickly from game to lunch.  In trying to find ideas for a "chocolate factory lunch" I came across white chocolate macaroni and cheese.  Which doesn't sound super-appetizing, but had rave reviews from other skeptical persons.  So I thought, maybe the white chocolate just adds some thickness and creaminess.  Especially since the rest of the white cheeses mixed in sounded so delicious.
Y'all, this was not delicious.  Too sweet.  It was like eating a dessert.  Even my chocolate loving, macaroni and cheese loving kids did not enjoy it.


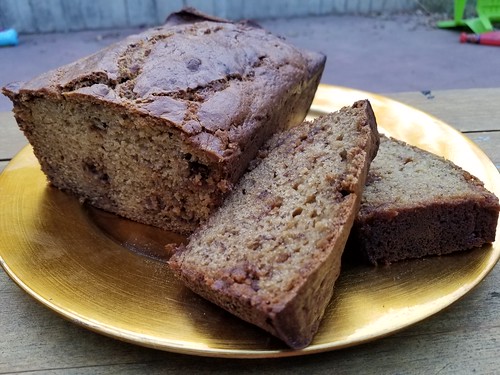
After nap I set up some chocolate we did enjoy - our very own chocolate waterfall (fountain).  


And then we relaxed for the rest of the evening by watching the original film.  With a special drink I found in the grocery store.


Thatkid had requested a dinner inspired by Willy Wonka's amazing gum - the one containing a three course meal that had poor Violet Beauregard blow up like a giant blueberry.

We began with a tomato soup.


Followed by roast beef and a buttery baked potato.


And of course, the famous blueberry pie with cream.


I wanted to dress up the tomato soup a bit, but I was a little wary after the macaroni and cheese incident.  But I've put chocolate in chili, and what is tomato soup except chili without the rice and beans?  Plus this recipe uses bittersweet chocolate, which REALLY doesn't add sweetness, just a depth of flavor.  The result?  Well Thatbaby hates tomato soup, but he loved this one so much he asked for it for lunch the next day too.  

Chocolate Tomato Soup
2 Tbsp olive oil
2 Tbsp butter
1 onion, chopped
3 cloves garlic
2 carrots, diced
2 celery stalks, diced
1 cup sundried tomatoes
2 tsp paprika
2 tsp cumin
1 tsp ground coriander
1/2 cup white wine
28-oz can of diced tomatoes
4 cups chicken broth
4oz bittersweet chocolate, chopped
2 Tbsp honey
  1. Melt butter and oil in a pot over medium-high heat.  Add onion and saute 5 minutes, until translucent.
  2. Add garlic, carrots, celery, tomatoes, paprika, cumin, coriander, and salt and pepper to taste.  Cook for an additional 3 minutes.  
  3. Add wine and continue cooking until all the liquid has evaporated.
  4. Add the chicken broth and tomatoes and bring to a boil.  Cover and reduce heat.  Simmer for 45 minutes.
  5. Let cool slightly and then puree in a blender.  Return to pot and heat until warmed through.
  6. Add chocolate and honey.  Stir until chocolate is melted and serve.

Wednesday, May 13, 2020

Let it go into the unknown: Frozen Hot Chocolate


Back in March Thatbaby and I had a mommy/kid date set up with his friend Princess Anna.  We were all supposed to go see the musical Frozen.  Princess Anna and Thatbaby had been talking about it for months.  Practically every time I saw her, Princess Anna asked me when we were going. 

Of course, like everything else, the musical was cancelled.  Or postponed?  I still have hope it will happen in the future.  Until then. we decided to have our own Frozen day at home last weekend.  And yes, there was lots of singing.

I also set up lots of Frozen activities - especially novel for kids in Southern California, but also fun for kids everywhere who want to play in the snow, but not get cold and wet.

We started out with a "Snow"ball fight.


I got a bunch of soft fake snow balls and divided them up to start so we all began with the same amount.  But after that it was a free-for-all.


The kids had such a blast with this.  The balls got filthy, but I tossed them in the wash, and after nap they were clean and dry.  I scattered them around our living room and we were having impromptu snowball fights until it was bedtime.

After that it was time for a snack break with some "Frozen" hot cocoa."


And then we put on the first Frozen movie for them to watch.  During which we served "We finish each other's" sandwiches.


After nap, we headed back outside for a little snowplay.  I picked up some "instant snow" (the kind you just have to add water) and put it in our pool.  Which kept it contained, but also gave us a fun place to play.  The "snow" was even cool to the touch - but not that bitter cold that makes real snow not so fun after 10 minutes.  The kids played here for hours.


Our last big activity was building snowmen.  I found a "build an Olaf" sticker kit where they could create their own snowman.  


We wrapped up with some Ri-snow-tto for dinner while we watched Frozen II.    It was a really fun day, even for Thatkid who wasn't really looking forward to it, as he isn't as much of a Frozen fan as his little brother.  

As soon as I started planning the day, I knew I wanted to make "Frozen" hot chocolate.  It just seemed fun, since the weather was warming up.  And then I started seeing all these Dalgona coffee posts on every social media site.  I'm not much of a coffee person, but as soon as I saw that it required instant coffee, I figured this would be something that could easily be translated to cocoa. 

Instead of coffee, I threw some hot cocoa mix into the kitchenaid.


And a few moments later, I had a whipped cocoa!


Which I used to top milk.  Word to the wise - This makes a lovely picture, but the milk is too high, making it hard to stir into without making a mess.  So, less milk in your glass!!!


 Frozen Hot Chocolate
1/4 cup hot chocolate mix (or Nesquick.  Just don't use cocoa powder which is unsweetened)
1 cup heavy cream
milk
  1. Combine hot chocolate mix and heavy cream in an electric stand mixer.  Mix on high for about 90 seconds, until you've got soft peaks to the cream.
  2. Fill 4 glasses with ice.
  3. Pour milk into glasses until it's about 1/2 full (or half empty ha!)
  4. Top with the whipped cocoa.


Wednesday, November 20, 2019

Halloween Leftovers: Chocolate Peanut Butter Banana Bread


I have some leftover Halloween pictures to share. Which makes sense because we fill up October with so many Halloween events, it takes forever to get through them all. 

My kids started the day off with a festive open-faced Monster Breakfast Sandwich. 


And then we accompanied Thatkid to school for his Halloween parade and flash-mob dance.


Thatbaby's preschool has a no costume rule, but do pajama day instead.  He wore some fun new Halloween pajamas for the occasion.


They do have a Halloween party, so he made "Make a Monster" kits for all his friends and brought them in.


After school we went to a Halloween party at the home of one of Thatkid's classmates.


And then we all headed out to trick or treat!


The neighborhood we went to was new to us, but had some great decorations.


The kids came home with quite the haul!


Not only did I have leftover Halloween pictures, we also had leftover Halloween candy.  Due to some poor communication, both Thatboy and I had picked up Halloween candy to hand out.  Plus I had picked up a bag of Reeses Peanut Butter cups for us.  So we had....a lot of peanut butter cups.  I was trying to think of ways to use them up, and I could have thrown them into brownies or cookies, but really, we already had so much candy, I wanted to make something a little less dessert-y.  I tried to think of what went well with peanut butter and chocolate and I came up with bananas.  Really, such a no brainer when you think about it.  Chocolate chip banana bread is already a thing, and peanut butter seems like a natural addition.

I always have frozen bananas on hand, and defrosted frozen bananas make the BEST mashed bananas for banana bread.  My family agrees.  We ate this entire loaf in 2 days!  No leftovers here!

Chocolate Peanut Butter Banana Bread
1 1/2 cups flour
1 tsp baking powder
1 tsp baking soda
1 stick butter
1 cup dark brown sugar
3 eggs
3 bananas, mashed
1/3 cup sour cream
1 cup peanut butter cups, chopped

  1. Preheat oven to 325.  Spray a loaf pan with baking spray.  Combine flour, baking powder, and baking soda in a medium sized bowl.
  2. Beat the butter in an electric mixer until soft and fluffy.  
  3. Add sugar to butter and continue to mix.
  4. Add eggs, one at a time.
  5. Mix in mashed bananas and sour cream.
  6. Add the dry ingredients on low speed, continue mixing until just combined.
  7.  Stir the peanut butter cups into the batter and pour into the prepared pan.  Bake for 75 minutes, or until cooked through.
  8. Cool in the pan for 10 to 15 minutes before turning onto a rack and allowing to completely cool.

Wednesday, October 23, 2019

Legoland's Brick Or Treat: Witch Hat Cookies


It's that time of year again, time for us to dig into as much Halloween fun as we can find.  As usual, this means starting the holiday off with a BOO at Legoland's Brick or Treat.

Brick or Treat happens every Saturday in October, so this coming Saturday is the last night of the event.  It's an additional add on to your regular ticket (or membership for most levels), but well worth it.  It's so much fun to get dressed up and run around the park in the dark, with the bonus of collecting candy and treats!


Brick or Treat starts at 5pm and goes until 9pm, so after years of experience, we know not to get to the park too early.  It's a long day for kids.  We usually head over after nap time.  Which also helps the little guy not turn into an actual monster.  Once we get into the park we usually ride a few rides before changing into our costumes.

Costumes are not required for this event, but they make everything so much more fun, don't you think?  

The entire park is decorated in fun Halloween decor that is perfect for kids - not too spooky.  Even spooky elements like spiders take on an air of fun when they're jamming to rock music.  There are seasonal specialty foods offered, although we always end up at the pizza and pasta buffet - a good deal for refillable drinks and a place to fill up on something other than candy.

There are so many different events during the night.  Dance parties, shows, stilt walkers and entertainers, people who go around with bubble carts.  The kids usually enter the costume contest, which is always emcee'd  by the best performer who interviews all the kids and is so quick witted.  This year the kids opted not to participate in the contest so they could have more time for rides.   And we rode lots of rides this year.  While most of the rides aren't done any differently for Halloween, it's fun to ride them in costume, or get to ride them at night when it's dark.  The one exception is the "Coast Cruise" which is revamped as the "Ghost Cruise" with corny Halloween jokes instead of corny regular jokes.


In addition to the costumes, shows, and rides, the big draw for Brick or Treat is, obviously, the Treat part.  There are treat stations set up all over the park.  The treats handed out are things that don't melt - things like granola bars, apple sauce, jolly ranchers, sour straws, lollipops, starburst, laffy taffy, and there's always a collectible lego brick and a lego magazine. 


We always end up closing down the park, so our pro tip is to bring pajamas for the kids to change into for the ride home.  They always fall asleep during the drive, which is nice for Thatboy and I.  Because they're not the only ones exhausted!

Know Before You Go

Hours:  5-9pm

Admission: $64, parking is not included and costs $18 on the weekend

Packages: Packages available to add on a day at Legoland, 2 day admission, or even a hotel stay.

See Brick or Treat Tickets on Legoland's website for more information.


In honor of our classic monster costumes, I wanted to make a classic monster cookie.  I've been seeing witch hat cookies all over the internet.  I grew up with these, called peanut butter blossoms, which my mom made every Christmas.  It's weird to see them rebranded as Halloween cookies.  Especially when they don't even look like witch hats - have you ever seen a two toned witch hat?  I felt like I could improve upon the idea very easily.  Take away the peanut butter base and sub in something darker.  My original thought was a chocolate crack cookie, but then I was thumbing through my Maida Heatter cookie book and found something even better.  She calls them "Down East Chocolate Cookies" - an almond chocolate cookie with no flour, so they spread into a nice, flat circle.  But also, because of the use of almond paste, instead of flour they have the most wonderful, dense, chewy quality.  I've seen them described as the texture of a tootsie roll, and that's not far off.  So delightfully decadent, dark, and sinful they make the perfect Halloween treat.  No tricks.

Witch Hat Cookies (Adapted from Maida Heatter's Down East Chocolate Cookies)
1 1/2 oz unsweetened chocolate
3 oz unsalted butter
3/4 cup granulated sugar
1/8 tsp salt
3 1/2 oz almond paste
1 egg
1/2 tsp almond extract
24 Hershey kisses, unwrapped
  1. Place the chocolate and butter in the top of a large double boiler, uncovered, over warm water on moderate heat.  Stir frequently until melted.
  2. Add the sugar and salt and stir to mix. 
  3. Add the almond paste and stir until the almond paste is completely blended.
  4. Remove the top of the double boiler from the heat and whisk in the egg and almond extract until smooth.  Let the mixture cool, then place in the freezer for 30 minutes.
  5. Preheat oven to 300.  Place aluminum foil on a cookie sheets with only one raised side.  Drop batter by rounded teaspoons-ful onto the cookie sheet.  Do not place more than 6 on each cookie sheet because they will spread.  Bake for 21 minutes reversing sheets top to bottom and front to back during baking to ensure even baking.
  6. Remove from oven and let them cool for one minute, before putting the kisses in the middle of the cookies.  Let cool completely on the foil.  When completely cool, peel the foil away from the backs of the cookies.