Pages

Wednesday, May 13, 2020

Let it go into the unknown: Frozen Hot Chocolate


Back in March Thatbaby and I had a mommy/kid date set up with his friend Princess Anna.  We were all supposed to go see the musical Frozen.  Princess Anna and Thatbaby had been talking about it for months.  Practically every time I saw her, Princess Anna asked me when we were going. 

Of course, like everything else, the musical was cancelled.  Or postponed?  I still have hope it will happen in the future.  Until then. we decided to have our own Frozen day at home last weekend.  And yes, there was lots of singing.

I also set up lots of Frozen activities - especially novel for kids in Southern California, but also fun for kids everywhere who want to play in the snow, but not get cold and wet.

We started out with a "Snow"ball fight.


I got a bunch of soft fake snow balls and divided them up to start so we all began with the same amount.  But after that it was a free-for-all.


The kids had such a blast with this.  The balls got filthy, but I tossed them in the wash, and after nap they were clean and dry.  I scattered them around our living room and we were having impromptu snowball fights until it was bedtime.

After that it was time for a snack break with some "Frozen" hot cocoa."


And then we put on the first Frozen movie for them to watch.  During which we served "We finish each other's" sandwiches.
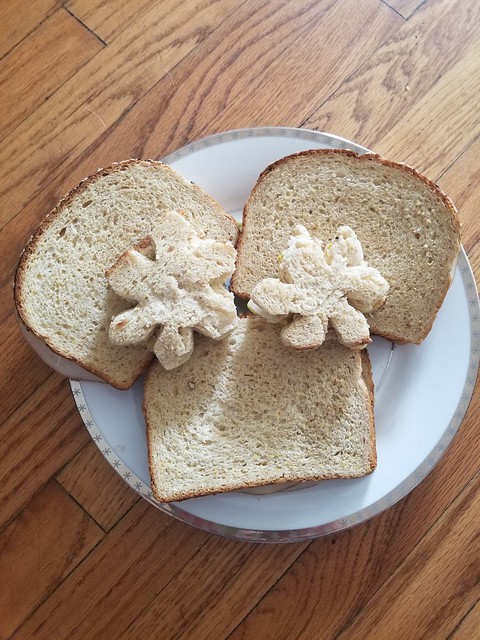


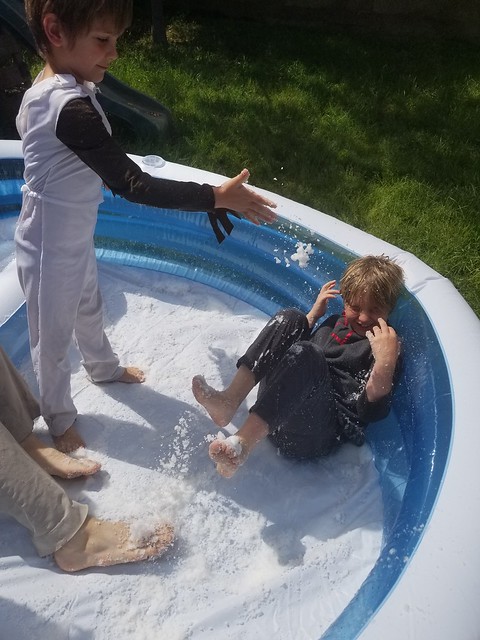
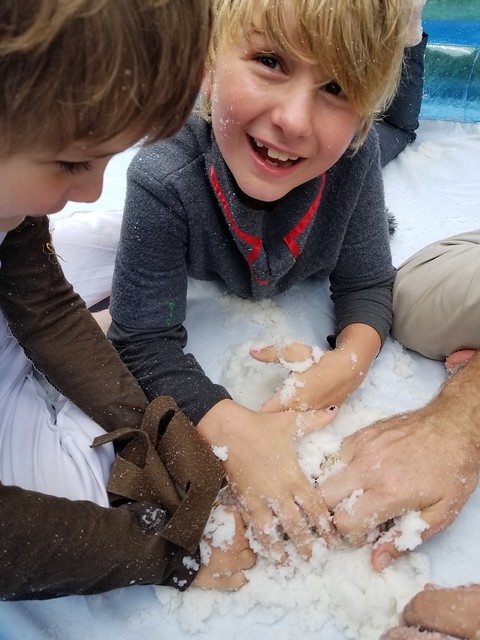
After nap, we headed back outside for a little snowplay.  I picked up some "instant snow" (the kind you just have to add water) and put it in our pool.  Which kept it contained, but also gave us a fun place to play.  The "snow" was even cool to the touch - but not that bitter cold that makes real snow not so fun after 10 minutes.  The kids played here for hours.


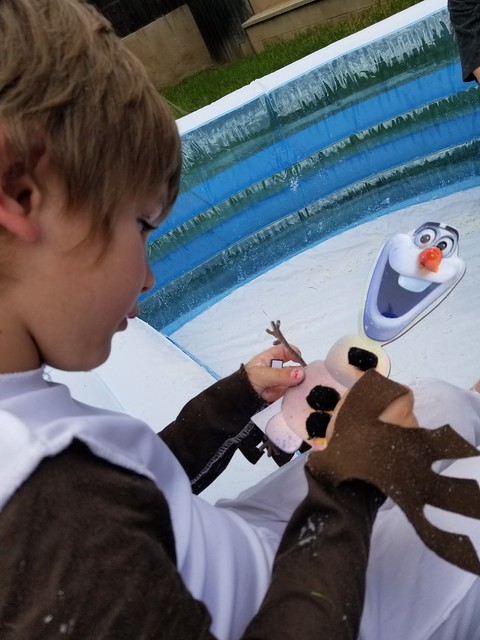
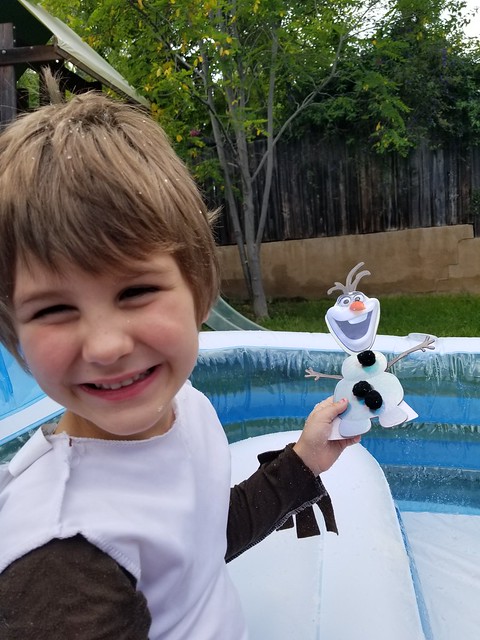
Our last big activity was building snowmen.  I found a "build an Olaf" sticker kit where they could create their own snowman.  


We wrapped up with some Ri-snow-tto for dinner while we watched Frozen II.    It was a really fun day, even for Thatkid who wasn't really looking forward to it, as he isn't as much of a Frozen fan as his little brother.  

As soon as I started planning the day, I knew I wanted to make "Frozen" hot chocolate.  It just seemed fun, since the weather was warming up.  And then I started seeing all these Dalgona coffee posts on every social media site.  I'm not much of a coffee person, but as soon as I saw that it required instant coffee, I figured this would be something that could easily be translated to cocoa. 

Instead of coffee, I threw some hot cocoa mix into the kitchenaid.


And a few moments later, I had a whipped cocoa!


Which I used to top milk.  Word to the wise - This makes a lovely picture, but the milk is too high, making it hard to stir into without making a mess.  So, less milk in your glass!!!


 Frozen Hot Chocolate
1/4 cup hot chocolate mix (or Nesquick.  Just don't use cocoa powder which is unsweetened)
1 cup heavy cream
milk
  1. Combine hot chocolate mix and heavy cream in an electric stand mixer.  Mix on high for about 90 seconds, until you've got soft peaks to the cream.
  2. Fill 4 glasses with ice.
  3. Pour milk into glasses until it's about 1/2 full (or half empty ha!)
  4. Top with the whipped cocoa.


Wednesday, May 06, 2020

May the Force Be With You: Blue Milk

As you may or may not know, Monday was "Star Wars Day."  Unfortunately, Monday was also a work day for Thatboy and I, so I knew we wouldn't be able to partake in fun Star Wars activities.  So last weekend's adventure was a Star Wars Day, where we could take part in all the frivolities the rest of the world could get into on Monday.

We started the day with a fun looking craft I had seen on Star Wars Kids - Nesting Dolls.  The site features a tutorial on how to make Porg nesting dolls, but I opened it up to the kids that they could do any Stars Wars character they wanted.  (In my head I thought it would be really cute to have the big doll be Chewie with all the porgs inside.)


Thatkid decided to do Chewbacca, Jabba the Hutt, an Ewok and a Porg.


Thatbaby (who had a little more adult help) went with Boba Fett, a Storm Trooper, Darth Vader, and a porg.  He's much more affiliated with the Dark Side.


Santa left the boys light saber chop sticks in their stocking this year, so I wanted to serve a lunch that would capitalize on that.  I decided to go with Yobshrimp Noodles, a cold noodle salad dish served at Disney's Galaxy's Edge.  I did a hot version of that - really terriyaki shrimp and noodles, along with a little cucumber yoda.

After Thatkid woke up from nap, we headed back outside for some Star Wars playdoh.  I found this Millennium Falcon set which came with  "Can Heads" or containers featuring our favorite Star Wars characters which we used to act out scenes.  We made all sorts of fun Star Wars weaponry for them, as well as X-Wings and Tie Fighters.


But Thatkid really loved the satellite launcher which he used to send almost every creation into our yard.


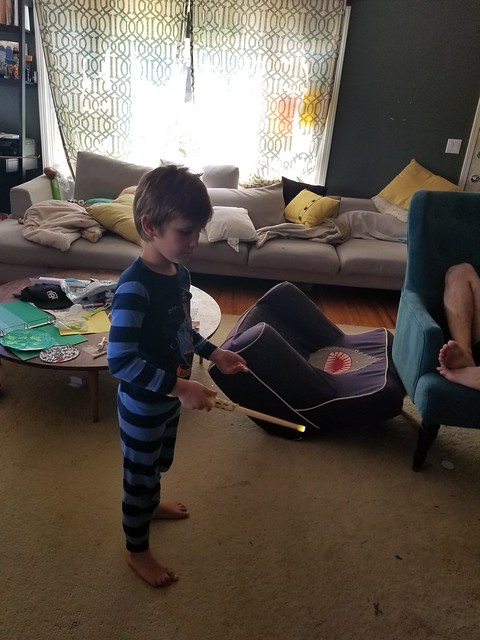
When they were done with that, everyone grabbed a light saber for some Jedi training.


If you've been to Disneyland or Disney World, you may be familiar with their Jedi Training academy.  Before Galaxy's Edge, they used to run this for kids.  They would take a group of them through "training" and then Darth Vader (and later Kylo Ren) would show up and each child would have to face the Dark Side using the routine. 

We used a video of that to learn the routine, and then our very own Dark Side showed up that we each had to battle.


We continued to have numerous light saber wars for a long time, until finally the kids had enough.  Then we went inside to the Droid Factory to build our own droids.

I had seen this book last year and thought it looked neat, but had no real need for it.  When I started planning Star Wars Day I went on a hunt for it, because of course between the fact that months had gone by and there was a pandemic, meant it was not as easy to find. 

I finally hunted down a copy which meant droid building for us!  (And by us I mean mostly Thatboy and I).  The book comes with punch-outs to create BB-8, R2-D2, and C3PO.  Each boy picked out which droid they wanted and we got to work bending and inserting tabs for what felt like forever.


The neat part is that they also came with little engines/wheels so the finished droids can be wound up and go rolling around the floor or the table.


By the time we finished those, it was time for dinner.  The boys had already seen episodes 4-8, so we decided to rewind all the way back to Episode 1 for them.  And for dinner?  Their own little light saber battles - the light side versus the dark side.


And of course, what Star Wars day would be complete without blue milk?


There are approximately 1 million recipes for blue milk out there, but all of them seem to predate the version currently found at Galaxy's Edge.  Or are filled with a bunch of hard to find ingredients in the best of times, let alone a pandemic.  I knew I wanted something that was blue, fruity, and slushy like the ones we'd had at Disneyland. My first thought was some sort of blue juice powder - like Kool Aid, that I could add to milk.   Problem was, most of the blue powders were blue raspberry flavored, which wasn't exactly the fruit I was looking for.  And then I found Hawaiian Punch's Polar Blast, which was supposed to have flavors of passion fruit, pineapple, orange, papaya, and guava.  Which was perfect!  I added some frozen pineapple to help give it that cold slushy texture without messing with the color or flavor, and voila - easy to make blue milk in your very own home!


Blue Milk
8 oz milk
4 ice cubes
1/4 cup frozen pineapple chunks
  1. Combine milk and polar blast powder stick and mix well.
  2. Combine blue milk, ice cubes, and frozen pineapple in blender and blend well.

Wednesday, April 29, 2020

Hogwarts at Home: Butterbeer Ice Cream


When we first planned out our "Universal at Home" day, Thatkid requested that we do an entire separate day for the Wizarding World of Harry Potter.  In fact, he requested we basically just do a Harry Potter themed day.  He's just finished the series, and would have been in San Francisco seeing Cursed Child if not for the pandemic.  These seemed like a very easy compromise.  Especially since we have so much leftover from his birthday party last year.

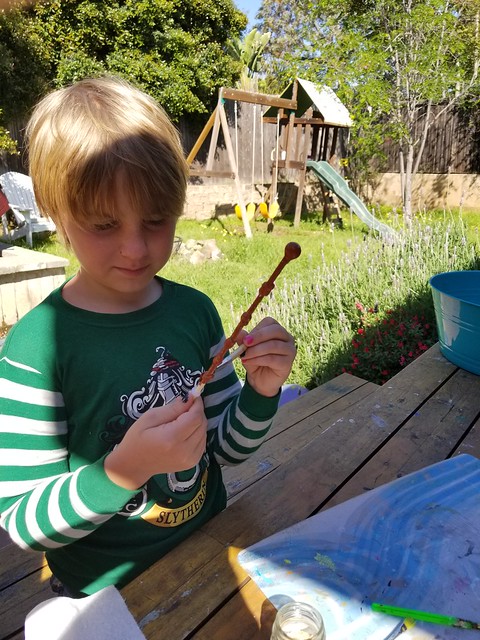
So Saturday morning we headed to Hogwarts.  First we made a quick stop at Diagon Alley to pick up some wands.  The fact that they already have 11 wands between the two of them notwithstanding.  Thatkid really wanted to make another wand, and I still have a whole mess of the extra long chopsticks.

So they got to design their own wands, which I created with some mom-magic (and hot glue) and then they got to paint them.


We did make use of the Wizarding World at Universal Studios to help explore.  Like taking the Hogwarts express from Diagon Alley to Hogsmede, and visiting Gringotts, Hagrid, and taking a Forbidden Journey with Harry Potter.


I also set up some classes for them.  Like potions.  We did a lot of "magical" chemistry and the "Exploding Elixer" was a HUGE success.


I ordered some Harry Potter training wands for Charms class.  The wands come with a spell book and electronically test you on spells - letting you know with lights and sounds if you get the spell right.  Both boys spent some time learning their spells.


There is also a setting for playing "wizard tag" which works a little like laser tag, with the wands interacting with each other.  We're hoping that this cuts down on the boys actually hitting each other with wands on their frequent wizard duels. 


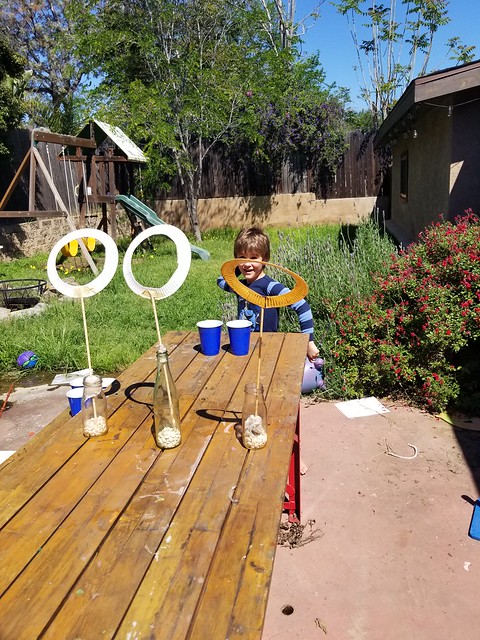
I set up a much smaller Quidditch field than I did for the party.  Which was much easier to deal with, and a lot of fun.

For lunch I made Mrs. Weasley's famous corned beef sandwiches, with a little something off the trolley to go with it - chocolate frogs, jelly slugs, Bertie Bott's every flavor beans, and butterbeer.


After lunch and nap, we took in some shows from the Wizarding World of Harry Potter.


And had a dance party to the music of Celestina Warbeck and the Banshees.


I made some simple pub fare a la the 3 Broomsticks for dinner - some vegetable barley soup and some pumpkin juice.


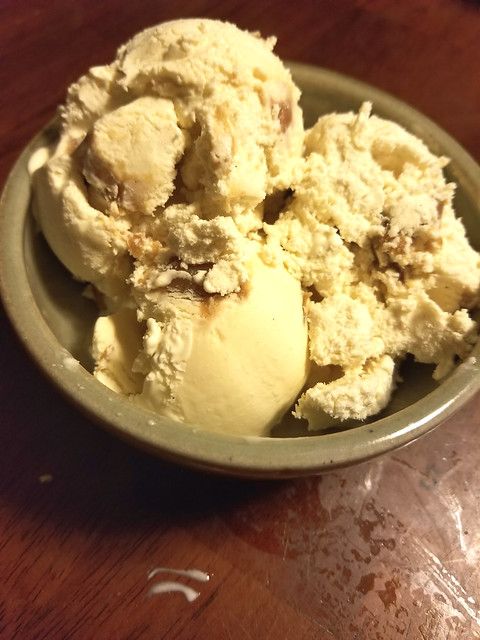
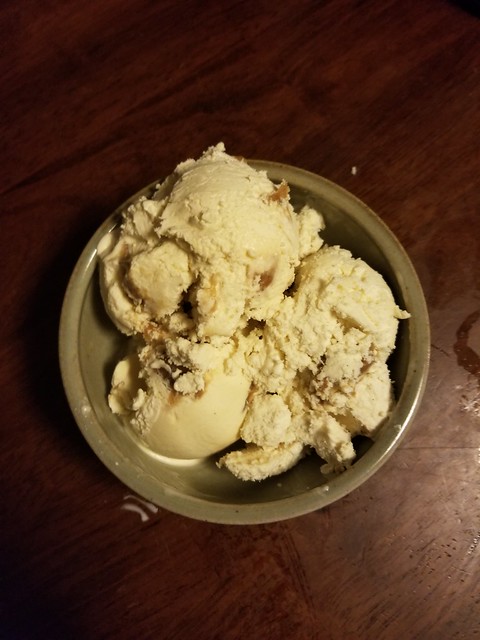
Followed with some amazingly delicious butterbeer ice cream.


We ended the evening with watching the Nighttime Lights at Hogwarts show.


The butterbeer ice cream isn't exactly canon, but it's something we were going to try for the first time on our trip to Universal Studios, so I thought it would be a good time to try a copy-cat recipe.  But there really isn't one.  Instead there are a lot of no churn recipes.  But I have an ice cream maker, so I wanted a churn one.  I found this recipe from Feast of Starlight which used the ice cream maker, a cream soda reduction in the base, and layered the butterscotch to make a swirl.  Which sounded like a great jumping off point.  But I'm lucky enough to have butterbeer soda easily available at several local stores/markets so I wanted to use that instead.  If you don't, or prefer a milder flavor, head over to her blog.  This recipe also calls for homemade butterscotch, which is my favorite ice cream topping, so I was happy to make it.  However, if you want to cut corners or save time, commercially made/purchased butterscotch syrup would work just fine.  I played with the recipe a little, adding more butterbeer/butterscotch flavor than she had initially done to give it a REALLY rich, butterscotch taste.  It was a fantastic way to end our day.  

Butterbeer Ice Cream
1 bottle butterbeer soda (or any butterscotch soda)
3.5 cups heavy cream (divided)
1 cup milk
1/2 cup sugar
1/2 tsp salt (divided)
5 egg yolks
2 tsp vanilla extract (divided)
2 Tbsp butter
1/2 cup brown sugar
  1. Bring soda to a boil over medium-high heat in a small saucepan.  Lower heat to medium-low and continue to cook until the soda is reduced to 1/2 a cup. Let cool.
  2. In a larger saucepan over medium heat combine 3 cups of the cream, milk, and cooled soda reduction.  Bring to a simmer.
  3. Whisk the yolks in an electric mixer until pale yellow.  
  4. Slowly add the sugar.  
  5. Add 1/4 tsp salt and 1 tsp vanilla and continue mixing until just combined.
  6. Temper the eggs by stirring in 1/4 cup of the simmering cream mixture.
  7. Add the tempered eggs to the saucepan and continue to stir until the mixture is thick enough to coat a spoon.
  8. Strain the mixture into a bowl and let cool overnight in the fridge.
  9. When you're ready to process the ice cream, make the butterscotch.  Melt the butter in a small saucepan over medium heat.  
  10. Slowly sprinkle about 1 Tbsp of the brown sugar over the melted butter and let cook without stirring until it melts.
  11. Begin stirring as you sprinkle in the remaining brown sugar until all the sugar is melted.  
  12. Slowly add the remaining cream and continue stirring for 5-6 minutes until it thickens.  Remove from heat.
  13. Stir in the remaining vanilla and salt, then let cool until it's room temperature.
  14. Stir 3 Tbsp of the butterscotch into your ice cream base and process according to your ice cream maker's instructions.
  15. When transferring ice cream into the container, layer the butterscotch between layers of ice cream and swirl with a knife.  Freeze until it's your desired consistency.