Pages

Wednesday, July 08, 2015

Crave Wednesday: Sunny Side Up Pizza


When I was in elementary school, we went to Disneyworld every year. With the exception of one memorable year when we stayed at "Wally World" we always stayed on property.  I have vivid memories of the themed rooms, the themed pools, and the dining halls.  We could eat at any of the hotels, and whether we stayed there or not, my favorite place to dine for breakfast was Port Orleans.   Because Port Orleans had breakfast pizzas.

I'd never heard of a breakfast pizza before, but without fail, it was my favorite thing to eat (out of the park) on these trips.  An omelet on a pizza - egg, cheese, and bacon.  I've never seen anything like it since.

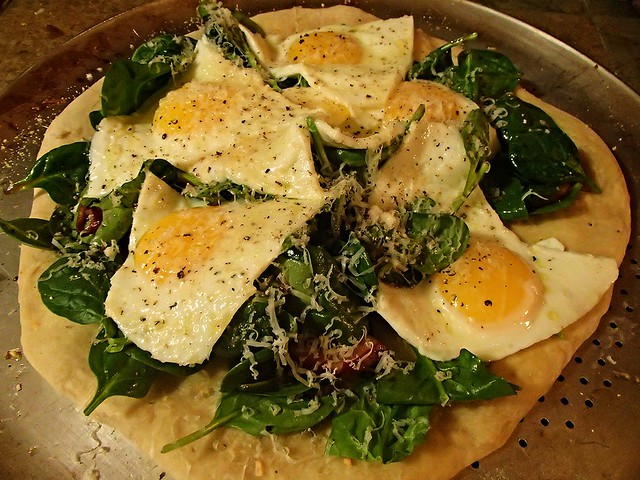
Fastforward 20something years and all of a sudden egg is everywhere.  Topping salads, burgers, and you guessed it, pizza.  But it is the scrambled concoction of my childhood, these eggs are poached and runny, their yellow yolks spilling on to every inch, acting like a bright creamy sauce.

Although initially hesitant to join in the fad, Thatboy and I cautiously dipped our toes in the water, and then jumped in with both feet.  In the words of Frank's Hot Sauce we "put that shit on everything."  So we were anxiously looking forward to this pizza.  I've already confessed my love of salads on pizza, and adding egg just improves it!

My only complaint about the pizza is that it doesn't lend itself to leftovers.  Eggs aren't good like that.  So we had to eat the whole thing in one sitting.  Poor us!
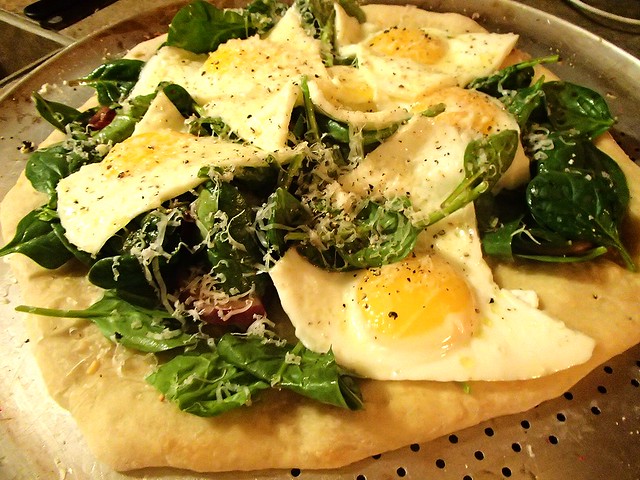

Sunny Side Up Pizza (From Cooking Light)
1 lb refrigerated pizza dough
2 Tbsp olive oil, divided
2 garlic cloves, minced
6 large eggs
1/8 tsp kosher salt
4 cups mache or baby spinach
1/4 cup thinly sliced red onion
3 Tbsp balsamic vinaigrette
1/2 cup shaved fresh Parmesan cheese
3/8 tsp black pepper

  1. Preheat oven to 450. Place dough in a microwave safe bowl; microwave at Medium for 45 seconds.  Let stand 5 minutes.  Roll dough into a 14 inch circle and place on a pizza pan.  Pierce with a fork.  
  2. Combine 1 1/2 Tbsp oil and garlic; brush over dough.  Bake for 14 minutes.
  3. Heat a large nonstick skillet over medium heat.  Ad 1 1/2 tsp oil; swirl to coat.  Crack eggs into pan.  Cook 4 minutes or until whites are set.
  4. Sprinkle eggs with salt.
  5. Combine mache, onion, and vinaigrette.  Arrange on crust.
  6. Top with eggs, cheese, and pepper.  Cut into 6 wedges and serve.

Monday, July 06, 2015

Mommy Mondays: Maternity Staples

I already posted alllll about my quest for the perfect maternity jeans, but here's the rest of what I wore over the past 9 months.  By 38 weeks, all my tops were getting a little short, but since I figured a baby would be coming anysecondnow I didn't want to go shopping for longer things.  In retrospect, with 3 weeks to go, I should have!  But we all have 20/20 hindsight.

Tops
Tank tops - These were mostly a holdover from my previous pregnancy, when I was pregnant all summer long.  Just basic, easy colors like black, grey, and pink.  While last time around I was a big fan of the Target Long and Lean tanks, this time I preferred the Old Navy maternity tanks.


Short sleeved shirts - still a big fan of the Gap Pure Body tees.  In fact, I thought I would use them alone for the pregnancy.  And then I kept getting bigger and bigger.  So I picked up a couple more tees from H&M and Macy's.

Long sleeved shirts - Being pregnant mostly in the winter, I ended up having to pick up quite a few long sleeved items.  Back to Gap for Pure Body tees, and a black turtleneck - which is a staple for any wardrobe.  I also grabbed a long-sleeved polo as a step between casual and work.


Sweaters - Likewise I needed a couple maternity sweater.  I got this oversized one from Gap, which I ended up not loving. 


Instead I mostly made use of the striped sweater and cardigan I got last time around, and this super soft grey sweater.


Bottoms
I didn't buy too many bottoms this time around, other than jeans.  I used mostly my regular pants, and skirts with elastic waists.  These are the few exceptions:
This skirt by JoJoMamanBebe which I fell in love with at first sight.


And a pair of khakis for when I needed something a little dressier than jeans.


And some grey, elastic waist pants I'm still making use of!


Dresses
 Being pregnant in the summer last time around means I lived in dresses. They're just cool and easy.  This year I picked up a couple more long sleeved maternity dresses for colder weather and to dress up with a suit jacket for work. Simple, dresses in black, navy, or my favorite cold weather staple - this one in an oatmeal color.


Workwear
 Or how to survive being in a suit environment when hugely pregnant.  Obviously I didn't want to invest in a whole new wardrobe since it's only for a short period of time, but I had trials, hearings, mediations, depositions - all sorts of things I needed to dress up for.  So I did invest in a few basic staples. 

Like a white button down.  Which is essential for any wardrobe anyway.


For court, a maternity 3-piece suit: a blazerpants, and skirt.  Look for sales!  I got all 3 pieces for less than $60!


I also got grey dress pants from Loft, which I paired with my grey suit jacket.  I found judges to be unbelievably forgiving about not buttoning suit jackets when you're hugely pregnant.

In addition to the shirts above, I also picked up a couple extra shells to wear with my suits.


Outerwear

It still gets cold here in the winter, just not super cold, so I knew I'd need some options for winter.  I ended up going with a simple denim jacket and cropped black jacket


 And after hemming and hawing about getting a coat for our trip to New Jersey, I ended up with this winter coat. I'm glad I did after our blizzard experience!


Other

In my very humble opinion, no maternity wardrobe is complete without the Bella Band. It's the reason I didn't have to buy more bottoms, and could get away without buying more shirts at 37 weeks.


Thatbaby weighs: 9lbs 3oz
Next Appointment: Tuesday, August 11
Sleep: Hit the 3 week growth spurt last week, which meant that nice long stretch in the beginning is gone.  Now he's either up every hour, or every 3 hours.  But I'm really trying to get better about going to bed earlier when I can.
Best moment this week: Thatbaby HATES the car, but after his doctor's appointment on Thursday he fell asleep in the car and stayed asleep while we drove to the mall and got some shopping done!
Milestones:   
*Thatbaby can focus on faces and turns toward our voices.
* Cooing!

Friday, July 03, 2015

A Homemade Life: Espresso Walnut Toffee


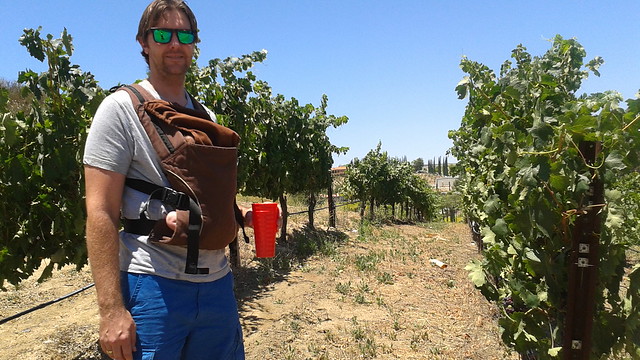
Thatboy and I are members of a wine club.  It was one of the smartest things we ever did, because 1) it keeps us well stocked in wine, and 2) it provides a really cheap date when we head to the winery to pick up our selections.

The way the wine club works is that every other month we get 2 wines from the winery.  Unlike most wine clubs, which send you a selection, at our winery we can pick any two wines we want.  And you pick them up at the winery.  But you don't have to pick them up every other month, they just keep tabs of how many "months" they "owe you."  A couple times a year we'll head to the winery for a day of wine tasting and then pick as many wines as we're "owed."  The last time we went was in August, before I got pregnant.  So we came home with quite a few wines this time.


The vines were filled with not-quite ready grapes, green, waiting to darken as the summer progressed. 


We always make a day of it when we head to the winery.  We grab a table under the trellis and set up shop, complete with all our favorite wine-pairing snacks.

There's always fruit and berries, cheese and bread.  This time around, Thatboy requested olives.  And of course, chocolate to pair with the richer reds and sweet dessert wines.  The chocolate came in the form of this espresso walnut toffee.  A blend of dark and white chocolate, swirled over toffee.  As I've said before, coffee is a great pairing with chocolate, and this toffee proved no exception.  I think Thatboy might have preferred it without the walnuts, but I liked the crunch they gave the treat.  And I think they served to counter balance the sweetness, providing a saltiness that I appreciated given that I can only do a bite or two of most candies.


Espresso Walnut Toffee (From A Homemade Life)
2 cups walnut
1 cup sugar
1/3 cup light brown sugar
2 tsp instant espresso
1/2 tsp cinnamon
1/4 tsp salt
1/3 cup water
1 Tbsp unsulfured molsasses
4 1/2 oz bittersweet chocolate, very finely chopped
2 1/2 sticks unsalted butter
  1. Preheat oven to 325. Place the walnuts on a baking sheet and bake 5-10 minutes, until fragrant.  Set aside to cool for 10 minutes.  Coarsely chop and transfer 1 1/2 cups to a bowl. Finely chop remaining 1/2 cup and place in a different bowl.
  2. In a medium bowl whisk together the sugars, espresso, cinnamon, and salt.
  3. In a small bowl, whisk together water and molasses.
  4. Place the chocolates in separate bowls.
  5. Grease a baking sheet with cooking spray.
  6. In a heavy saucepan, melt the butter over low heat.
  7. Add the sugars, cinnamon, slat, water, and molasses and stir until the sugars have dissolved. 
  8. Attach a candy thermometer to the side of the pan. Raise the heat to medium and cook until the mixture reaches 290, stirring frequently at first and then slowly and constantly scraping the bottom of the pan with the spatula or wooden spoon, about 20 minutes.
  9. When the mixture reaches the temperature, remove the pan from the heat.  Stir in the 1 1/2 cups coarsely chopped walnuts.  
  10. Quickly pour the mixture onto the prepared baking sheet so the toffee spreads to a 1/4 inch thickness.
  11. Sprinkle the chocolates by generous tablespoons onto the hot toffee, alternating rows of bittersweet and white.  Allow them to melt for 1 minute.  Using the back of a spoon, spread the melted chocolates, taking care not to mix them.  Drag the tip of a small kife or the tines of a fork across the chcolates, swirling them to create a marbeled look.
  12. Sprinkle with 1/2 cup finely chopped walnuts and refrigerate 1 hour.  Break into pieces.

Thursday, July 02, 2015

A Homemade Life: Fruit Nut Balls

The last actual vacation Thatboy and I took was in August of 2011, when we headed to Cannon Beach.  Vacation time is a luxury neither of us really have, especially when Thatboy spends a week of his 2 weeks with his family for Christmas, and uses the rest when they come to visit us.

In fact, he maxed out his paid time off when TFIL died, and hasn't been able to re-accrue very much.  When Thatkid was born, he was able to take off for 5 weeks, this time around, he only got 2.5 weeks.  So while he was off, we decided to treat the time like a staycation.  With Thatkid, there was a lot of laying around the first few weeks, but this time, we've been a lot more active (and truthfully, I think I'm paying for it.  I was actually anxious for Thatboy to go back to work so I could rest!).

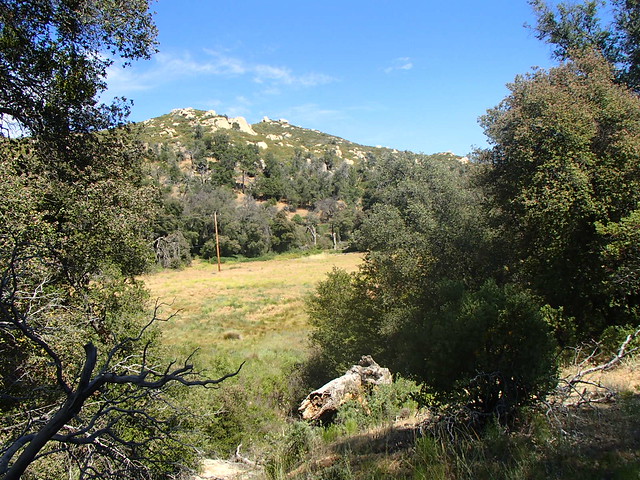
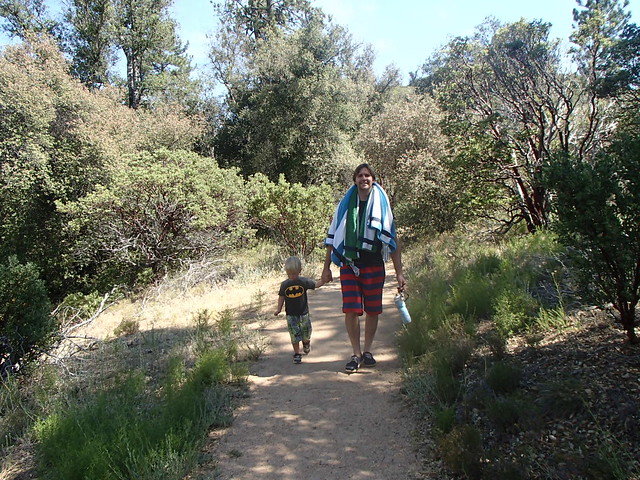
One of the things Thatboy wanted to do was go hiking in Julian.  I pointed out that Julian, being 40 miles east of us, was also at least 20 degrees warmer, and it was already in the 80s by us.  Not exactly hiking weather.  But Thatboy was undeterred by logic, and so last week we went hiking in Julian.

We headed to Green Valley campground, which sounds like the place to go if you're looking for a campground in east county in the summer.  Because both "green" and "valley" sound like places that wouldn't be too hot.


The draw of Green Valley was an easy hike to a waterfall, although unsurprisingly the docent warned there wasn't much of a waterfall this time of year. 

The lack of waterfall, meant there were small pools of water dotting the creek, perfect for the boys to splash around in and stay cool. 


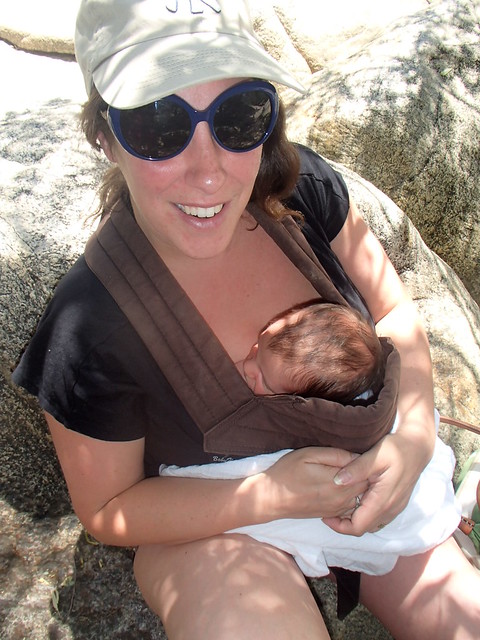
The low water level meant that there were smooth rocks for Thatbaby and I to sit on, shaded by an overhang of trees.

Both of the bigger boys slipped and splashed and got wetter than they were expecting, while the littlest boy and I stayed nice and dry in the shade.  Eventually we packed it up and headed in to town where we grabbed dinner before heading home.

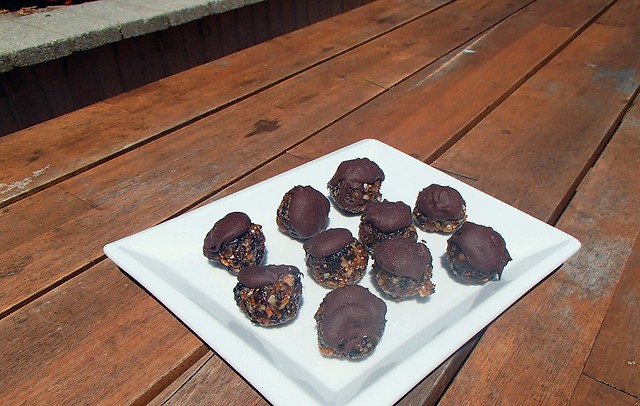
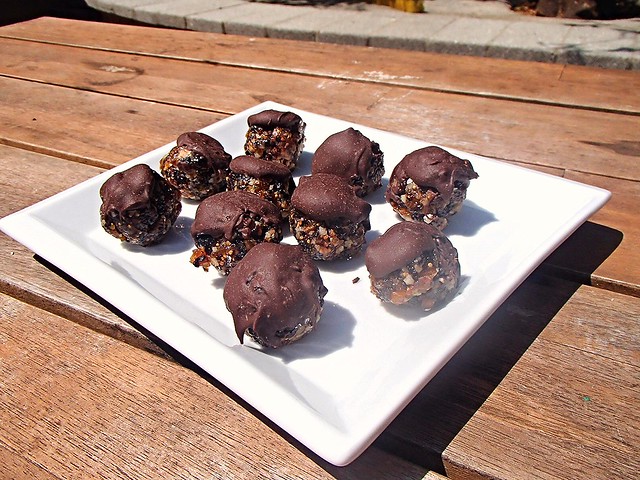
Wizenberg provided us with the perfect snack for our hiking adventure - trail mix balls!  She, of course, doesn't refer to them in that way, but if you break down the components, that's exactly what they were - nuts, dried fruit, and chocolate.  The perfect combination of carbs and protein, in an easily portable vehicle.

These snacks are unsurprisingly easy to eat, and easier to lose track of how many you've eaten.  Sweet, salty, and chocolatey.  Not intended for summer hikes, but I highly recommend bringing them if you have one in your future summer plans.

Fruit Nut Balls (From A Homemade Life)
1 cup walnuts
1/2 lb pitted dried cherries
1/2 lb dried figs
1/2 lb pitted dried apricots
1/2 lb pitted prunes
1 - 2 Tbsp Grand Mariner
1/2 cup powdered sugar
10 oz semi sweet chocolate, coarsley chopped
  1. Pulse walnuts in a food processor to chop finely.  Place in a large bowl.
  2. Place half of the dried fruit in a food processor and pule to chop finely.  Add to the walnuts.  Repeat with remaining half of fruit.
  3. Add 1 Tbsp of Grand Mariner to the fruit and nuts and stir to incorporate.
  4. Place the powdered sugar in a shallow bowl.
  5. Pinch off some of the fruit nut mixture and roll into 1 inch balls. Roll each ball in powdered sugar and placed on rimmed baking dish.  Let sit at room temperature for 24 hours.
  6. Line a second baking sheet with parchment paper.  Heat chocolate over a pan of simmering water until melted and smooth.
  7. Working one ball at a time, use a small spoon to dollop chocolate on top. Shake the ball lightly to coax the chocolate down its sides. Place on the lined baking sheet.  Repeat with remaining balls and refrigerate 2 hours.

Wednesday, July 01, 2015

Crave Wednesday: Roasted Vegetable and Ricotta Pizza


Not too long ago Velva made a couple of white pizzas, one topped with zucchini, caramelized onions, and summer squash.  The recipe called for tossing the zucchini and squash with olive oil and then topping the pizza and cooking for 8 minutes.

In my very humble opinion, the pizza was missing a step.

Tonight as I julienned zucchini to toss with our pasta, Thatkid grabbed a piece and attempted to eat it, giving me the sly smile he does when he "helps" me measure chocolate chips.  I told him the secret to zucchini is that it always tastes better once it's cooked.

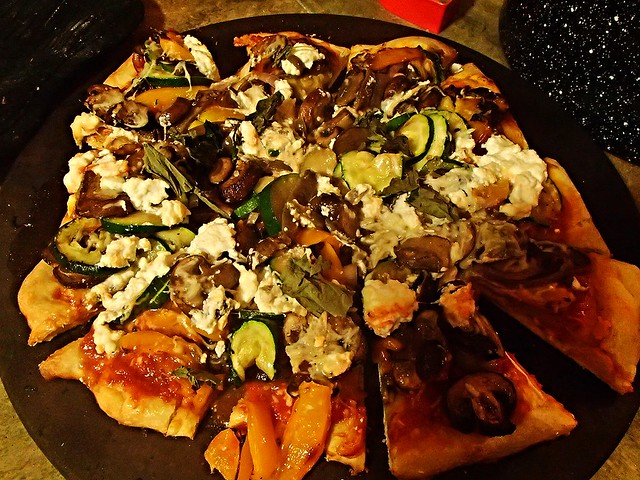
Cooking zucchini always makes it seem sweeter.  It also mellows out the flavor, which can be a little sharp when raw.  Roasting it with a bunch of other vegetables only adds to the richness of the dish, as the various flavors combine and mingle in a summer dance.  For this pizza, onions, peppers, zucchini, and mushrooms pair with creamy, salty, ricotta for a rich pizza, that also feels light and "healthy."  All those vegetables!  Like eating your garden!  Unlike root vegetables, which roast for a long period, heating up your home, this recipe calls for 15 minutes of roasting only, which makes it doable during the summer when zucchini and peppers are at their finest.


Roasted Vegetable and Ricotta Pizza (From Cooking Light)
Refrigerated pizza dough
Cooking spray
2 cups cremini mushrooms
1 cup sliced zucchini
1/4 tsp black pepper
1 yellow bell pepper sliced
1 red onion slices
5 1/2 tsp olive oil
1 Tbsp cornmeal
1/3 cup tomato sauce
1 cup shredded mozzarella
1/2 tsp crushed red pepper
1/3 cup ricotta cheese
2 Tbsp basil leaves
  1. Place a pizza stone in the oven and preheat to 500.  Place dough in a bowl coated with cooking spray.  Let stand covered, 30 minutes.
  2. Combine mushrooms and next 4 ingredients in a large bowl and toss with 1 1/2 Tbsp oil. Arrange vegetables on a jelly roll and bake for 15 minutes.
  3. Punch dough down.  Sprinkle a lightly floured baking sheet with cornmeal and roll dough into a 15-inch circle on sheet.
  4. Brush dough with 1 tsp oil.
  5. Spread sauce over dough, leaving a half inch border.
  6. Spring 1/2 cup mozzarella over sauce.
  7. Top with vegetables.
  8. Sprinkle 1/2 cup mozzarella and red pepper over zucchini mixture. 
  9. Dollop with ricotta.  Slide pizza onto preheated pizza stone.  Bake for 11 minutes.  
  10. Sprinkle with basil.  Cut into 12 wedges.

Monday, June 29, 2015

Mommy Mondays: The First Few Weeks with Thatbaby


Thatbaby continues to be my oppo-baby in almost every aspect. 


* While Thatkid was induced and I was in the hospital from Friday-Monday, Thatbaby came on his own, and quickly!  Went into the hospital Tuesday morning and were discharged Wednesday afternoon.
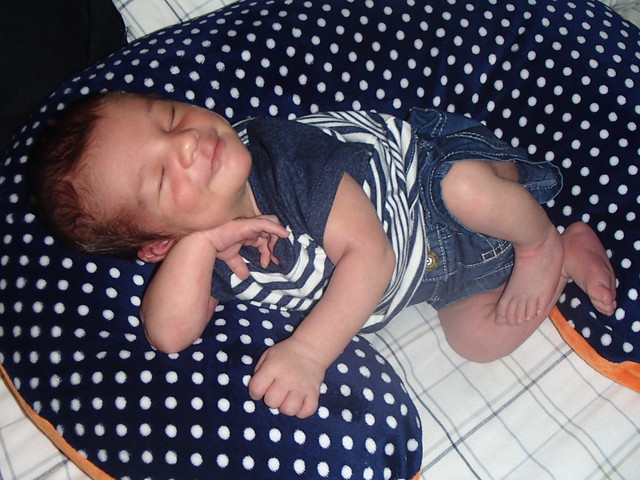
* Almost a pound bigger than Thatkid, and measuring an inch and a half longer, he's a bigger boy. In fact, Thatkid stayed in newborn clothes and newborn diapers until he was 6 weeks old.  Thatbaby is slightly under 3 weeks and we've moved him to size 1 diapers and with his length, we have a problem since he's too tall for anything newborn with feet, but still too small for 0-3 months.
* Unlike his older brother, Thatbaby doesn't have even a touch of jaundice.
* My breastfeeding struggles the first time around involved  Thatkid's laziness.  He was such a sleepy baby it took forever to wake him and get him to eat.  It took over 2 weeks for him to regain birthweight.  Thatbaby is an avid eater.  He latched right away and took to breastfeeding like a champ - surpassing his birthweight in a little over a week.
* Once Thatkid got over his early sleepiness, he stopped sleeping.  He would sleep, only when held, and hardly ever at night.  Thatbaby is a phenomenal sleeper.  He sleeps all the time, can be put down once asleep, and he gives me fabulous chunks at night.  Which is not to say we don't have nights where he's up every 2 hours, but more often we get a 4-6 hour chunk at the beginning of the night.


The only  thing both my sons have in common, other than the way they look, is that neither of them is big fans of the car.  Both scream their heads off in the carseat.  Which is ridiculously unfun.  It's also been hard because when Thatkid was a baby, we pretty much could hang out at home for weeks.  This time around, we're far more active, because we have Thatkid who isn't happy just hanging out at home.  Plus, Thatboy goes back to work this week.  Wish me luck this week!


Thatbaby weighs: 8lbs 7oz
Next Appointment: Thursday, July 2
Sleep: Getting a lot less sleep overall this time around.  Thatbaby usually goes to bed at the same time as Thatkid - around 8pm, although lately it's been later because we've been out till later.  I should go to bed shortly after, but I never do.  He wakes up around 12-1am, and then again around 3:30/4am, and then 6am, when Thatkid also wakes up.  And when I usually get up too.
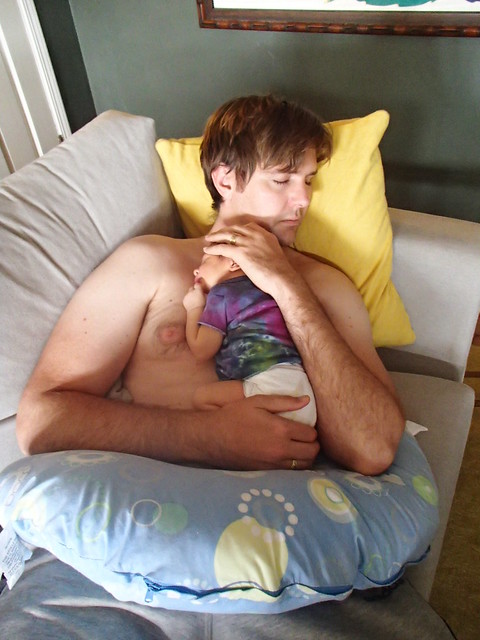
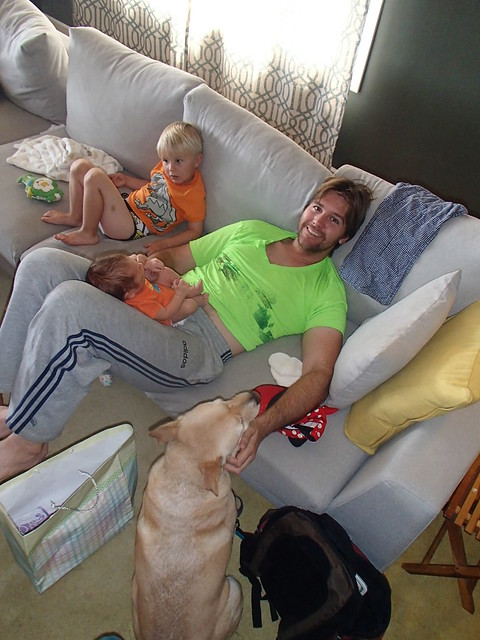
Best moment this week: Saturday I pretty much spent the whole day on the couch, feeding and napping with Thatbaby.  It's so lame that it's the best moment of the week, but really, we've been going nonstop and I'm exhausted!
Milestones:   
*Thatbaby is starting to focus on our faces.
* Pretty sure we're going through the 3 week growth spurt.  There's a lot of feeding going on!

Friday, June 26, 2015

A Homemade Life: Buchons Au Poulet


We have a pretty typical routine for Father's Day.  Out for a pancake breakfast, then a day at the beach.  So naturally, when I talked to Thatboy about what he wanted to do for Father's Day, that was what I expected to hear.  

With a 1 week old in the house, he wasn't anxious to head out to the beach and lug everything that would be required to keep our newborn out of the sun all day.  So we made slightly different plans.  Only slightly different because like every other Father's Day, this one started out the same.

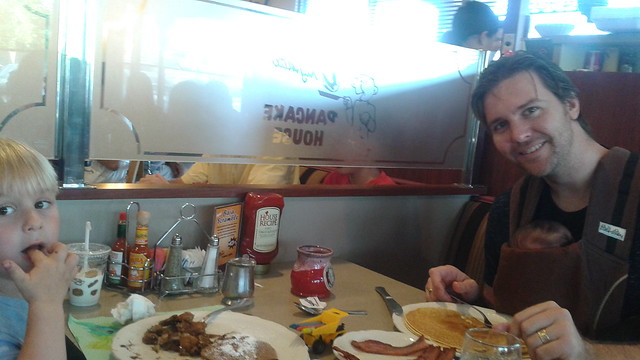
All the boys at our usual pancake breakfast.  Because it wouldn't be Father's Day without.

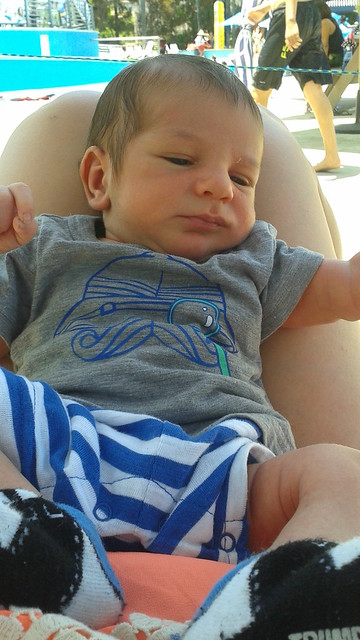
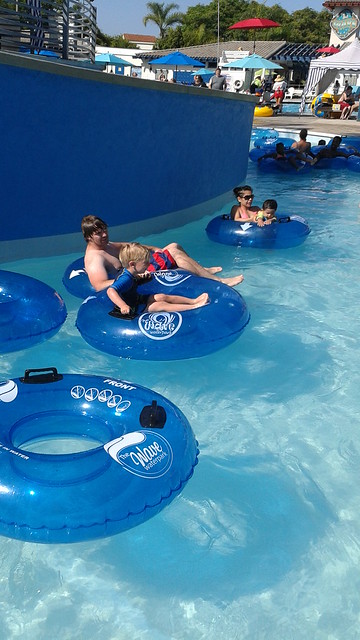
Instead of the beach, Thatboy thought it would be great to spend the day at the pool.  But ever since we moved from the apartment we don't have access to the complex pool anymore.  So we found a new place to play The Wave Waterpark.  We rented a cabana for the day which gave Thatbaby and I a nice, shady place to hang out.


While we laid in the shade, Thatboy and Thatkid took advantage of the rest of the waterpark.


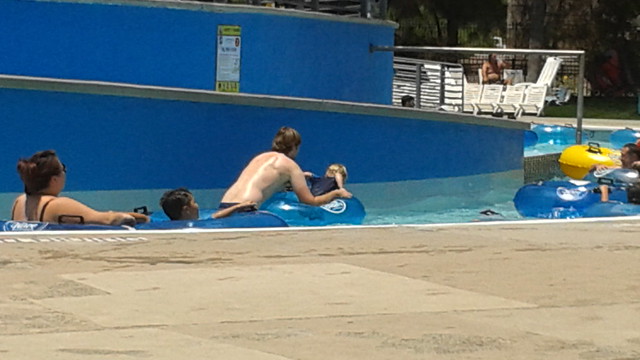
Thatkid's favorite part was the lazy river.  He loved those inner tubes.


They also spent a lot of time in the actual pool.


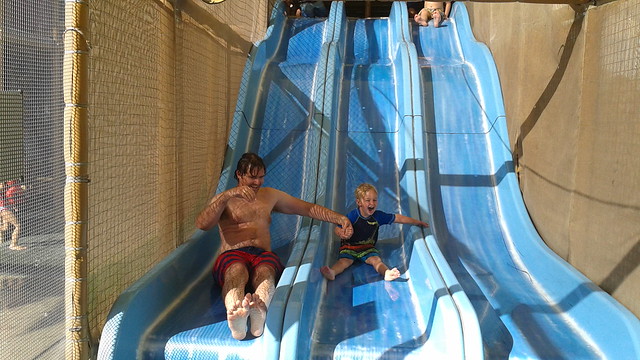
Thatkid was too little for the waterslides, so Thatboy played there without him.


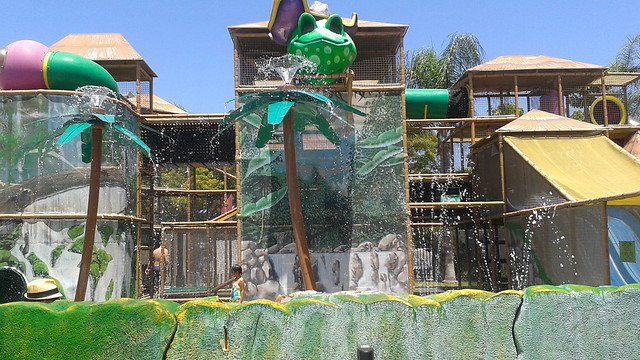
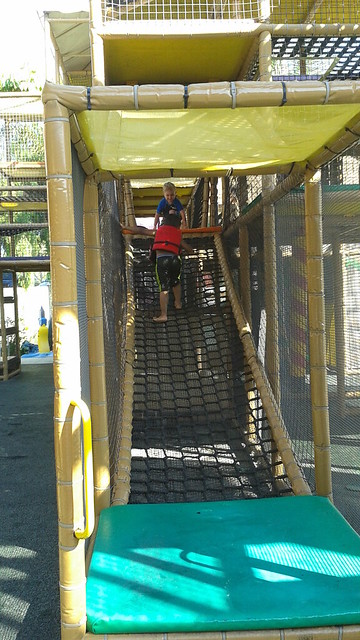
While I took Thatkid over to "Rippity's Rainforest" which had a splash pad and playground.


We stayed until the park closed and then headed over to Plan 9 for dinner.  And beer.


Father's Day is the perfect way to cater to the men in your life.  And I think I did a pretty good job of that in planning our Father's Day.  In general, I tend to cater to Thatboy in almost all aspects.  Except the kitchen.  I still cater to me in the kitchen.  Which means we never have fish for dinner and there are no cans of tuna in the pantry.  

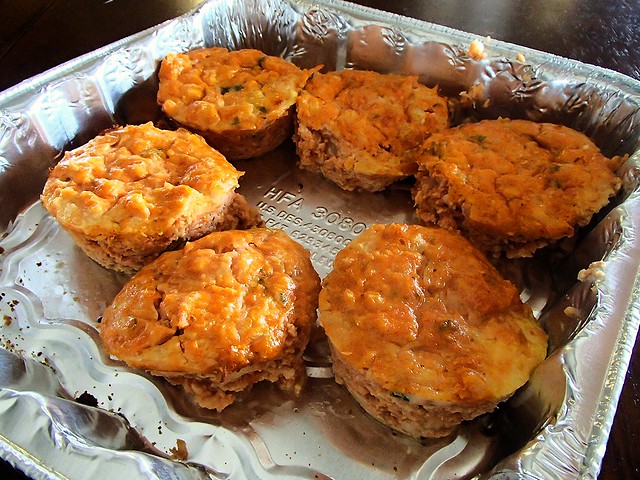
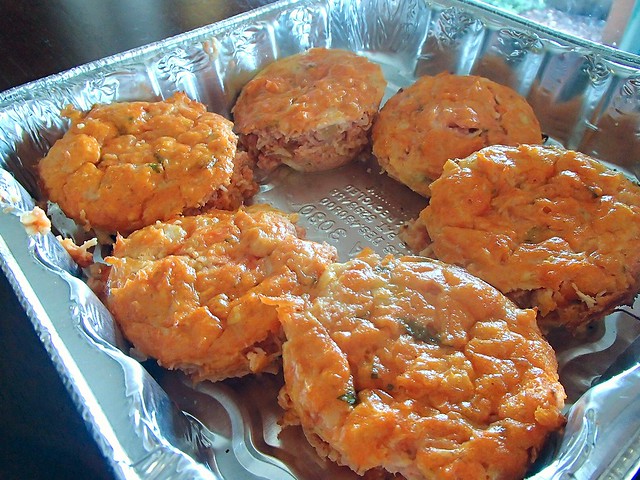
I can't stand tuna.  I won't even kiss Thatboy if he's eaten a tuna sandwich.  So there was no way I was going to make Wizenburg's Bouchon Au Thon.  Over the past (mumble mumble) years I've learned that chicken makes a pretty good substitute for most tuna dishes (except seared ahi....seared chicken just doesn't work for me).  And in this case, that proved to be true yet again.  Because of the tuna base, I was concerned how these would turn out.  Which is silly because it's chicken and cheese.  Which work well together in all circumstances.  These were much lighter than I was expecting, and much better.  They make a perfect lunch, or even breakfast.


Buchons Au Poulet (Adapted from A Homemade Life)
6 oz canned chicken packed in water, drained well
1 cup shredded gruyere
1/3 cup creme fraiche
3 Tbsp tomato paste
3 eggs
1/4 cup chopped onion
3 Tbsp chopped parsley
1/4 tsp salt
  1. Preheat oven to 325.  Grease a muffin tin.  Put the chicken in a medium bowl, using a fork to break it into small pieces.
  2. Add the remaining ingredients and stir well, mashing as you go.
  3. Divide the mixture among the muffin cups and bake for 25 minutes, until they are set on top and around the edges.
  4. Transfer the tin to a rack and let cook for 5 minutes, run a small thin knife around the edge of each bouchon and remove them from the the tin.