Pages

Showing posts with label desserts. Show all posts

Wednesday, July 08, 2020

NYC at home: Black and White Egg Cream

I'm not going to lie, New York City is probably my least favorite summer destinations.  I have been through too many sticky, muggy, hot and humid New York trips, pressed up against other wet and sticky bodies for one lifetime. 

But when I saw that Broadway HD was doing a free 7-day trial back in the beginning days of the quarantine, I thought it would be a great "pandemic adventure."  Everything we love about New York, without the humidity or the subway! 


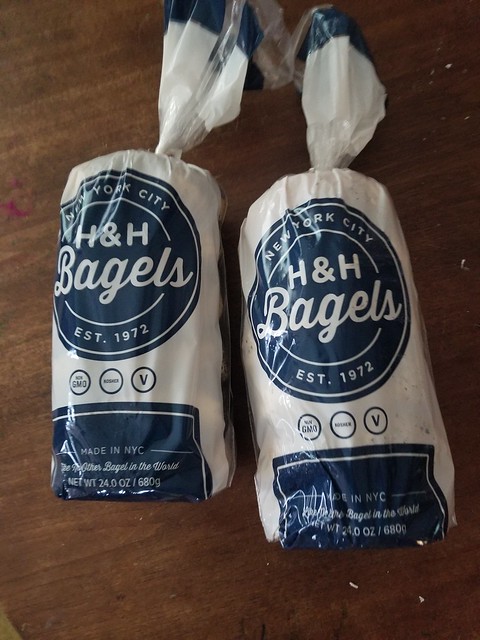
I jumped on Goldbelly and ordered some of our favorite New York foods to keep the day authentic.  Like bagels.  Because no one makes bagels like they do in NYC.  Trust me, I've tried to find similar in other states AND other countries and there's no comparison.


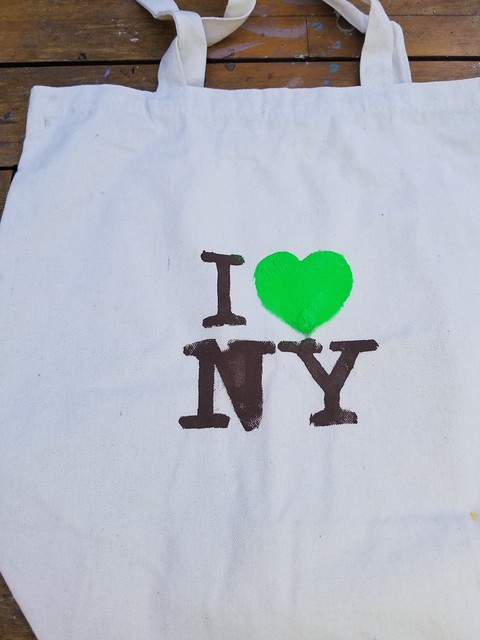
After breakfast we headed out to create our own souvenirs.


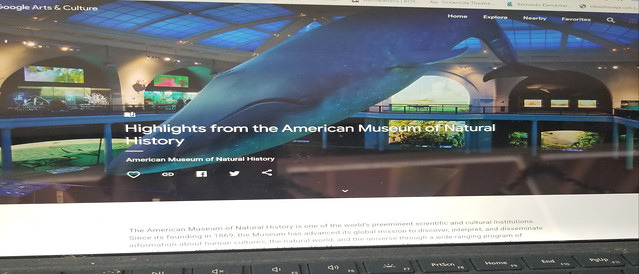
One of our favorite things about New York is the museums, and Thatkid's favorite museum is the Museum of Natural History (the Nat is his favorite museum in San Diego also).  We did a virtual tour of the museum, visiting some of his favorite exhibits.


Thatkid's ideal New York trip would be to see every Broadway show there is - he'd do a matinee and evening performance each day if he could.   So we tried.


We started with Jekyll and Hyde.  One of my favorites, and which I saw with the Original Broadway Cast back when it first came out.


Then it was a quick trip to Nathan's for a hot dog with fries.  


Then a couple more virtual museum tours.


Our post-nap Broadway show was Kinky Boots.


And then we had dinner.  Know what New York food we were missing?  PIZZA!


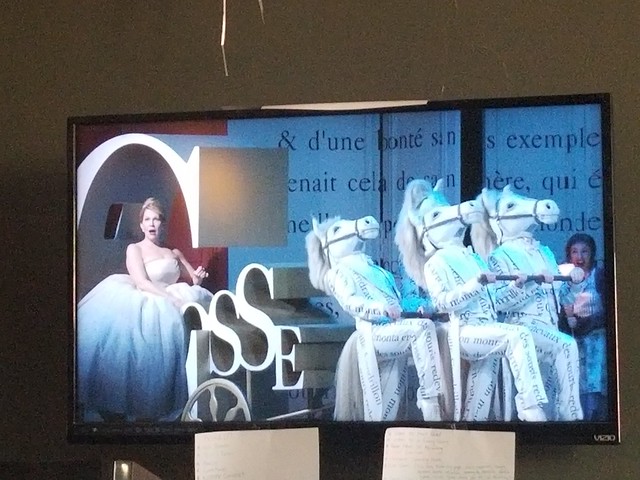
My boys have been VERY into opera this pandemic.  Entirely due to The Met Opera's free streaming program and Met Opera Camp.    So when I saw that the nightly streaming opera was Cendrillon (or Cinderella) I thought it would be a great way to round out our day in New York.


And one last treat - black and white cookies!


I've tried to make my own black and white cookies and they just don't turn out the same.  Thatmom and I speculate that there's something about the New York water that just makes the chocolate taste better.

Instead, when I want a little shot of a New York black and white I go to a much easier recipe - the Black and White egg cream.  The egg cream is a New York staple - as much a part of their legacy as the bagel and the pizza.  It dates back to the Jews of Brooklyn to the late 1800s or early 1900s depending on which origin story you care to believe.  The original is just chocolate syrup (U-BET!), seltzer, and milk.  The black and white version also has a scoop of vanilla ice cream.


Black and White Egg Cream
1/2 cup whole milk
4 Tbsp U-Bet chocolate syrup
seltzer
vanilla ice cream
  1.  Divide milk between 2 glasses.
  2. Place 2 Tbsp chocolate syrup into each glass and stir with a fork.
  3. Continue vigorously stirring as you slowly pour in the seltzer until the glass is almost full.
  4. Top with a scoop of vanilla ice cream.

Wednesday, May 20, 2020

80s Flashback: Fluffernutter mug cake


This weekend we got into our DeLoreans and headed back to the 80s.  Mostly it was just Thatboy and I reliving our childhood memories and dragging the kids along with us, but they seemed to enjoy the ride.  Like when Thatkid asked if I could help him dress the part.


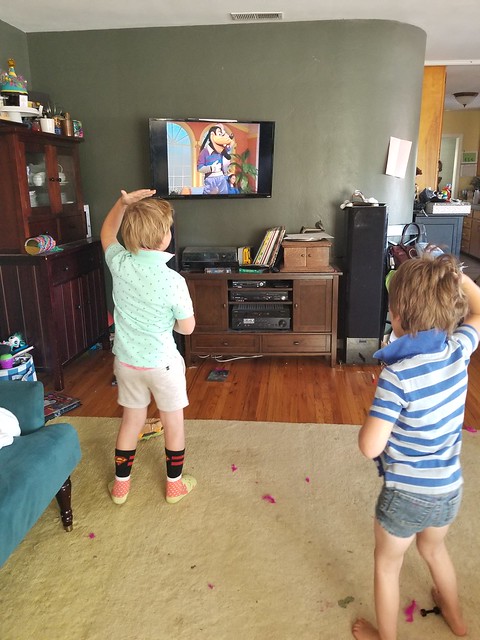
We started the morning out with a little Mousercise, which Thatbrother and I used to do all the time when we were little.


We followed this with some intense koosh-ball game play.


We took a break for some lunch, fluffernutters, bugles, and capri suns.  The fluffernutters were a nod to my dad who used to make them for us when my mom was out of town.


The cornerstone of the day was saved for after nap.  We've been watching the new season of Double Dare as a family so the kids are familiar, but obviously it's something Thatboy and I grew up with in the 80s too.  You think your kids like slime? OUR GENERATION INVENTED SLIME!

I set up our very own Double Dare obstacle course in the backyard.  And the kids loved it.  I set it up so they would each have 3 obstacles to get through.

Thatbaby started it off with the first obstacle - The Tank.


My goal was to fill our pool up with ball-pit balls, but once I dumped them all in, I realized - our new pool is REALLY big.  So I added water.  Thatbaby had to wade in and across and search for the flag, before passing it off to his brother.


Thatkid took off running to the second obstacle "Inside Out."  


Thatkid had to pop balloons to find the one which held the flag inside.  


He passed the flag off to Thatbaby who took it to Obstacle 3 - The Pie Shop.


Hidden in one of these pies was - you guessed it - a flag!


Once he found the flag, Thatkid went running over to The Swamp.


He had to dig through the jello to get to the flag buried below.


Thatbaby's next obstacle was sewer chute.


Inside two of these buckets were slime, and one held water and he had to dump them out to find the one that also held the flag.


They weren't dumping as well as we would have liked, so Thatboy helped them along.


The final obstacle was Mount St. Doubledare.


Thatkid had a really hard time getting to the top, he eventually resorted to using the climbing wall beside the slide.


We let them play in the obstacles for a bit more, then sent them inside to bathe and clean up before dinner and a little Back to the Future.  

And then we dimmed the lights, turned on a disco ball, threw glow bracelets and necklaces on the kids, gave them air guitars, and pumped up the 80s jams.


Neither of the kids wanted to go to bed, they wanted to dance all night.  Thatkid even said the dance party was his favorite part of the day.

In honor of our 80s day, I didn't want to share with you the recipe for fluffernutters.  That would be like giving you the recipe for peanut butter and jelly.  Almost exactly.  Instead a recipe inspired by the fluffernutter - a fluffernutter mug cake.  I made these for the boys last week as kind of a preview of what they'd be getting on the weekend.  They're great because they're so easy to make and this one makes two portions - perfect for 2 kids!

Fluffernutter Mug Cakes
2 1/2 Tbsp butter, melted
2 Tbsp milk
2 Tbsp oil
1 tsp vanilla extract
1/8 tsp white vinegar
1 egg 
1/2 cup sugar
2 Tbsp brown sugar
1/2 cup flour
1/4 tsp salt
1/4 tsp baking powder
1/8 tsp baking soda
1/4 cup peanut butter chips
1/4 cup mini marshmallows
  1.  In a medium bowl, whisk together butter, milk, oil, vanilla, vinegar, and egg.
  2. Whisk in the sugar and brown sugar.
  3. Whisk in flour, salt, baking powder, and baking soda.
  4. Fold in peanut butter chip and mini marshmallows.
  5. Divide the batter between two mugs.  Microwave 60-90 second until the cakes rise and puff out of the mugs.

Wednesday, April 29, 2020

Hogwarts at Home: Butterbeer Ice Cream


When we first planned out our "Universal at Home" day, Thatkid requested that we do an entire separate day for the Wizarding World of Harry Potter.  In fact, he requested we basically just do a Harry Potter themed day.  He's just finished the series, and would have been in San Francisco seeing Cursed Child if not for the pandemic.  These seemed like a very easy compromise.  Especially since we have so much leftover from his birthday party last year.

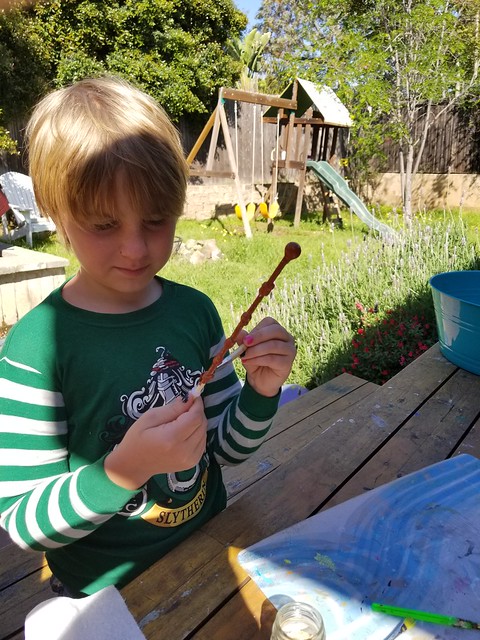
So Saturday morning we headed to Hogwarts.  First we made a quick stop at Diagon Alley to pick up some wands.  The fact that they already have 11 wands between the two of them notwithstanding.  Thatkid really wanted to make another wand, and I still have a whole mess of the extra long chopsticks.

So they got to design their own wands, which I created with some mom-magic (and hot glue) and then they got to paint them.


We did make use of the Wizarding World at Universal Studios to help explore.  Like taking the Hogwarts express from Diagon Alley to Hogsmede, and visiting Gringotts, Hagrid, and taking a Forbidden Journey with Harry Potter.


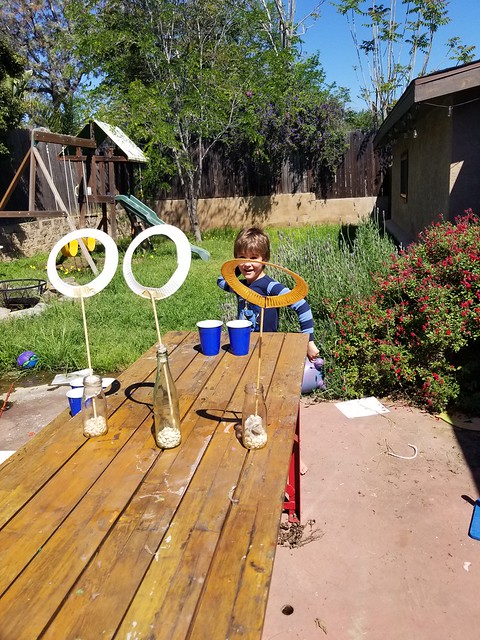
I also set up some classes for them.  Like potions.  We did a lot of "magical" chemistry and the "Exploding Elixer" was a HUGE success.


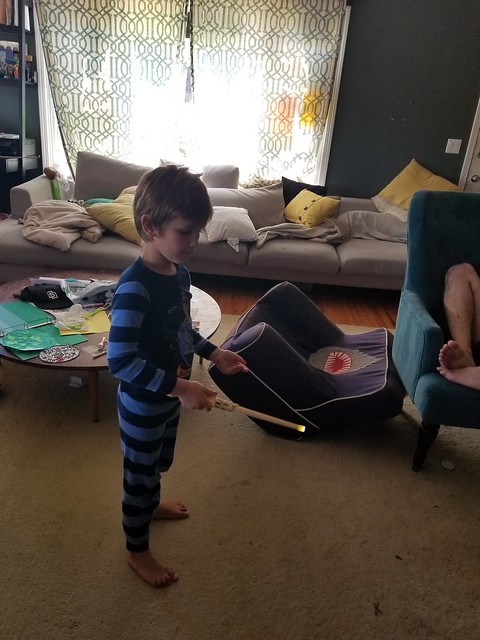
I ordered some Harry Potter training wands for Charms class.  The wands come with a spell book and electronically test you on spells - letting you know with lights and sounds if you get the spell right.  Both boys spent some time learning their spells.


There is also a setting for playing "wizard tag" which works a little like laser tag, with the wands interacting with each other.  We're hoping that this cuts down on the boys actually hitting each other with wands on their frequent wizard duels. 


I set up a much smaller Quidditch field than I did for the party.  Which was much easier to deal with, and a lot of fun.

For lunch I made Mrs. Weasley's famous corned beef sandwiches, with a little something off the trolley to go with it - chocolate frogs, jelly slugs, Bertie Bott's every flavor beans, and butterbeer.


After lunch and nap, we took in some shows from the Wizarding World of Harry Potter.


And had a dance party to the music of Celestina Warbeck and the Banshees.


I made some simple pub fare a la the 3 Broomsticks for dinner - some vegetable barley soup and some pumpkin juice.


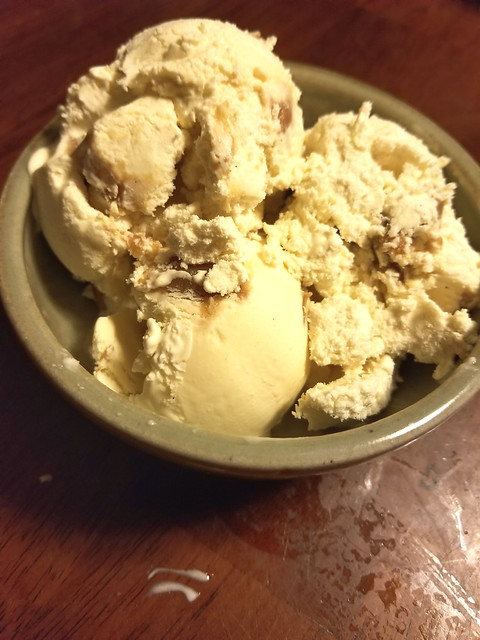
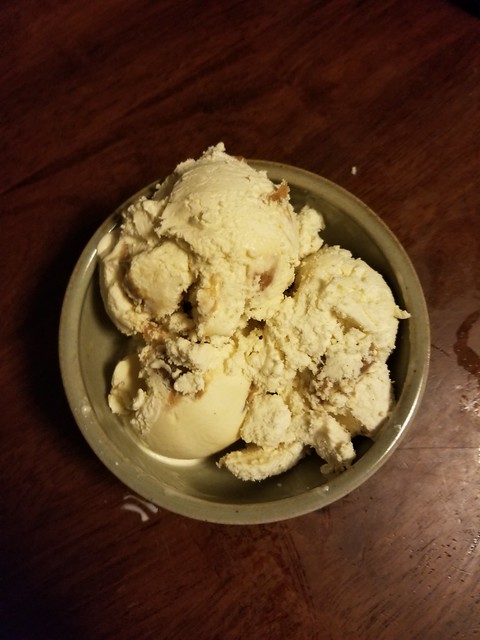
Followed with some amazingly delicious butterbeer ice cream.


We ended the evening with watching the Nighttime Lights at Hogwarts show.


The butterbeer ice cream isn't exactly canon, but it's something we were going to try for the first time on our trip to Universal Studios, so I thought it would be a good time to try a copy-cat recipe.  But there really isn't one.  Instead there are a lot of no churn recipes.  But I have an ice cream maker, so I wanted a churn one.  I found this recipe from Feast of Starlight which used the ice cream maker, a cream soda reduction in the base, and layered the butterscotch to make a swirl.  Which sounded like a great jumping off point.  But I'm lucky enough to have butterbeer soda easily available at several local stores/markets so I wanted to use that instead.  If you don't, or prefer a milder flavor, head over to her blog.  This recipe also calls for homemade butterscotch, which is my favorite ice cream topping, so I was happy to make it.  However, if you want to cut corners or save time, commercially made/purchased butterscotch syrup would work just fine.  I played with the recipe a little, adding more butterbeer/butterscotch flavor than she had initially done to give it a REALLY rich, butterscotch taste.  It was a fantastic way to end our day.  

Butterbeer Ice Cream
1 bottle butterbeer soda (or any butterscotch soda)
3.5 cups heavy cream (divided)
1 cup milk
1/2 cup sugar
1/2 tsp salt (divided)
5 egg yolks
2 tsp vanilla extract (divided)
2 Tbsp butter
1/2 cup brown sugar
  1. Bring soda to a boil over medium-high heat in a small saucepan.  Lower heat to medium-low and continue to cook until the soda is reduced to 1/2 a cup. Let cool.
  2. In a larger saucepan over medium heat combine 3 cups of the cream, milk, and cooled soda reduction.  Bring to a simmer.
  3. Whisk the yolks in an electric mixer until pale yellow.  
  4. Slowly add the sugar.  
  5. Add 1/4 tsp salt and 1 tsp vanilla and continue mixing until just combined.
  6. Temper the eggs by stirring in 1/4 cup of the simmering cream mixture.
  7. Add the tempered eggs to the saucepan and continue to stir until the mixture is thick enough to coat a spoon.
  8. Strain the mixture into a bowl and let cool overnight in the fridge.
  9. When you're ready to process the ice cream, make the butterscotch.  Melt the butter in a small saucepan over medium heat.  
  10. Slowly sprinkle about 1 Tbsp of the brown sugar over the melted butter and let cook without stirring until it melts.
  11. Begin stirring as you sprinkle in the remaining brown sugar until all the sugar is melted.  
  12. Slowly add the remaining cream and continue stirring for 5-6 minutes until it thickens.  Remove from heat.
  13. Stir in the remaining vanilla and salt, then let cool until it's room temperature.
  14. Stir 3 Tbsp of the butterscotch into your ice cream base and process according to your ice cream maker's instructions.
  15. When transferring ice cream into the container, layer the butterscotch between layers of ice cream and swirl with a knife.  Freeze until it's your desired consistency.