Pages

Showing posts with label cookies. Show all posts

Wednesday, October 23, 2019

Legoland's Brick Or Treat: Witch Hat Cookies


It's that time of year again, time for us to dig into as much Halloween fun as we can find.  As usual, this means starting the holiday off with a BOO at Legoland's Brick or Treat.

Brick or Treat happens every Saturday in October, so this coming Saturday is the last night of the event.  It's an additional add on to your regular ticket (or membership for most levels), but well worth it.  It's so much fun to get dressed up and run around the park in the dark, with the bonus of collecting candy and treats!


Brick or Treat starts at 5pm and goes until 9pm, so after years of experience, we know not to get to the park too early.  It's a long day for kids.  We usually head over after nap time.  Which also helps the little guy not turn into an actual monster.  Once we get into the park we usually ride a few rides before changing into our costumes.

Costumes are not required for this event, but they make everything so much more fun, don't you think?  

The entire park is decorated in fun Halloween decor that is perfect for kids - not too spooky.  Even spooky elements like spiders take on an air of fun when they're jamming to rock music.  There are seasonal specialty foods offered, although we always end up at the pizza and pasta buffet - a good deal for refillable drinks and a place to fill up on something other than candy.

There are so many different events during the night.  Dance parties, shows, stilt walkers and entertainers, people who go around with bubble carts.  The kids usually enter the costume contest, which is always emcee'd  by the best performer who interviews all the kids and is so quick witted.  This year the kids opted not to participate in the contest so they could have more time for rides.   And we rode lots of rides this year.  While most of the rides aren't done any differently for Halloween, it's fun to ride them in costume, or get to ride them at night when it's dark.  The one exception is the "Coast Cruise" which is revamped as the "Ghost Cruise" with corny Halloween jokes instead of corny regular jokes.


In addition to the costumes, shows, and rides, the big draw for Brick or Treat is, obviously, the Treat part.  There are treat stations set up all over the park.  The treats handed out are things that don't melt - things like granola bars, apple sauce, jolly ranchers, sour straws, lollipops, starburst, laffy taffy, and there's always a collectible lego brick and a lego magazine. 


We always end up closing down the park, so our pro tip is to bring pajamas for the kids to change into for the ride home.  They always fall asleep during the drive, which is nice for Thatboy and I.  Because they're not the only ones exhausted!

Know Before You Go

Hours:  5-9pm

Admission: $64, parking is not included and costs $18 on the weekend

Packages: Packages available to add on a day at Legoland, 2 day admission, or even a hotel stay.

See Brick or Treat Tickets on Legoland's website for more information.


In honor of our classic monster costumes, I wanted to make a classic monster cookie.  I've been seeing witch hat cookies all over the internet.  I grew up with these, called peanut butter blossoms, which my mom made every Christmas.  It's weird to see them rebranded as Halloween cookies.  Especially when they don't even look like witch hats - have you ever seen a two toned witch hat?  I felt like I could improve upon the idea very easily.  Take away the peanut butter base and sub in something darker.  My original thought was a chocolate crack cookie, but then I was thumbing through my Maida Heatter cookie book and found something even better.  She calls them "Down East Chocolate Cookies" - an almond chocolate cookie with no flour, so they spread into a nice, flat circle.  But also, because of the use of almond paste, instead of flour they have the most wonderful, dense, chewy quality.  I've seen them described as the texture of a tootsie roll, and that's not far off.  So delightfully decadent, dark, and sinful they make the perfect Halloween treat.  No tricks.

Witch Hat Cookies (Adapted from Maida Heatter's Down East Chocolate Cookies)
1 1/2 oz unsweetened chocolate
3 oz unsalted butter
3/4 cup granulated sugar
1/8 tsp salt
3 1/2 oz almond paste
1 egg
1/2 tsp almond extract
24 Hershey kisses, unwrapped
  1. Place the chocolate and butter in the top of a large double boiler, uncovered, over warm water on moderate heat.  Stir frequently until melted.
  2. Add the sugar and salt and stir to mix. 
  3. Add the almond paste and stir until the almond paste is completely blended.
  4. Remove the top of the double boiler from the heat and whisk in the egg and almond extract until smooth.  Let the mixture cool, then place in the freezer for 30 minutes.
  5. Preheat oven to 300.  Place aluminum foil on a cookie sheets with only one raised side.  Drop batter by rounded teaspoons-ful onto the cookie sheet.  Do not place more than 6 on each cookie sheet because they will spread.  Bake for 21 minutes reversing sheets top to bottom and front to back during baking to ensure even baking.
  6. Remove from oven and let them cool for one minute, before putting the kisses in the middle of the cookies.  Let cool completely on the foil.  When completely cool, peel the foil away from the backs of the cookies.

Wednesday, March 20, 2019

It's Purim Time: Hamantaschen


Before there was Halloween, before there was Carnivale/Mardi Gras, there was Purim.  A festival with costumes, feasting, and festivities.
Like most Jewish holidays, Purim celebrates the escape of the Jewish people from those who wanted to annihilate us.  Which is pretty much the history of the Jewish people up to and including the present. 

Purim retells the story of the brave Queen Esther who saves the Jews from the evil Haman - the king's adviser who had convinced the king to kill all the Jews in Persia.  

Every year the story is told through theatrical performance - known as the Purim spiel.  When Haman's name is said, the audience boos and shakes noisemakers known as "groggers" to drown out the very sound of his name.  Children dress in costume and participate in Purim Carnival games, winning treats and sweets.  They sing songs about the evil Haman, who, although the villain in the story, receives the most attention in the form of songs and sweets.

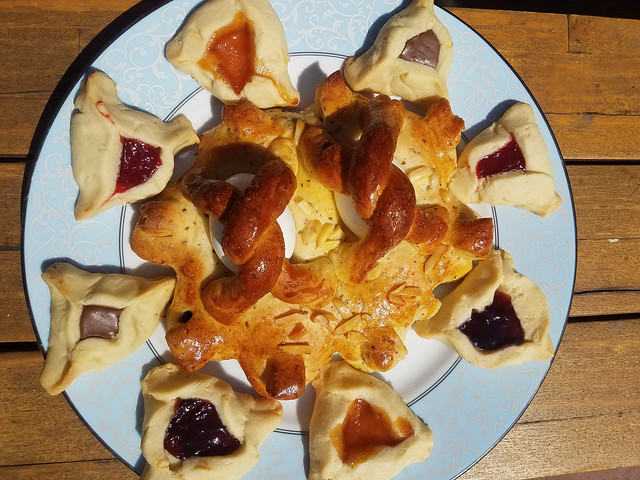
In Morocco, challahs are turned into "Haman's eyes" - sweet bread with hardboiled eggs baked into it to represent the eyes.  More traditionally worldwide Hamantaschen are eaten, their triangular shape a nod to the three-cornered hat Haman wore.
I grew up every year making these cookies with my father.  And now I make them with my children.  Unfortunately I don't know the recipe my father used - whether he crafted it himself or memorized it after years I'll never know, but he did the whole thing without once glancing at anything written down.  So I have been forced to cobble together my own version from various sources over the years.  Finding a dough that's soft - but not too soft, sweet - but not overly so, and sturdy enough to hold together through the baking process.
The filling is where things get fun.  Traditionally, prune, poppyseed, cherry, and apricot are the flavors used - through jams, jellys, and pie fillings.  But if there's one thing I learned from my dad, is that you don't need to be traditional.  Just about anything can work here.  We used to use chocolate chips or hershey kisses for chocolate hamantaschen when I was younger.  I happened to have nutella on  hand while we were making these, and I thought that would make a fun addition.  Thatkid requested grape jelly.  The only limits are your imagination.

My father always pinched together the dough circle at the top and each side of the bottom to create a triangle.  But when looking over various recipes I came across a folding method I tried out this year.  I'm not sure that one is better than another, but it was a fun new thing to try.  To give the folding method a shot, fold over the left side of the dough circle, then the right side to make a point, overlapping the right fold over the left fold at the top.  Then fold up the bottom, placing one part of that fold under the left fold and one part over the right fold, almost as though you were putting together the bottom of a box.  It's a little more complicated, but does result in a nice triangle.  You can see both versions in the picture above.


Hamentaschen
 3/4 cup butter, room temp
2/3 cup sugar
1 egg
1 tsp vanilla
2 1/4 cup flour
1/4 tsp salt
fillings: jam, jelly, pie filling, poppy seed, prunes, nutella, hershey kisses, butterscotch chips....

  1.  Beat butter and sugar in an electric mixer until light and fluffy.
  2. Add egg and vanilla and beat until creamy.
  3. Add in flour and salt and mix until just combined.  Turn out onto a floured work surface and knead until smooth.  Shape into a disk, wrap in plastic wrap and refrigerate overnight.
  4. Preheat oven to 350. Line 2 baking sheets with silpat or parchment paper.  Roll out dough into a circle about 1/4 inch thick.  Use a round cookie or biscuit cutter to cut out circles from the dough.  Gather the scraps and re-roll and cut until all the dough is used.  Place the dough circles on your baking sheets.
  5. Place 1 tsp of filling in the center of each circle.  Pinch or fold the circle into a triangle, pressing to seal.  Bake for 20-25 minutes, or until golden brown. 

Wednesday, January 02, 2019

Lighted Trees: Anise Seed Cookies


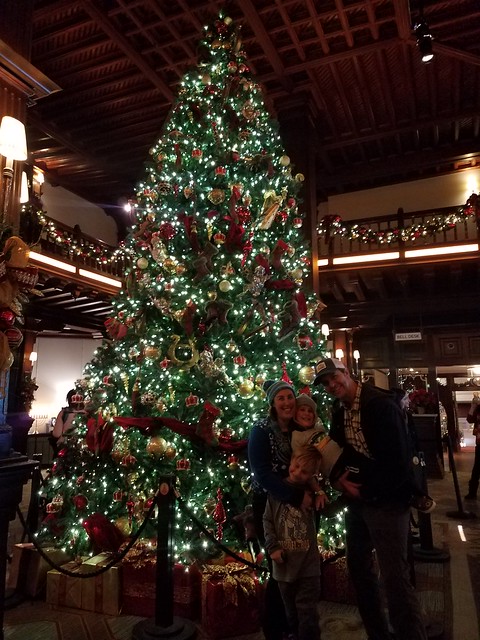
One of the best parts of the Christmas season is the lights.  Every tree seems to glow, because they're decked out in their finest.  And we love going to visit them.  We ended Chanukah, and began Christmas-ing with the always gorgeous tree in the Hotel Del.


After last year's fun, we went to Legoland to check out their lighted lego tree.


Along with all their other lights.


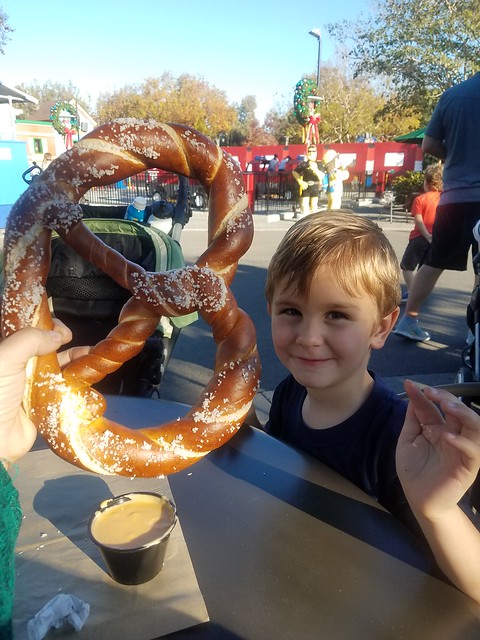
We discovered last year that they have a German-style market during the holiday season, and we love some giant pretzels.


Which we ate while watching some fun musical performances and waiting to see the tree light up.


We also made sure to visit a certain bearded someone while we were there.


Thatkid and I checked out some more festive trees when we went on our annual Nutcracker date.


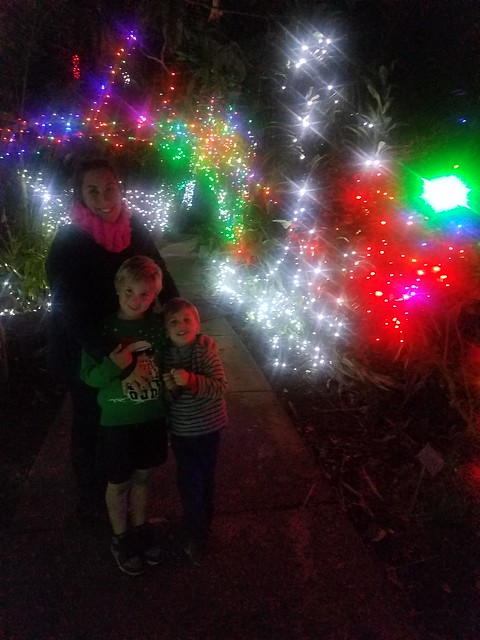
And while they're not technically Christmas trees, we can't get through the holiday season without a trip to the Botanical Garden's Garden of Lights to see their lighted non-Christmas trees.


And we listened to music.


And got in some last-minute face time with Mr. Claus.


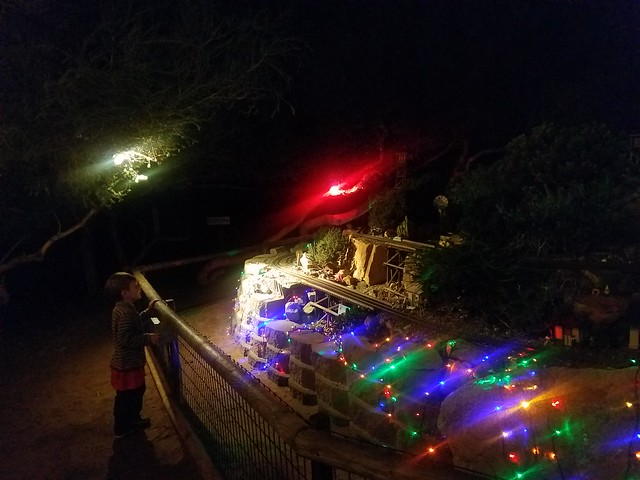
Of course we had to hit up our usual favorites - the trains, 


The snow, 


And the sledding!


This year we decided to try something new - a horse drawn carriage ride through the lights!


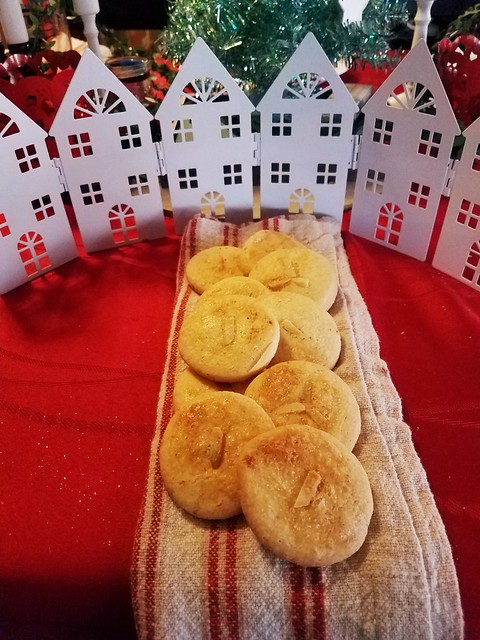
Each one of these stops is a tradition that just makes our holiday.  In truth, traditions are my favorite part of any holiday.  Doing the same thing every year, gives me something to look forward to because we always enjoy these events as a family.  This also holds true with some of the stuff I make year after year.  These anise cookies are a household favorite.  I think I first started making them before the kids were born, finding them in a cookbook my mother gave me.  Anise has a very black-licorice flavor that can be off-putting, but in these cookies, it adds just the faintest flavor.  Like a mellower version of gingerbread.

They're little and HIGHLY addictive.  Which is one of the reason they keep coming back year after year.

Anise Seed Cookies (From Maida Heatter)
1/2 cup whole blanched almonds
1 tsp anise seeds
4 oz butter
1 tsp vanilla extract
1 1/2 cups sugar
1/4 tsp salt
3 eggs
3 cups flour
1 egg white
  1. Place the almonds in a small pan over medium heat.  Shake or stir until they are lightly colored.  
  2. Crush the anise seeds.
  3. Beat the butter in an electric mixer until smooth.
  4. Add the vanilla and the sugar and beat until well mixed.
  5. Add the salt and eggs, one at a time, beating after each addition, until incorporated.
  6. Add the anise seeds, and on low speed, gradually add the flour, scraping the bowl with a rupper spatula and beating only until mixed.
  7. Chill the dough in the freezer for half an hour. Preheat the oven to 350.  Line 2 cookie sheets with silpat liners. 
  8. Working with half of the dough at a time, flour a work surface, a rolling pin, and your hands.  Knead the dough briefly, then form it into a ball.  Flour the ball and flatten it into a disk with your hands.  Roll it out with your rolling pin until it is 1/2 inch thick.
  9. Flour a 1 1/2 inch round cutter and cut rounds of the dough, cutting each cookie as close to the next as possible.  Place them 1 inch apart on the lined cookie sheet.
  10. Repeat with second half of the dough.
  11. Beat the egg white until foamy.  Brush it over the tops of the cookies with a pastry brush.
  12. Press an almond on it's flat side into the top of each cookie.
  13. Brush over the almond again with the egg white.
  14. Sprinkle the tops with sugar and bake for 20-22 minutes.  Transfer cookies to a rack to cool.  Store them in an airtight at room temperature for a few days before serving. 

Wednesday, December 26, 2018

Gingerbread Everything: White Chocolate Sugar Cookies


The theme of our holiday season this year was unintentionally gingerbread houses.

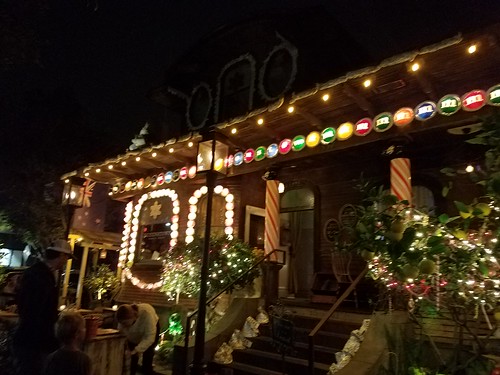
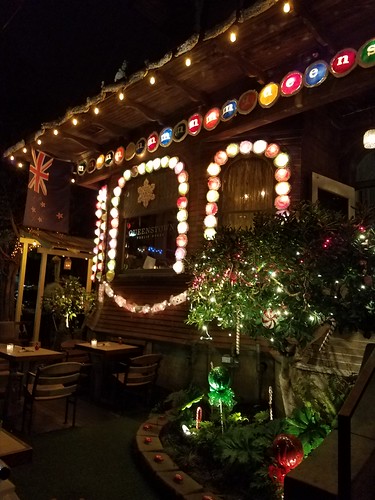
It started out innocently enough. I read about a local restaurant that had decorated themselves to look like a gingerbread house, and I thought dining there would be a nice way to kick off the Christmas season.

It was, as anticipated, adorable. I only wish we had gotten pictures during the day. Every inch was filled with candy touches.


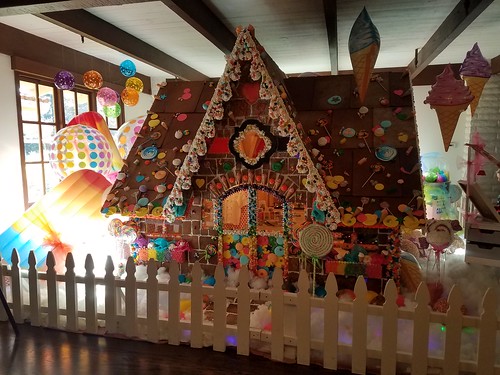
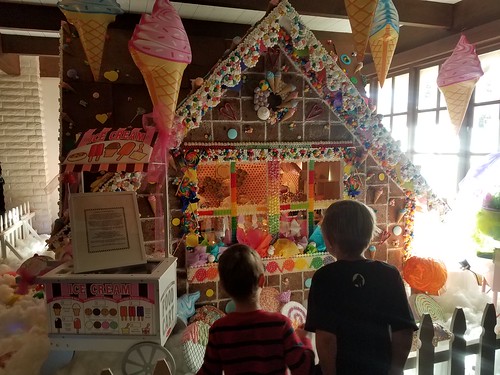
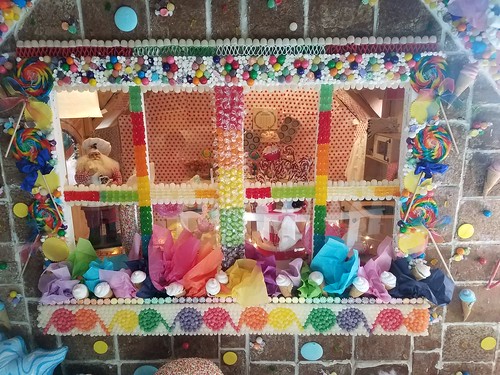
The same article that mentioned the restaurant, also informed me that there was a life size gingerbread house not too far from us. Shui if course we had to swing by and check it out.
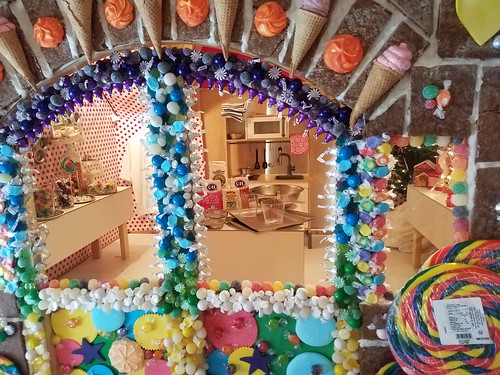
It was well worth the detour. I can't even begin to imagine the Tom's that went into constructing this candy coated fantasy. Even the interior was involved, giving us a peek into the candy kitchen.


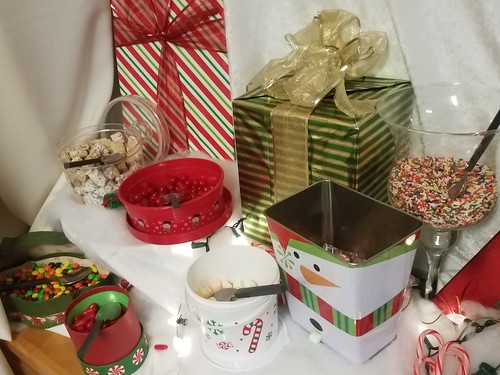
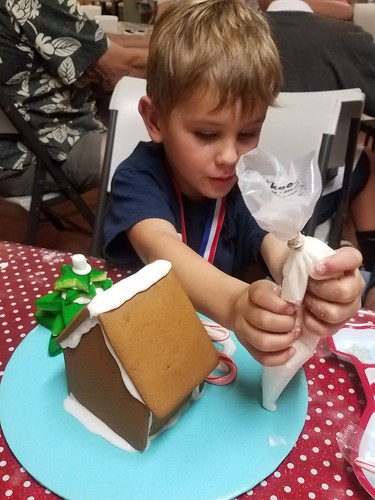
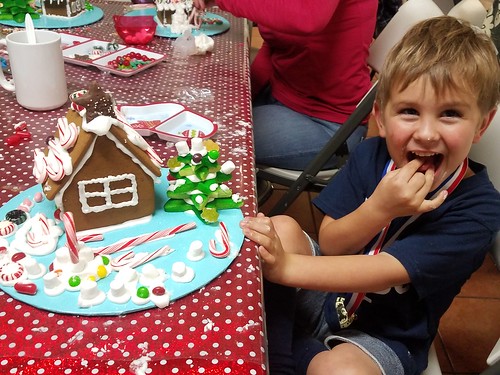
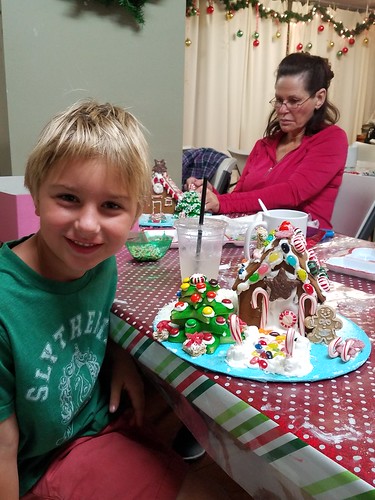
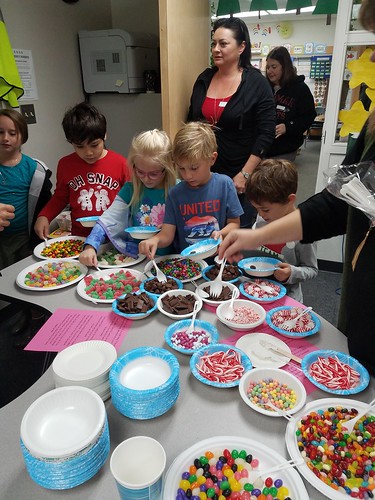
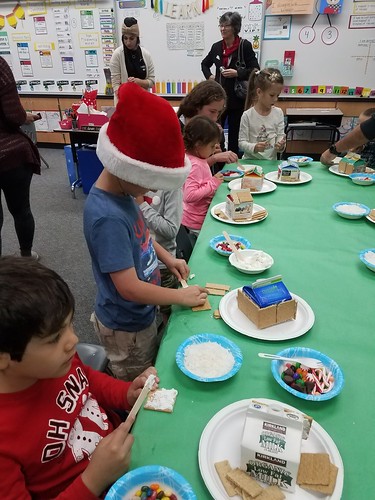
And of course, no Christmas would be complete without making our own gingerbread house. The boys had such a great time at the Halloween haunted house gingerbread workshop, that I signed them up for the classic Christmas one.
In truth, I was disappointed. The Christmas one was twice the price, and we were promised the candy selection was enormous. It wasn't. The Halloween selection was better, cuter, and way more creative.

Even the royal icing and gingerbread we were given wasn't as good as what we used at Halloween.


But the boys had fun, which is what really matters.


And Thatkid was able to use those skills to make gingerbread houses with his classmates in school last week. The candy selection there put the workshop to shame!

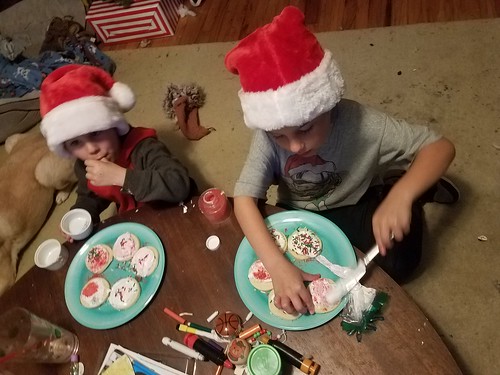
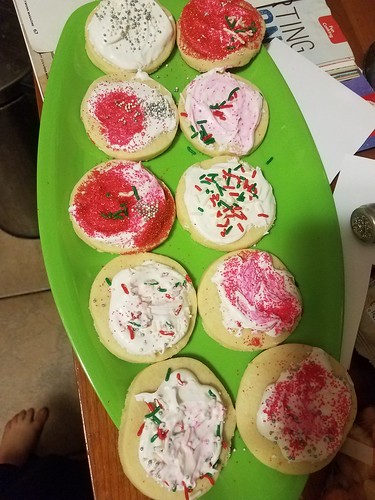
Both boys used those decorating skills they picked up in making their cookies for Santa this year. Rather than your typical sugar chunks, I jumped at the idea of the Food Network Magazine's white chocolate addition. Topped with royal icing, which the boys are now experts at using, these were a delicious update.

The boys each got a plate to decorate for themselves and Santa, while I took care of the ones going to our neighbors. I guess you could say we had a very sweet holiday!
White Chocolate Sugar Cookies (from Food Network Magazine)
4 oz white chocolate, chopped
2 3/4 cup flour
1/2 tsp baking powder
1/2 tsp salt
2 sticks butter, room temperature
1/2 cup sugar
1 egg
1 tsp vanilla
Royal icing for decorating


    1. Microwave the chocolate in 30-second intervals, stirring, until melted. Let cool slightly. 
    2. Whisk the flour, baking powder and salt in a medium bowl.
    3. Beat the butter and sugar in a large bowl with a mixer on medium-high speed until light and fluffy, 3 to 5 minutes. 
    4. Beat in the egg until smooth. 
    5. Beat in the melted white chocolate, then the vanilla. 
    6. Reduce the mixer speed to low and beat in the flour mixture in three additions until just combined. Divide the dough between 2 sheets of plastic wrap and pat into disks; wrap and refrigerate until firm, at least 2 hours or overnight.
    7. Preheat to 350 degrees. Line 2 baking sheets with parchment paper. Roll out the dough on a floured surface until 1/4 inch thick. Cut out cookies using a 3- to 3 1/2-inch cookie cutter. Arrange 1 1/2 inches apart on the prepared pans. Freeze until firm, about 10 minutes. 
    8. Bake, for 12-15 minutes, switching the pans halfway through, until the cookies are firm and the edges are light brown. Let cool 5 minutes on the pans, then transfer to racks to cool completely.I
    9. Decorate with royal icing and sprinkles.