Pages

Showing posts with label breakfast. Show all posts

Wednesday, February 19, 2020

Mardi-Gras: King Cake Cinnamon Rolls


Confession time.  We don't actually celebrate or do anything for Mardi Gras round these parts.  It's a pretty Catholic holiday despite the fact that I think it's taken on a great deal of secularization in New Orleans.  

Which is really one of the things that's most attractive about it.  The whole New Orleans connection.  Because that's just one of those magical places I am dying to visit.  Not DURING Mardi Gras, because the idea of being in those crowds of people is completely and totally overwhelming to me.  Thatmom and Thatdad used to make yearly pilgrimages there, and bring us home Cafe du Monde beignets and THAT is what started the love.  The food.  I love Creole food, and New Orleans (while it has plenty of other amazing things to offer) has some fantastic food.  Which brings us right around to Mardi Gras again.

I saw a recipe for King Cake in a magazine recently and it made me realize I could probably get away with making Mardi-Gras food without actually celebrating the holiday.  And rather than make a cake, I decided that I was going to reinterpret the King Cake to something I knew my family would be all over - cinnamon rolls.   While King Cake normally has a glaze for a topping, I'm more partial to cream cheese for cinnamon rolls.  These rolls take the flavors of King Cake and puts them in a single serving (or triple serving if you're Thatboy who eats three at a time) perfect for your Mardi Gras breakfast, brunch, or anytime feast!


King Cake Cinnamon Rolls
3/4 cup warm milk
1 package active dry yeast
1/4 cup sugar (divided)
3 cups flour
2 tsp ground cinnamon (divided)
1 tsp salt
3 egg yolks
1 egg
2 sticks butter, room temperature
1 tsp lemon zest
1 tsp almond extract
1 1/2 tsp vanilla bean paste (divided)
1 cup pecans, chopped
1/3 cup light brown sugar
8 oz cream cheese
1 1/2 cup confectioners sugar
  1. Combine the milk, yeast, and 1 tsp sugar and let sit for 10 minutes.
  2. In a large bowl whisk together the remaining sugar, flour, 1 tsp cinnamon, and salt.
  3. In an electric mixer combine egg yolks, 1 stick of butter, lemon zest, almond extract, and 1 tsp vanilla bean paste.  
  4. Stir in yeast mixture
  5. Stir in flour mixture.  Knead with a dough hook for 5-7 minutes.  Cover and let rise until doubled in size (about 1 hour).
  6. In a small bowl combine pecans, brown sugar, and remaining cinnamon.
  7. Turn out dough onto lightly floured surface and roll into a 10 by 15 inch rectangle.
  8. Spread dough with half of the remaining butter (half a stick).
  9. Sprinkle with pecan mixture and roll dough into a log, starting with the long side.  Pinch the seam to seal.
  10. Slice the dough into 1/2 inch pieces and place in a greased cake pan.  Cover with a towel and let rise for another hour.
  11. Heat over to 375.  Whisk the remaining egg with 1 Tbsp water.   Brush the dough with the egg wash.  Bake for 25 minutes or until the cinnamon rolls are golden brown.  Let cool.
  12. In an electric mixer, beat cream cheese and remaining butter on low speed to combine.
  13. Beat in confectioners sugar until blended.
  14. Blend in remaining vanilla bean paste.  Divide into 4 bowls and color with green, purple, and yellow food coloring. Spread the white frosting on top of the cooled cinnamon rolls and then use the colored frosting to decorate.

Wednesday, January 22, 2020

Groundhog Doughnuts


It's time for my favorite regional nonsense holiday - Groundhog's Day!  Next week marks the date on which all weather persons and scientists eagerly await so they can give accurate predictions about the upcoming seasonal changes.

Look, between you and I, I'm well aware that groundhogs can't actually predict when spring will come, but when you live in a place where the weather is pretty miserable from October to April, and you're facing the post-holiday doldrums, sometimes a little nonsense holiday is exactly what you need.

So we go all out on the nonsense here - we're 3 hours behind Punxsutawney PA where the official groundhog shadow watch takes place - so I record it to watch with the boys when they get up.  ANd we have some sort of crazy groundhog breakfast while we watch - groundhogs made of chocolate bars, or pancakes, or graham crackers.  This is one of the boys' favorites because it involves doughnuts.  We're very very rarely doughnuts for breakfast in this house, so that makes the day even more special for them!


Groundhog doughnuts
2 doughnuts (I like mine "dirt" colored, so chocolate or cinnamon, or old fashioned)
3 mini brownies
1 tootsie roll
royal frosting
1 pink starburst
candy eyeballs
  1.  Take 2 of the mini brownies and roll them each into a small ball.  Shape the ball so that it is slightly narrower at top, like an egg.
  2. Place each of these brownies in the hole of the doughnut.  Crumble the third brownie and use it to simulate dirt on the plate.
  3. Cut the tootsie roll into 5 pieces.  Flatten 4 of the pieces and cut lines on one end to simulate toes and place on the doughnut.
  4. Cut the last piece of tootsie roll into 4 pieces and place them as ears on each of the brownie balls.
  5. Cut off a corner of the starbust and cut that corner into two pieces.  Roll each piece into a small ball.
  6. Use royal frosting to stick the starburst in the middle of the "face" for a nose, and then use the royal frosting to place the candy eyeballs above the nose.

Wednesday, December 04, 2019

Hot Wheels Monster Truck Live: Monster French Toast


In general, I don't believe in gender norms.  My kids are well aware that there's no such thing as "boy toys" or "girl toys."  And yet, there's just something about monster trucks that attracts them in a way that I simply don't understand and never experienced.  Giant, loud trucks hold no appeal for me, but my husband and both children are wide eyed and absolutely awed by them. 

We've never been to Monster Jam, the quintessential monster truck show, but when Thatboy saw that Hot Wheels was now presenting their own monster truck show, he texted me that he wanted to get tickets and go as a family.   We all had a fantastic time and I threw together some tips for anyone who may be attending the Hot Wheels Monster Truck Live show in the future.

Before The Show

  • Ear protection - this is an absolute MUST.  Those trucks are loud and purposely so.  You'd think they got bonus points for being the noisiest.  While Thatboy and I grabbed some cheap earplugs that fit in your ear, I wanted the headband variety for the boys so we wouldn't have to worry about them falling out.  
Special tip: If you don't grab them beforehand, they do sell these type of ear protection at the show for $10, which was about the same price as some of the cheaper options from Walmart, Home Depot, etc. 

  • Pre-show - Get to the show early and you can see the trucks up close and personal!  The drivers and trucks are all out on the floor until about 30-40 minutes before the show starts, when they start clearing the floor and getting it ready.


  • Toys - I did the typical Thatgirl pre-prep and got each of the boys a monster truck before the show so they wouldn't ask for something at the show.  They did the typical kid thing of asking for something at the show anyway.  I wanted to point out that at the show they sell toy replicas of the monster trucks that are featured for less than I was able to find anywhere else.  So if you do get suckered into buying something for your children there, just feel good about the fact that you're not overpaying.

  • What you DON'T need - I did a lot of reading before attending the event, but there was very little about the Hot Wheels show.  There was a ton about Monster Jam, which is apparently much dirtier and much colder?  All the reviews said to bring eye drops for the dirt and winter coats because they keep it really cold inside.  Neither of those was true for the Hot Wheels Monster Truck Live show.  

During The Show

  • The Trucks - The premise of the show is a competition between 6 trucks for the cup.  Thatboy was very excited that one of the trucks was Bigfoot, the original monster truck.  We had the kids each pick their favorite truck to cheer for, which made it even more fun.  Thatbaby chose Tigershark while Thatkid cheered for Bone Shaker.
  • Terminology - The competition consists of 5 different events.  Wheelies, which are when the trucks "jump up" on their rear tires and try to get as much air as possible.  Donuts, where the cars spin in circles.  Long Jump, which is self explanatory.  Hole Shot Racing, which is a race between two of the trucks.  Freestyle, which is a chance for the trucks to combine as many of those previous events as they'd like to and show off.
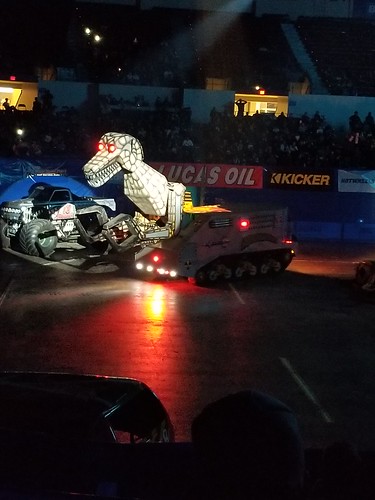
  • Megasaurus - There is an intermission, and right before intermission, there's a special treat.  A truck that turns into a fire breathing dinosaur.  The dinosaur rips apart and "eats" a car right before your eyes!

  • BMX - My favorite part of the show came right after intermission.There's a BMX expo with 3 BMXers doing flips, tricks, and death-defying feats.  It was terrifying and exhilarating, and much quieter than the trucks.  So something for everyone?

I've come to the conclusion that everyone loves monster-sized things.  Monster trucks, monster sales, and in my family, monster breakfasts.  This oversized french toast grows when you cook it, thanks to the fact it's made from canned biscuit dough.  Plus, it has the added benefit of being baked in the oven, so it's perfect for serving a monster crowd!

Monster French Toast
1 can of buttermilk biscuit dough (I like Trader Joes, but obviously any can will do)
1 Tbsp sugar
3 tsp cinnamon, divided
5 eggs
1/3 cup milk
2 tsp vanilla
  1. Preheat oven to 350.  Coat an 8x8 baking dish with baking spray.  Cut each biscuit dough into 6 pieces.
  2. Combine sugar and 1 tsp cinnamon in a large bowl.
  3. Place dough pieces in the bowl, tossing to coat them in the cinnamon and sugar.
  4. Cover the bottom of your baking dish with the coated pieces.
  5. Whisk together the eggs, milk, vanilla, and remaining cinnamon.
  6. Pour the egg mixture over the dough.  Bake for 35 minutes and serve hot!

Wednesday, May 08, 2019

Flower Fields: Strawberry Rolls


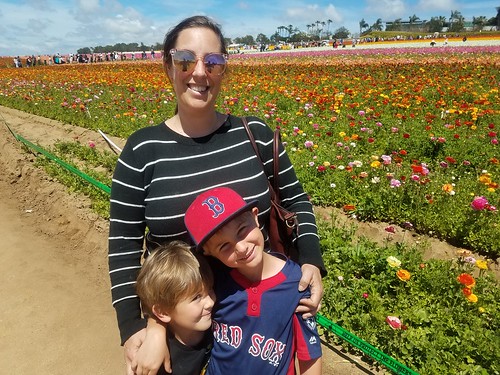
I love that spring is so full of flowers.  And we take complete advantage of it.  Trips to the desert to see the super bloom, and of course, the flowers a little closer to home.


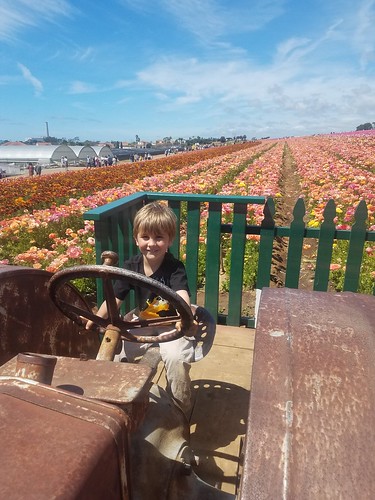
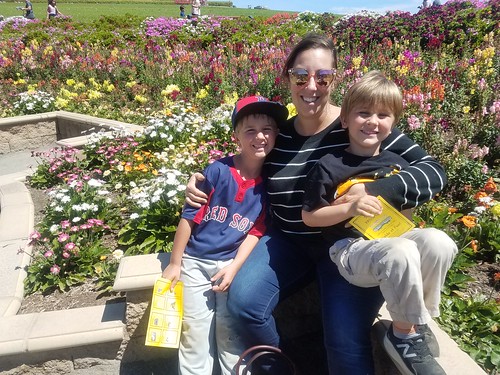
I look forward to our yearly trips to the Flower Fields.  Who wouldn't?  There's something about the bright colors and beautiful flowers that just puts you in a good mood.


How can you not be happy when you're looking out over fields of flowers?


This year, because of the rain, it seemed as though the ranunculus were even more full and even more bright.


It's also a really easy family field trip.  One of these days these boys are not going to be up visiting a field of flowers.  So I'm soaking in these moments they still get excited about.


Of course, it helps that the Flower Fields has a lot that is interesting to these kids.  Like ice cream.


And playgrounds.


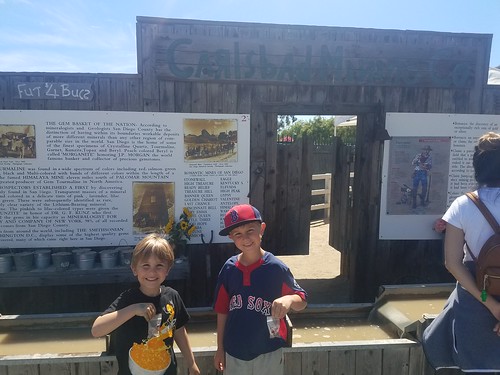
And gem mining.


And when it's all over, we grab a flat of strawberries to take home.  Or eat in the car.  A lot were eaten in the car.  But enough were left to fold into strawberry rolls.  And begin our foray into San Diego's strawberry season - always early, always delicious.

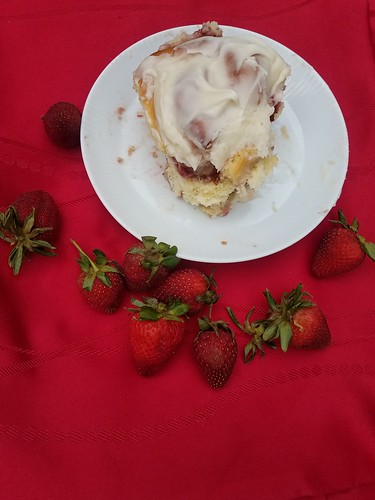
These strawberry rolls are a twist on cinnamon rolls.  I actually made these before Passover, but didn't want to share them, because the last thing I want to think about during Passover is doughy rolls, covered in cream cheese icing.  But we're back to eating bread in this house, so it only seemed fair to share with you.  Hurry - they go fast!

 Strawberry Rolls
1/2 cup milk
1 tsp instant yeast
1 egg
1/2 cup sugar, divided
7 Tbsp butter, divided
2 cups flour
1/4 tsp salt
1 cup strawberries
1 cup strawberry jam
1/2 cup cream cheese
1 tsp vanilla
1 1/2 cups confectioners sugar
  1. Sprinkle yeast over milk and let it sit for 5 minutes.
  2. Combine egg, 1/4 cup sugar, 4 Tbsp butter, flour, and salt in an electric mixer. Mix until the mixture resembles small peas.
  3. Add in the milk/yeast and mix for an additional 5 minutes.  Cover the bowl with plastic wrap and let rise until the dough has doubled in size.
  4.  Combine the strawberries with remaining 1/4 cup of sugar and let sit for 20 minutes while you prepare the rolls.
  5. Spray a pie pan with baking spray.  Roll out the dough on a floured surface into a 12 x 18 rectangle.
  6. Spread the jam over the rolled out dough, leaving about 1/4 inch border. 
  7. Scatter the strawberries over the jam.
  8. Roll up the dough like a carpet, starting with the side farthest away from you.  Press the seam into the dough roll to seal.
  9. Slice the roll into 8 pieces and place each piece into the pie plate.  Cover with plastic wrap and let rise until doubled in size. Preheat oven to 350.
  10. Bake for 30 minutes, or until the rolls are golden brown.  Let cool.
  11. While the rolls are cooling, combine the remaining butter, cream cheese, vanilla, and confectioners sugar in an electric mixer.  Mix until the desired frosting consistency is achieved.  Spread the frosting over the cooled rolls.

Wednesday, February 20, 2019

Family Movie Time: Hashbrown casserole


You guys, I have so many tricks up my sleeve it's amazing that my shirts fit.

We had another weekend where baseball was cancelled for rain, which gave us a whole weekend with no plans.  I thought maybe it would be fun to go see a movie, since we did the museum last weekend.  But Thatboy has been waiting for weeks for nicer weather to try out some ice-dying tie-dye technique.  It ended up taking a lot more time than expected, and by the time that was done, naptime ran a little late, and there were no movies times we'd make before dinner.

Sunday morning we met up with Thatmom and Thatbrother for breakfast, and this is where my little tricks come in.  Instead of going to the movies back by our house, I used the opportunity to check out a special theater that was between the breakfast place and our house.  We rarely go to other theaters, since we have one in town, but I'd tucked this one away in my memory banks for when the occasion might arise.

What's so special about this theater?


It's especially geared for kids!

In fact, you can't buy a ticket for this theater unless you're accompanied by a child under 12.

Cinepolis Junior is a special theater, I think there are two in the country, which really caters to kids.  Even the seats are fun!  They have your regular movie theater chairs, but they also have lounge chairs, giant bean bags, and these chairs that are basically oversized pillows.

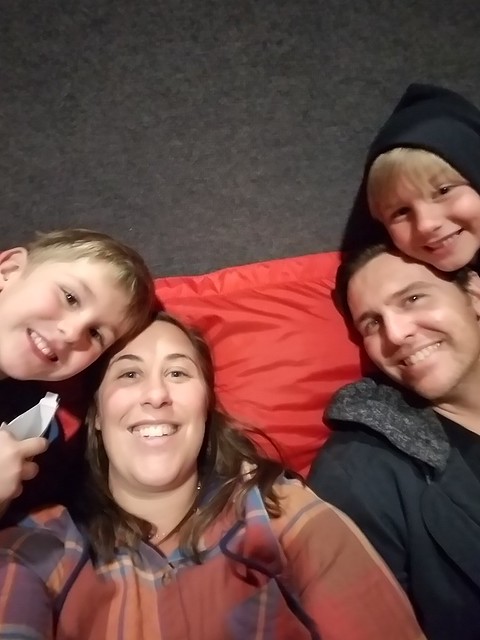
Each bean bag and oversize pillow seats two people.  So the boys cuddled up in one,


and we cuddled up in the one next to them.


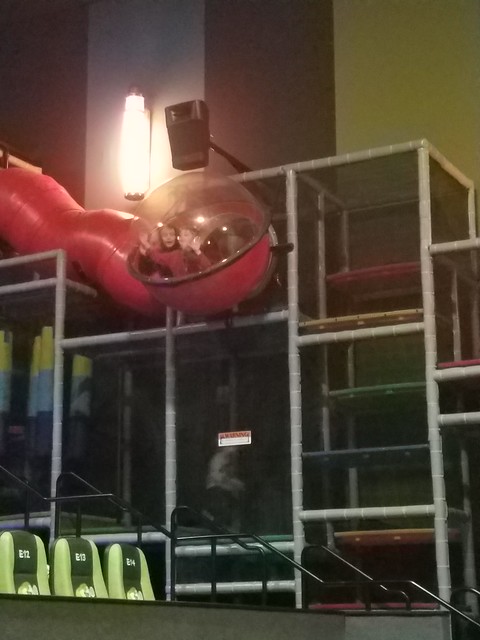
The play structure on the side of the theater was available for the kids to burn off a little energy before the movie started.  The theater also instituted a 15 minute intermission, during which time little theater go-ers could use the bathroom, grab concessions, or hit up the play structure again.


It's really a brilliant idea for kids who can't quite sit through a long movie, either because they need to use the bathroom, or because 2 hours is too long to sit still.

Overall it was such a good experience that we may never make use of our local theater again.  Thatboy said it was his favorite movie theater experience of all times and he was really disappointed to learn he couldn't come back without the kids!

My other little trick is a two-for-one.  I was chatting with another mom at Thatkid's school and I mentioned I was starving and needed to go home and have breakfast.  She asked what kinds of things I usually have for breakfast, which is when I filled her in on my trick.  Sunday nights I make an egg casserole, and then I have breakfast all week.  It makes it so easy to just grab and heat up in the morning.  And the two-fold part?  I don't really have a recipe, I just use whatever leftover stuff we happen to have on hand.

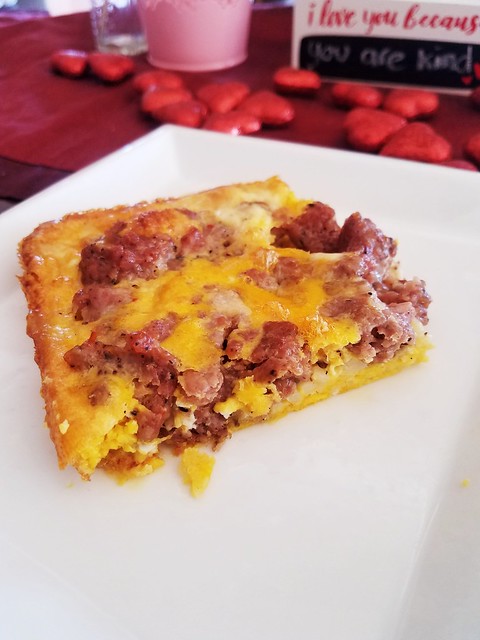
But last week's casserole was so amazing, it has become my new favorite.  And that's why I'm sharing it with you.  Impossibly easy, it really consists of cooking sausage, then layering that with frozen hashbrowns and eggs.  No chopping, no dicing, no nothing!  I made this with sweet Italian sausage, which I had leftover from a dinner I had made that week, but any sausage will really work.  Quick, easy, and will feed you for days?  Who says tricks are for kids?

Hashbrown Casserole
1/2 lb sweet Italian sausage, removed from casings
2 Tbsp flour
1 cup milk
2 cups frozen hashbrowns
6 eggs

  1. Preheat oven to 350°. Spray a baking dish with cooking spray.  Heat a pan over medium high heat.  Cook sausage until browned.
  2. Sprinkle flour over sausage and cook for about 1 minute.
  3. Add milk and cook until milk has thickened, about 5 minutes.  
  4. Whisk the eggs and add salt and pepper to taste.
  5. Spread the frozen hashbrowns evenly over the baking dish.
  6. Top with the sausage mixture.
  7. Pour the eggs over.  Bake for 50 minutes, until cooked through.

Wednesday, January 16, 2019

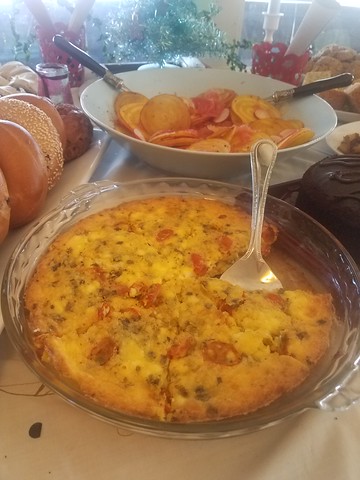
Happy New Year: Tomato, Feta, and Dill Frittata


My absolute favorite way to start of the year is with my annual New Year's Brunch.  I love how laid back and easy it is, both from the standpoint of entertaining, and getting it together the day before.  I love having all my friends come to me, so we don't have to go anywhere but I still get to see my favorite people.  And I love brunch food.

This year I wanted to keep it really bright and cheery, so I fell into the latest trend of balloon garlands.


 It actually took less time than I was anticipating to put this together and I was able to do it a couple days in advance.  Which means, 2019 is officially the year of the balloon garland for decorations in our home.

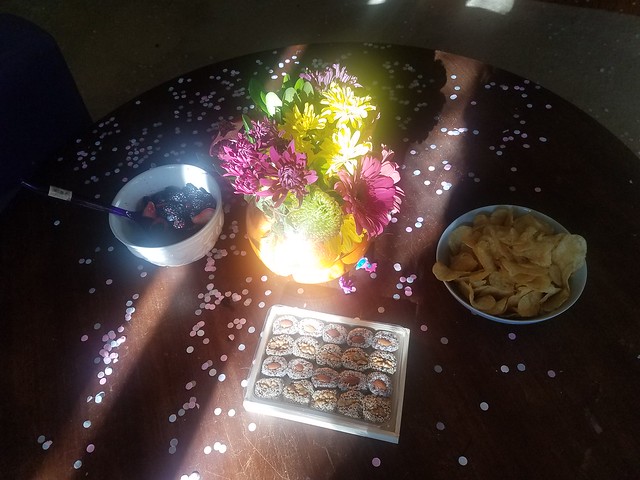
Everything else I kept simple with arrangements of brightly colored flowers on every surface.  The night before we let the kids have confetti poppers for midnight, and they added a festive touch to tables, chairs, the floor - anything flat.


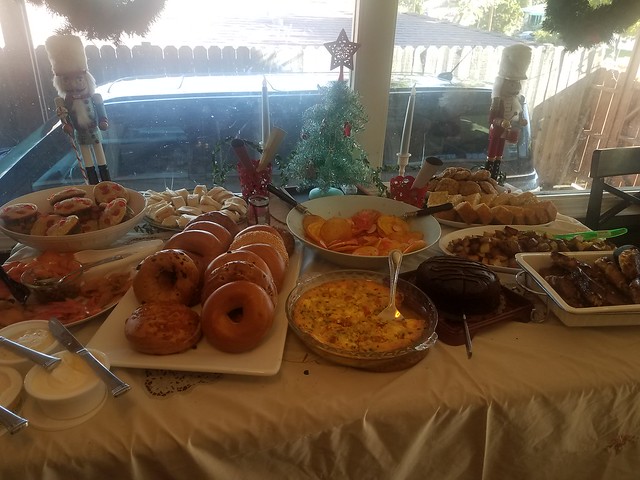
As for the food - I always try to keep it easy.  And really the hardest part is planning the prep - figuring out which places are closed on what days, and what needs to be made when.  There's never a shortage of food - my table is always overflowing.


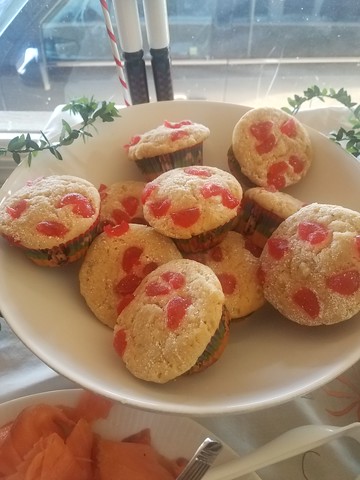
While normally I buy muffins and breakfast pastries, this year my go-to bakery was closed for several days leading up to New Years.  So I made my own!


I also threw in some cookies, lemon poppyseed cake, and french toast to fill in that sweet gap left by the bakery.


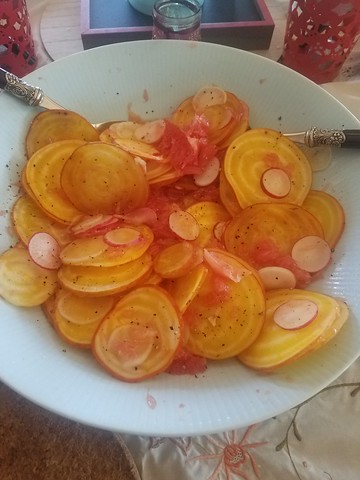
For more savory fare there were bagels and lox, roasted garlic potatoes, and a golden beet salad.


But the sleeper hit of the brunch was a very random fritatta I came across when surfing the internet.  I love feta with eggs, which is what sold me on it, even though the rest of the ingredients were a little unusual.  Dill?  Capers?  In and egg dish?  But I figured there was plenty of other food and I might as well forge ahead.  And it was amazing.  Everyone who tasted it found me to tell me how delightful it was.   And so I'm sharing it with you.  Not a fan of dill or capers?  That's how most of my guests felt, but for some reason the both just added the right amount of salt and flavor without making the dish taste like either.   So make it and enjoy - the perfect way to start off a new year!

Tomato, Feta, and Dill Frittata (From Real Simple)
2 Tbsp olive oil
1 cup cherry tomatoes, halved
6 scallions, thinly sliced
1 Tbsp capers
1 Tbsp dill, chopped
8 eggs
1 cup crumbled feta
  1.  Preheat oven to 425.  Combine oil, tomatoes, scallions, capers, dill, 1/2 tsp salt and 1/4 tsp pepper in a medium oven proof skillet. Bake for about 14 minutes. Lower the heat to 375.
  2.  Whisk the eggs and season with salt and pepper.
  3. Stir the feta into the eggs.
  4.  Add the eggs to the skillet and bake until the frittata is set in the middle - about 12-15 minutes.

Wednesday, September 12, 2018

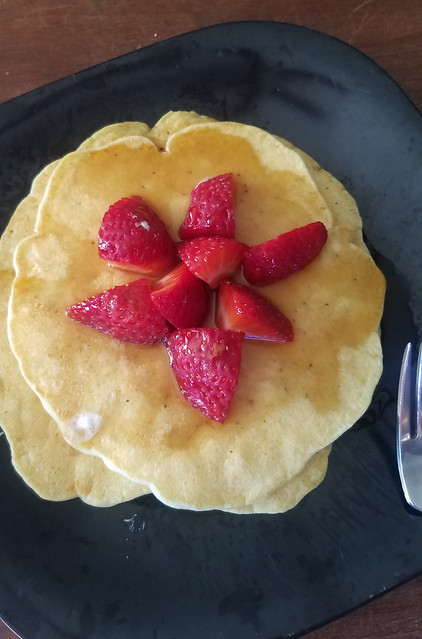
Breakfast with the ponies: Semi-Instant Pancakes


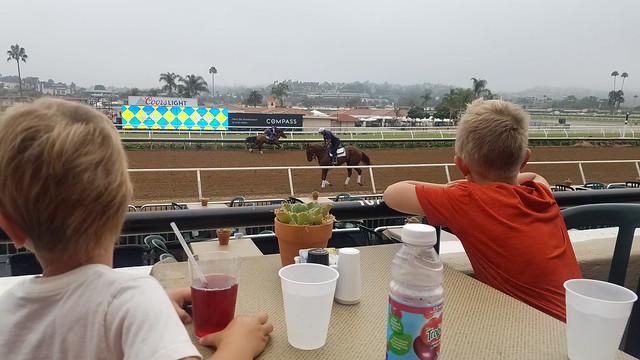
Every summer we go to the Del Mar race track to watch the horses.  They usually have an entire kids' area set up with magicians and face painting and pony rides.  It's great.  And the boys love watching the horses run.

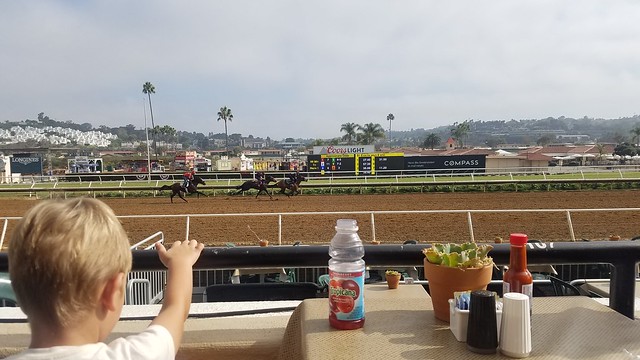
But this year I found out about a special thing the race track does - they host a breakfast!  There aren't any races, but they open the trackside restaurant during morning exercises.  These are the horses that aren't racing that day, but some of the jockeys are.


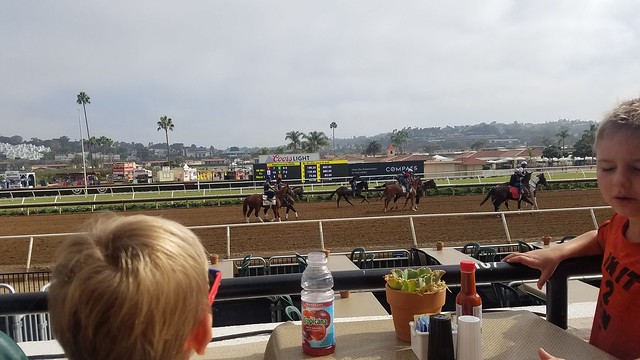
The neat thing about this breakfast is that you get to be right up close to the horses and really get to see them strut their stuff.


The kids loved it.  In addition to watching the horses run really fast, there was an MC who gave us all sorts of facts about the horses and jockeys out on the track, as well as horses in general.  The boys wanted to know how old the horses were, and she told them all about the various ages.


But the best part of the whole thing was that it was totally cool and overcast.   The races don't start until the afternoon, and the afternoons in July and August are pretty hot.   Especially this year.   And there is very little shade at the race track.  


So we didn't actually make it to the races this year, but we still got our taste of watching the horses run.  And it's an experience I would definitely repeat.


My only negative comment was the breakfast itself.  It's clear the track isn't open for breakfast, and since the breakfast only happens on weekend mornings, they don't really go all out with the menu.  There are muffins and an egg dish.  But really, you're not there for the food.   Not like our house.  Weekend mornings are a time for great breakfasts.  Not on Saturdays when we're running out to swimming, or soccer, or art, but lately Sundays have been very low key around here, and we've taken advantage.

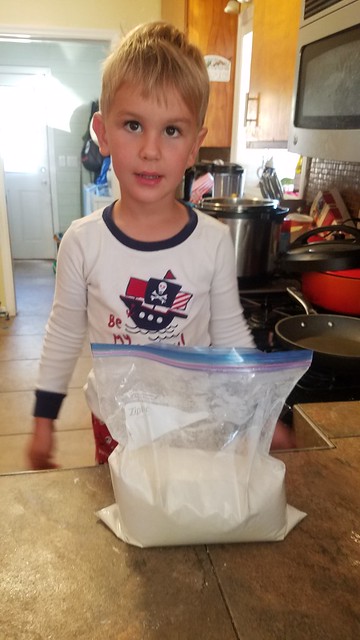
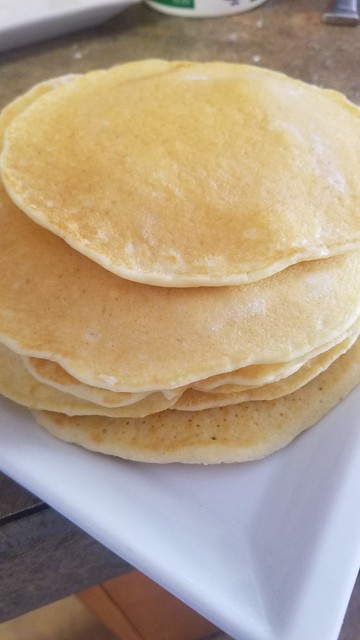
Last year I started making Alton Brown's pancake mix.  It came as a compromise.  Thatboy grew up on Bisquick and before he met me he didn't realize you could make pancakes without it.  On the other hand, I grew up with pancakes made from scratch.  So if I wanted Thatboy to make breakfast on the days I get to sleep in, then I needed to buy Bisquick, or make my own.

I made a little change to the original recipe - I added powdered buttermilk to the mix, which means we don't have to keep the liquid stuff on hand.  Because of this, I keep the mix in the freezer.

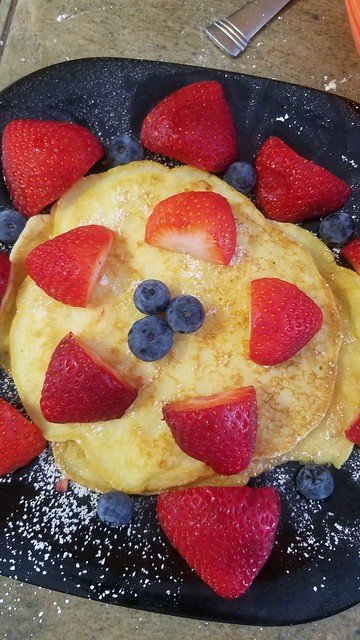
 Once the pancakes are made, we have a topping bar where the kids can put whatever they like on top (within reason.  Last weekend I nixed the notion of powdered sugar AND whipped cream).  

Semi-Instant Pancakes (by Alton Brown)

 10 oz semi-instant pancake mix (I use Alton Brown's with powdered buttermilk added, but shhhhh Bisquick would also work)
2 eggs, separated
2 cup buttermilk (or 2 cups water if you've added the powdered buttermilk to your pancake mix)
4 Tbsp butter, melted and cooled


1. Set a skillet over medium heat.  Place the pancake mix into a large mixing bowl.
2. Whisk the egg whites and buttermilk or water in a separate bowl.
3. Whisk the egg yolks and the melted butter.
4. Whisk the egg yolk mixture into the egg white mixture.
5. Pour the wet ingredients into the dry ingredients and whisk quickly, leaving lumps.
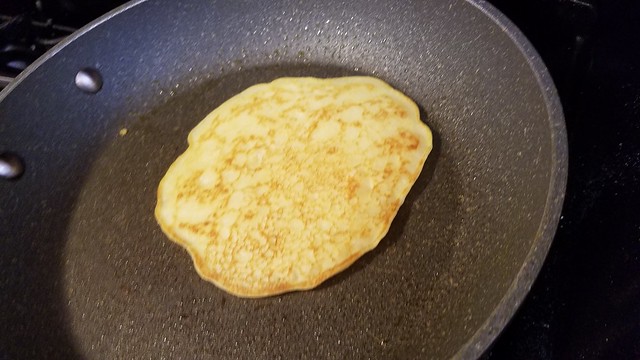
6. When the skillet is hot, grease with cooking spray or butter.  Ladle 1 ounce of the batter into the pan.
7. Cook for 3 minutes, then flip and cook for another 2 minutes.


8.  Top with butter, syrup, fruit, sugar, whatever your heart desires!