Pages

Showing posts with label bread. Show all posts

Wednesday, September 09, 2020

Góðan daginn Iceland!: Rúgbrauð


The next stop on our world tour was a quick popover to Iceland, a place I am much less familiar with than France.

Although there are some traditional Icelandic foods that already make their way into our refrigerator...


The first thing we did was watch a virtual tour, that took us to waterfalls, geysers, and glaciers.  The boys thought it was neat that Iceland has both volcanos and glaciers.  They were VERY impressed with the geysers.  Disney also provided a recipe for rúgbrauð - bread that would be traditionally cooked by burying the dough by a geothermal spring, which would cook it.  Since we're a little far from geothermal springs, the recipe called for us to cook the bread at a low heat for 7 hours.  So our first hands on activity was getting that bread in the oven.

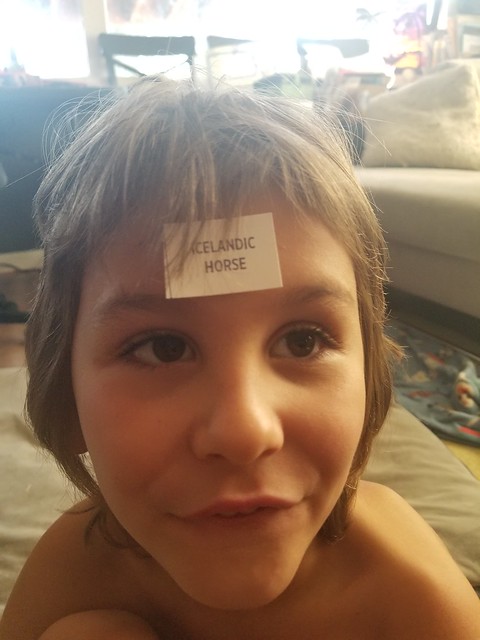
Disney provided a game they call "15 guesses."  Rather than keep track of guesses, we just turned it into a game of headbandz - which I do with lots of things lately.  Print out a ton of different bugs and you have "bug headbandz."  Print out some Star Wars characters and you have "Star Wars headbandz."  This one used things that Iceland is known for.


Everything I know about Iceland is from travel shows, and one of my favorite Travelman episodes is where he ventures to Iceland and eats terrible food, goes fully covered into the Blue Lagoon, and visits Elf School.  Elves are a very big deal in Iceland, so we made some of our own.


Before lunch, we watched "Twice as Good" which has 2 girls traveling to different places and cooking local dishes.  In Iceland we watched them make lamb burgers.  And then the boys made lamb burgers!


After lunch we painted our own Northern Lights using watercolor with two fun techniques - wax resist and salt painting.


While we waited for our art to dry, we took a dip in our own "Blue Lagoon."  Blue water courtesy of a bath bomb.  And we indulged in our own spa treatments - mud masks.


As dinnertime approached, our geyser bread was removed from the oven and had it with a lobster salad.


Our playlist for the day consisted mostly of Bjork.  We also watched the Secret Life of Walter Mitty, which really showcases the beauty of Iceland.

Meanwhile that geyser bread?  It was good.  Really good.  Better than any of us were expecting.  Which is why I thought it would be a good one to share with you!


Rúgbrauð  (From Adventures By Disney)
1 cup rye flour
1/3 cup whole wheat flour
1 tsp baking powder
1/2 tsp baking soda
1 1/4 cup buttermilk
5 Tbsp golden syrup
  1. Preheat the oven to 350.  Spray a 1lb loaf pan with baking spray.  Mix all the ingredients with a spoon until combined.
  2. Pour the mix into the loaf pan and cover loosely with foil.  Place in the oven and lower the heat to 225.  Bake for 7 hours.
  3. Remove from oven and cool.
Wednesday, November 20, 2019

Halloween Leftovers: Chocolate Peanut Butter Banana Bread


I have some leftover Halloween pictures to share. Which makes sense because we fill up October with so many Halloween events, it takes forever to get through them all. 

My kids started the day off with a festive open-faced Monster Breakfast Sandwich. 


And then we accompanied Thatkid to school for his Halloween parade and flash-mob dance.


Thatbaby's preschool has a no costume rule, but do pajama day instead.  He wore some fun new Halloween pajamas for the occasion.


They do have a Halloween party, so he made "Make a Monster" kits for all his friends and brought them in.


After school we went to a Halloween party at the home of one of Thatkid's classmates.


And then we all headed out to trick or treat!


The neighborhood we went to was new to us, but had some great decorations.


The kids came home with quite the haul!


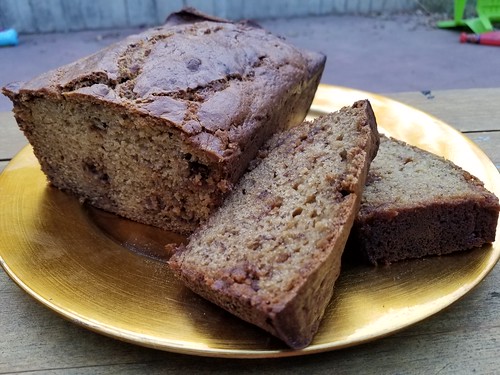
Not only did I have leftover Halloween pictures, we also had leftover Halloween candy.  Due to some poor communication, both Thatboy and I had picked up Halloween candy to hand out.  Plus I had picked up a bag of Reeses Peanut Butter cups for us.  So we had....a lot of peanut butter cups.  I was trying to think of ways to use them up, and I could have thrown them into brownies or cookies, but really, we already had so much candy, I wanted to make something a little less dessert-y.  I tried to think of what went well with peanut butter and chocolate and I came up with bananas.  Really, such a no brainer when you think about it.  Chocolate chip banana bread is already a thing, and peanut butter seems like a natural addition.

I always have frozen bananas on hand, and defrosted frozen bananas make the BEST mashed bananas for banana bread.  My family agrees.  We ate this entire loaf in 2 days!  No leftovers here!

Chocolate Peanut Butter Banana Bread
1 1/2 cups flour
1 tsp baking powder
1 tsp baking soda
1 stick butter
1 cup dark brown sugar
3 eggs
3 bananas, mashed
1/3 cup sour cream
1 cup peanut butter cups, chopped

  1. Preheat oven to 325.  Spray a loaf pan with baking spray.  Combine flour, baking powder, and baking soda in a medium sized bowl.
  2. Beat the butter in an electric mixer until soft and fluffy.  
  3. Add sugar to butter and continue to mix.
  4. Add eggs, one at a time.
  5. Mix in mashed bananas and sour cream.
  6. Add the dry ingredients on low speed, continue mixing until just combined.
  7.  Stir the peanut butter cups into the batter and pour into the prepared pan.  Bake for 75 minutes, or until cooked through.
  8. Cool in the pan for 10 to 15 minutes before turning onto a rack and allowing to completely cool.

Wednesday, October 02, 2019

A Viking We Will Go: Swedish Limpa


First off, I just need to acknowledge TODAY IS THATKID'S BIRTHDAY!  He's officially 8 years old, which, whew - we made it through another year!  We've got big birthday plans this weekend, so I'll hold off on an update until then. 

For now, I invite you to join me as we step back in time.

Way back.

To the time of the vikings.


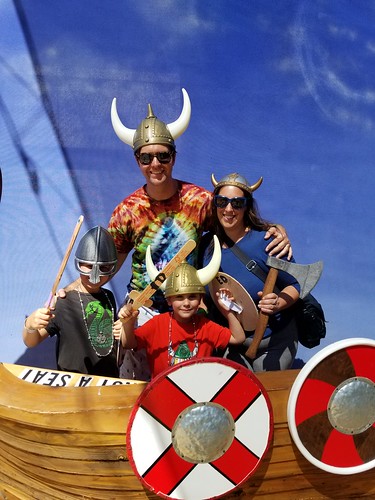
See, last year Thatbaby was obsessed with a Frozen Night Before Christmas book.  In the book, Olaf narrates, and one of the things he talks about is leaving krumkake out for Santa.  Thatbaby was dying to try krumkake - a rolled cookie filled with cream.  We spent much of our Christmas break looking for one, and were fruitless.  But in my research I learned there was a viking festival closer to home that had some.  So I kept my eyes open for the Viking Festival and when I got the date, I packed us up and we headed out.

Krumkake success!


We also got to tour a viking settlement and see how the other half slept.


Thatkid and I read a lot of Norse Mythology over the past year, so it was really fun to see it come to life in the form of a puppet show.


And what would any good festival be without the feats of strength and courage.  The boys could have sat around and watched the fights all day.


Especially since they got to make their own swords and shields.


One of the re-enactors taught the kids how to play Hnefatafl, or Viking Chess.  While they played, his girlfriend pointed out to me "the most expensive bread you'll ever buy."  I asked her if it was worth it, and she said no.  I asked her what made it so special, and she told me it was because it was handmade.  Well friends, I can make my own bread.  And I often do.  I found a recipe for "Swedish Limpa" from James Beard and decided that this is probably very similar to "Viking Bread."  It's a rye bread, with flavors of orange and cardamom.  It's hearty, to stand up to time on a ship, or cold Nordic winters.  Maybe with some krumkake.


Swedish Limpa (by James Beard)
2 pkgs active dry yeast
1 1/2 cups warm water
1/3 cup sugar
1/4 cup molasses
2 Tbsp butter, melted
1 Tbsp salt
2 Tbsp finely chopped candied orange peel
1 tsp ground cardamom
2 1/2 cups rye flour
2 1/2 cups flour
  1. Proof the yeast in the warm water with the sugar.
  2. Combine molasses, melted butter, salt, orange peel, cardamom, 1 cup of rye flour and 1 cup of flour in an electric mixer fitted with a dough hook.  
  3. Add yeast mixture and continue to blend until the dough is a smooth paste.
  4. Gradually beat in the remaining flours and knead until smooth.
  5. Place in an oiled bowl, cover, and let rise for 1-2 hours, until doubled in size.
  6. Divide into 2 parts and shape into oval loaves.  Place on a greased cookie sheet and let rise another hour until doubled in bulk.
  7. Bake at 375 for 1 hour.


Wednesday, September 04, 2019

Sounds of Summer: Lemon Beer Bread


Summer for us wouldn't be summer without hitting up some summer concerts.  There is such simple joy in sitting out on the grass and listening to music as your children dance.  My family also uses this as an extra excuse to picnic-  something we all enjoy.

Our first concert of the summer was a repeat performer, and a repeat venue, but our first time seeing this performance at this venue!

Ruth and Emilia at the Botanic Gardens


Both kids enjoy this musical show about an alien who lands in a young girl's backyard, but Thatbaby especially loves it.


The space they used this year was a little different from years past.  With less sitting room for parents, and not a conducive space for picnics.


On the other hand, our local Arts Center started a new program this year with concerts every Friday night.  And there's much more space for everyone.


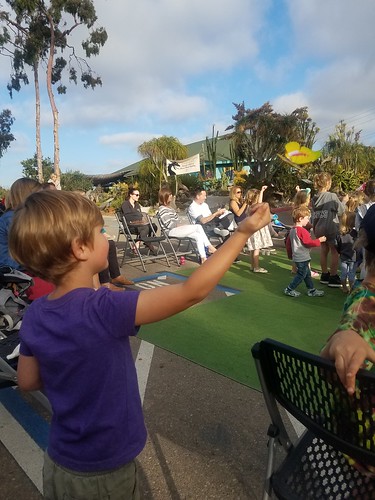
We attended a few of these concerts, everytime we were home on a Friday night.  They set out some chairs for people, but the rest of the space was open for you to bring your own chairs or blankets.


They also set up yard games and inflatables for the kids to play.  Which can make it even nicer for parents who want to just sit and listen while their children run around.


They also brought in food trucks every week, so that you could grab dinner while you sat and enjoyed the summer evening.

Sometimes we brought our own dinners, sometimes we picked up once we were there.  But we always end up with some kind of treat.


Speaking of treats, I picked up Trader Joe's new "Lemon Peal" malt beverage this summer, thinking it would make a nice evening drink for Thatboy and I.  It did not.  Honestly, neither of us could finish it.  It was harsh.  Not light and refreshing.  I started brainstorming immediately how I could use it.  I decided it would be best used in recipes that called for beer.  The lemon flavor there would complement the dish, and the maltiness would serve for the same use as the beer in the recipe.  I tried it with some chicken dishes, in the marinade, and it was successful.  But I knew that it would really shine in a beer bread.  I tend to think of beer bread as a great fall food.  Served alongside a nice roast, or soup, or chili.  But with a lemon-beer?  I was hoping it would add some lightness and brightness to make it more of a summer experience.  I was right here too.  Thatboy said this is the best beer bread he's ever had.  The boys loved it.  It's even worth buying a six-pack of Lemon Peal, just to make it!

Lemon Beer Bread
3 cups flour
1/4 cup sugar
4 1/2 tsp baking powder
1 1/2 tsp salt
1/2 tsp pepper
1 tsp lemon zest
1 can of Trader Joe's Lemon Peal
1/4 cup butter, melted
  1. Preheat oven to 350.  Spray a loaf pan with baking spray.  Whisk together the flour, sugar, baking powder, salt, pepper, and zest.
  2. Stir the beer into the dry ingredients just until combined.  Pour the batter into the loaf pan. 
  3. Drizzle the melted butter over the top and bake for 50 minutes.
  4. Allow to cool in pan before slicing and serving.

Wednesday, February 27, 2019

Painting with the Girls: Chocolate Babka


I miss Mrs. Pirate so much.  Did I ever tell y'all that she moved?  Not super far, but a little farther than she was before, which makes our get-togethers much less frequent. Plus she was the one who usually planned them.  Now she's planning get-togethers for a whole new group of friends.

But apparently, Mrs. Pirate misses me too.  We've been trying to do better about meeting up this year.  This past week alone we met up twice!  The first time was just the two of us, for drinks and some good catching up, which we never seem to be able to do with kids around.  The second time was when she invited me to join her new group of friends for a little Sip and Paint.  You know, where you drink wine and paint a picture?


It was a fairly large group, but unsurprisingly all the women were super nice, and very funny.  We were cracking each other up as we attempted to paint our beachy scene.


This is not my favorite piece I've done, I have no skill for cloudy skies.  But it was a fun night, and the boys were in awe that I painted this.  The finished product:


Despite the fact that the artist kept telling us not to compare, we all had our eyes on each other's work.  And in the end, we ended up with some fairly different pictures, even though the basic premise was the same.


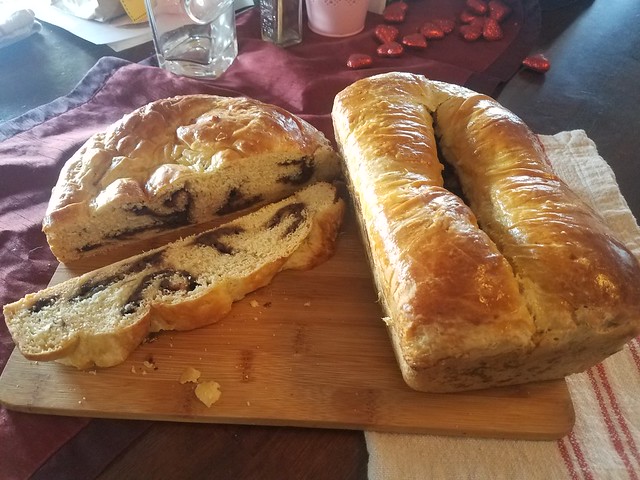
I've only done these at restaurants before, but this place had its own dedicated space.  Which meant there was no food or drink to purchase and we had to bring our own.  Not a problem. We had wine, fruit, nuts, cheese, and lots of other snacks.  I was going to bring the chocolate babka I made this week out of my "A Blessing of Bread" book, but then on Friday night my family had a slice of the first loaf, and, well, we decided we didn't want to share.  Yeah.  It's that good.  

I'm not a huge babka fan to begin with, so I was really surprised by just how good this was.  It is simultaneously light and chewy, eggy and sweet - like a good challah.  And while the babka's I've had have been a little heavy on the cinnamon, this one found the perfect balance.  So for the painting crew?  Fruit would be fine.  But for you my friends, give this one a shot!

Chocolate Babka (From A Blessing of Bread)
18 Tbsp butter, softened (divided)
1 1/2 cups milk
2 Tbsp instant yeast
5 1/2 cups flour
1 tsp ground cinnamon
2 cups sugar, divided
1 1/4 tsp salt
1 Tbsp vanilla extract
3 egg yolks
1 egg
1/3 cup unsweetened cocoa powder
1 cup chocolate morsels
  1. Heat the milk in a saucepan until bubbles form around the edges.  Let cool until it's temperate.
  2. Once the milk is cool enough, whisk together the yeast and 1 1/2 cups of flour in a large bowl.
  3. Whisk in the warm milk until smooth.  Let sit for 10-20 minutes, until it starts to get puffy.
  4. Mix one cup of sugar with the cinnamon.  Reserve 1 Tbsp for the filling, then whisk the rest into the puffed batter.
  5. Whisk in the salt, vanilla, and egg yolks until smooth. 
  6. Stir in the remaining 4 cups of flour, along with 10 Tbsp of the butter, mixing until the dough holds together. Turn the dough out onto a work surface and knead until it's a soft dough.  Place the dough in a warm, clean bowl and cover with plastic wrap.  Let rise for 2-2.5 hours. 
  7. While the dough is rising, butter or oil two 9-by-5 inch bread pans.
  8.  After the dough has risen, melt the remaining butter.
  9. Sift the remaining sugar with the reserved cinnamon sugar and cocoa in a medium bowl.
  10. Add the melted butter and whisk the filling until smooth.
  11. Turn the fully risen dough onto a floured work surface and divide into two equal pieces.  Roll one dough piece into a rectangle 1/4 inch thick.   Smear the dough up to 1 inch of its edges with half of the cocoa filling.  
  12. Scatter half of the chocolate morsels over the filling.  Roll up the dough from one side like a carpet.  Pinch the edges and ends into the roll to seal it.   Pace seam side down in one of the prepared pans.  Repeat with the second dough piece. Cover the pans with plastic wrap and let rise for 2.5 hours.
  13. Preheat the oven to 300 and whisk the egg with a pinch of salt.  Brush the breads with this egg glaze.  Bake the loaves for 50-60 minutes.  Let them cool in the pans for 10 minutes, then let them finish cooling on a rack.

Wednesday, October 31, 2018

Pumpkins, pumpkins, and more pumpkins: Pumpkin Challah


You knew there was no way we were getting through October without mention of pumpkins, right?   I'm not sure you can even call it autumn if you're not putting pumpkins everywhere in everything.

After bad experiences with rotting pumpkins, or falling apart jack o lanterns, we held off on our pumpkin adventures until the end of the month.

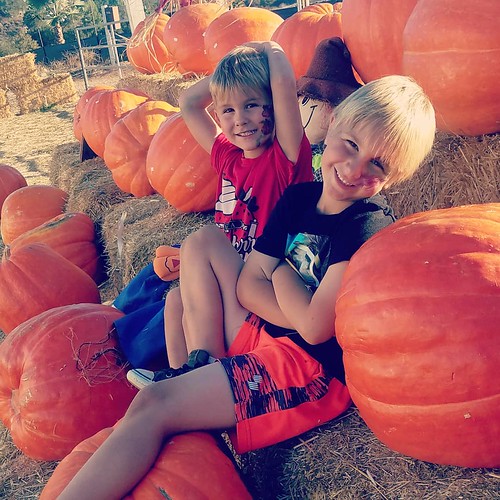
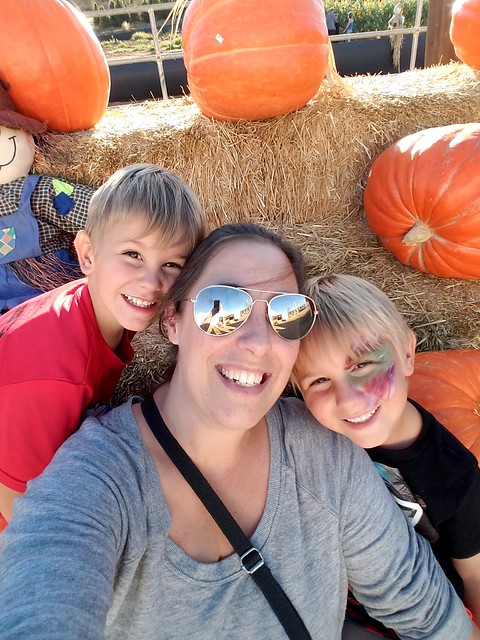
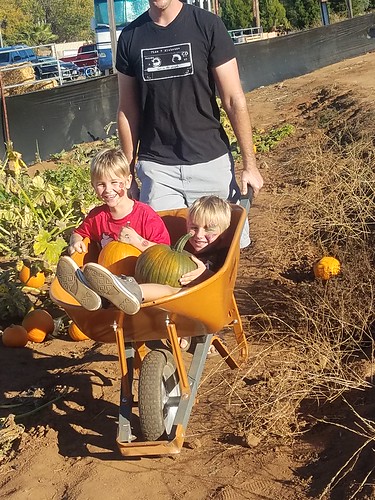
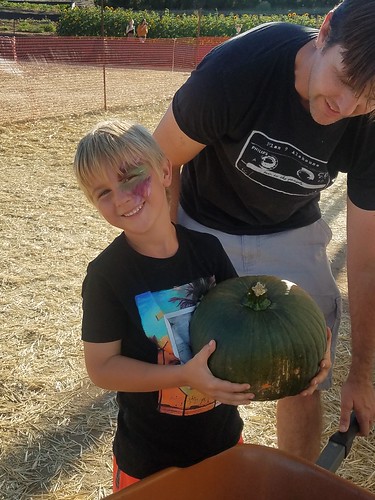
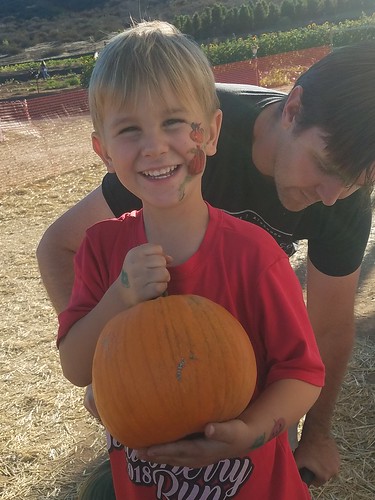
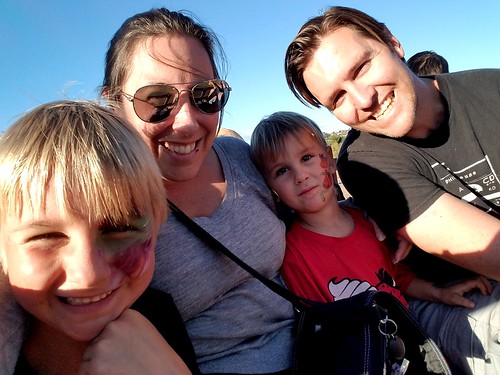
First stop was the pumpkin patch!


It was an excellent year for pumpkins based on the amount of great ones we found out in the field.  Almost everyone's pumpkin came from their this year, instead of the pre-harvested variety that are placed in lines according to their size.


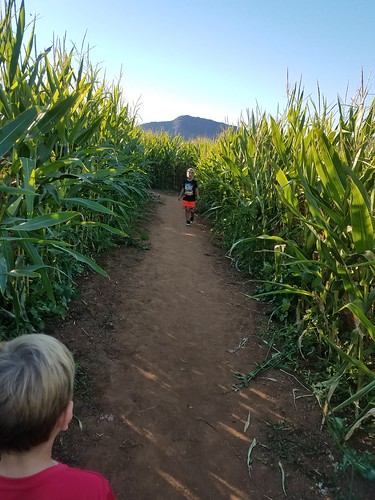
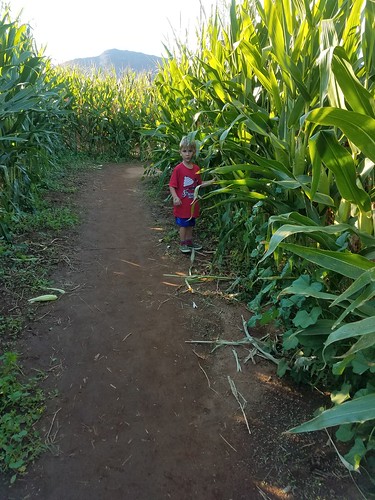
Once everyone had their pumpkins picked out we went exploring.  Like getting ourselves lost in the corn maze.


And hopping aboard the hayride.


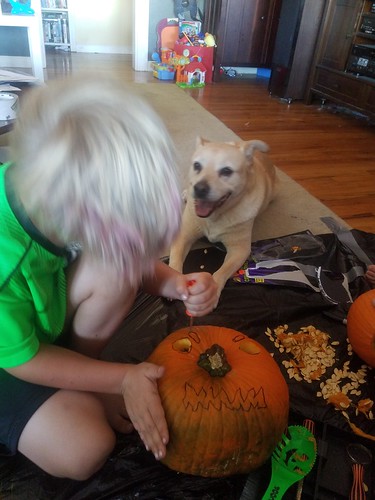
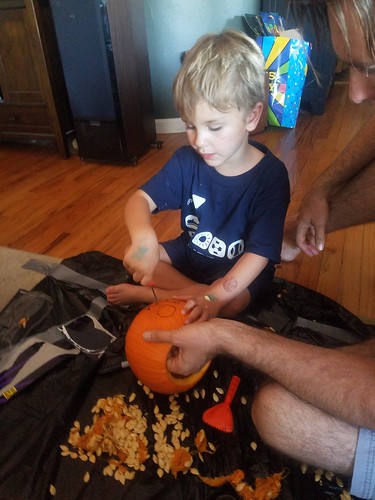
We waited another week to actually carve the pumpkins so they'd be bright and shiny for Halloween night.  Thatboy and I decided to do split duty and carve our pumpkins at a later time so we could help the boys.


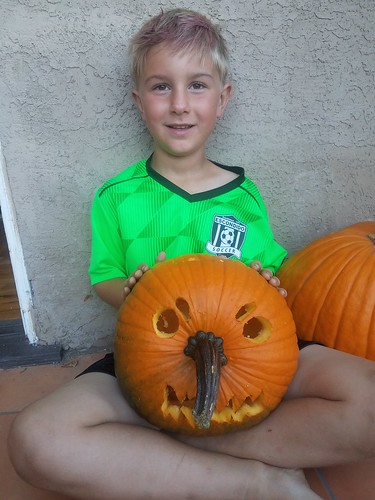
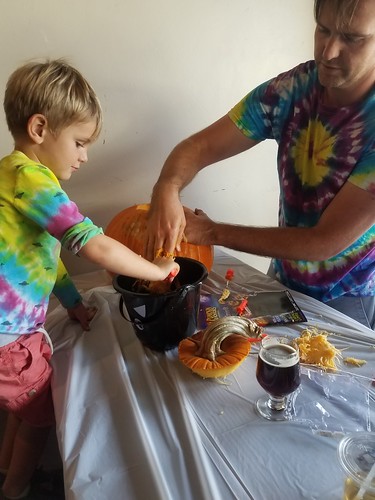
Thatkid is finally at the age where he can do a majority of the carving himself.


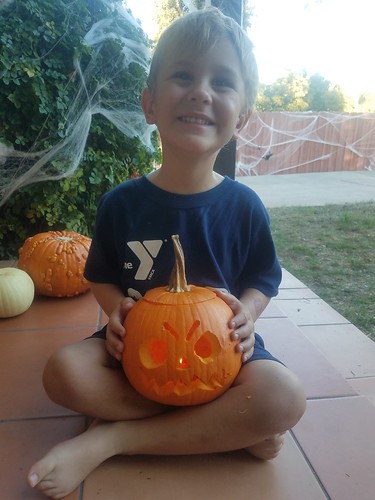
Thatbaby is at the age where he wants to do all his carving himself, but really shouldn't.  And can't.


Thatkid put a lot of thought into his pumpkin, specifically looking for one with a flat side that it could rest on, so he could carve a face and use the vine as a nose.


Thatbaby, who wants to do everything his brother does, also wanted a face with "angry eyebrows."


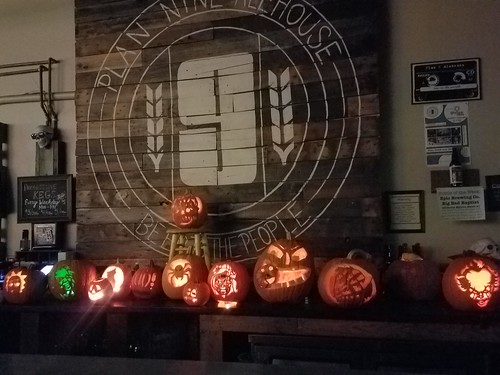
With that little practice session under our belt, we headed back to annual tradition of Plan 9's pumpkin carving contest.

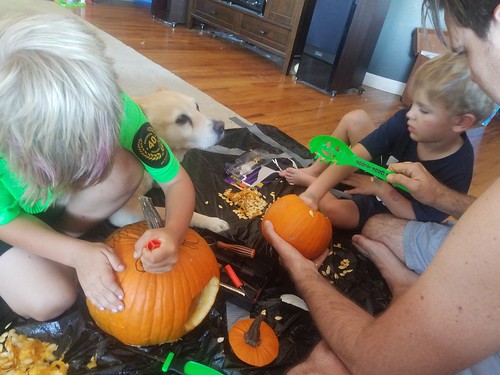
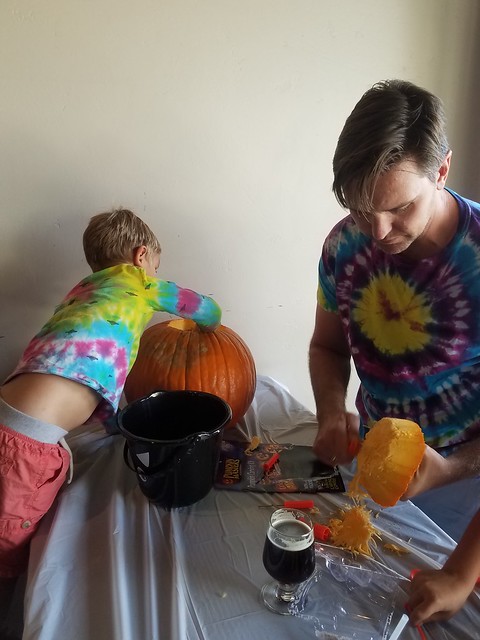
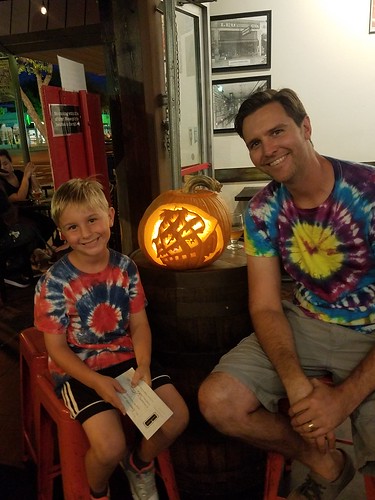
As usual, it's a real family affair.  Thatkid thinks up and picks the design.  He won't touch the inside of a pumpkin, but that's where Thatbaby shines.  


Thatboy's role is the actual carving.  Which takes a lot out of him.

But at the end of the night, all the pumpkins get put up to ooohhh, awwwww, and vote on.  It's really neat to see the creativity.  


And this year we walked away with second place!  Which Thatkid thought was fair since we got first place last year, someone else should get a chance.


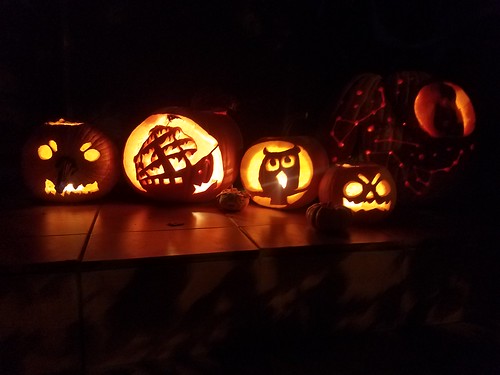
The next night, after the kids went to bed, Thatboy and I did our carving.  Looks like we're all ready for tonight!


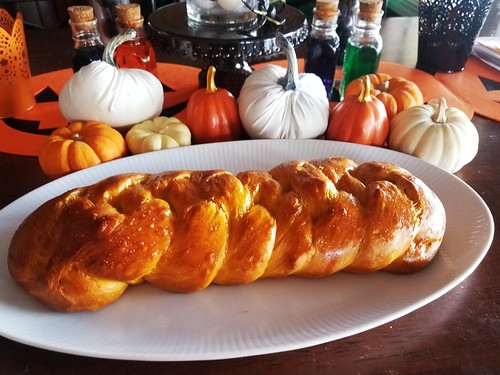
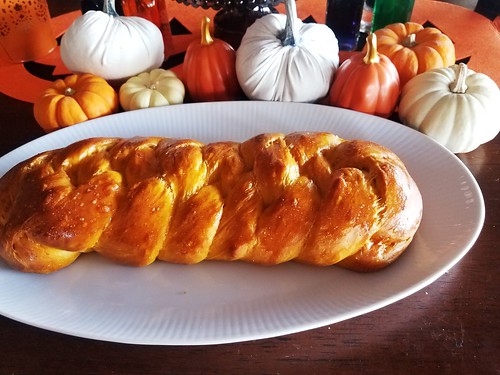
As for pumpkin eating, well, there's a whole lot of that going on.  The kids are eating pumpkin oatmeal or pumpkin cereal.  If there's not a pumpkin bread in the fridge, there's pumpkin muffins.  Or vice versa.  But those recipes are old hat.  They're everywhere.  Everyone and their mom has a pumpkin bread or muffin recipe.  You know what isn't everywhere?  Pumpkin challah.  I've been making challah every other week since the Jewish holidays and when I saw the book contained a pumpkin challah recipe, I knew this was the perfect time of year to try it out. 

It is the absolute perfect blend of pumpkin and challah.  It still has that sweet, doughy challah taste and crumb, but with the addition of a pumpkin richness.  The pumpkin flavor itself is not overwhelming, which I credit to the fact that it doesn't contain a lot of the typical pumpkin accompaniments like cinnamon or nutmeg.  Instead, cardamom and ginger help to balance out the flavors which really makes it a fabulous fall bread.

Pumpkin Challah (From A Blessing of Bread)
1 envelope instant yeast
1/4 tsp cardamom
1/2 tsp ground ginger
3 1/2 cups bread flour
2/3 cup warm water
1/3 cup sugar
1 1/2 tsp salt
1/4 cup canola oil
2 eggs
1/2 cup canned pumpkin
  1. In a large bowl, whisk together the yeast, cardamom, ginger, and 2/3 cup flour.  
  2. Whisk in the warm water until smooth.  Let stand uncovered for 10 to 20 minutes, until it puffs slightly.
  3. Whisk the sugar, salt, oil, 1 egg, and puree into the puffed yeast until combined.
  4. Stir in remaining 3 cups + 2 Tbsp flour.  When the mixture clings together in a ball, turn it out onto a work surface and kneed until it is smooth and firm.  
  5. Place the kneaded dough in a warm bowl and cover with plastic wrap.  Let rise 2-3 hours, until it has tripled in size.
  6. Line 2 baking sheets with silpat liners.  Divide the dough into 2 even portions.  Braid or shape them as desired.  Cover with plastic wrap and let rise 1-2 hours, until tripled in size.
  7. Preheat oven to 350.  Beat the remaining egg with a pinch of salt.  
  8. Brush the loaves with the egg glaze.  Bake for 35-40 minutes.  Remove from oven and let the loaves cool on a rack.